Tools & Gear
tags:
Stage Rigging
Grip Equipment
I like just about every part of being a grip.
Shaping light, figuring out a specialty camera move, building something overhead, rigging a stage with truss and motors - point me at a hard problem and I'm usually happy.
But there is one type of job that can make me uneasy before I even show up:
A stage job where I can't bring my own truck or gear.
Some stages require the production to rent their grip equipment. You submit an order in advance, the stage pulls the package, and whatever is waiting for you when you arrive is what you have to work with.
When you are working off a fully loaded grip truck, you have options.
Need another baby grid clamp? Walk back to the truck.
Need a different length of speedrail? There’s more on the rack.
Need an odd piece of hardware you didn’t expect to use? There is a decent chance it is hiding in a drawer somewhere.

My loaded truck is my safety net
A stage order doesn't give you the same safety net.
Now, you may be able to add something from the grip dock during the day, assuming it is available. But that takes time, adds cost and can leave everyone waiting while it’s tracked down.
That makes a stage grip order strangely high-stakes for something that is mostly a list.
So I put together three free grip package lists you can use as starting points:
3-ton grip package list
5-ton grip package list
10-ton grip package list
Use them to build a stage order, review a rental-house quote, create your own gear list, compare package sizes or simply see what a more complete grip package might contain.
You do not need to own a truck - or any grip equipment - to use them.
If you are responsible for building, reviewing or submitting the order, the problem is the same: you need a reliable starting point instead of trying to remember an entire package from scratch.
Open the Free Package Lists. All three are live and editable.
Want to build your own? Customize the packages in Slater.
The lists live on Slater, a tool I've been building for freelance film crew. You don't need an account to open them or download the PDF. More on why they live there at the end.
These are practical starting points, not universal grip package standards. Every truck, rental house, market and production does things a little differently. These are what I use to build out my personal lists at different sizes.
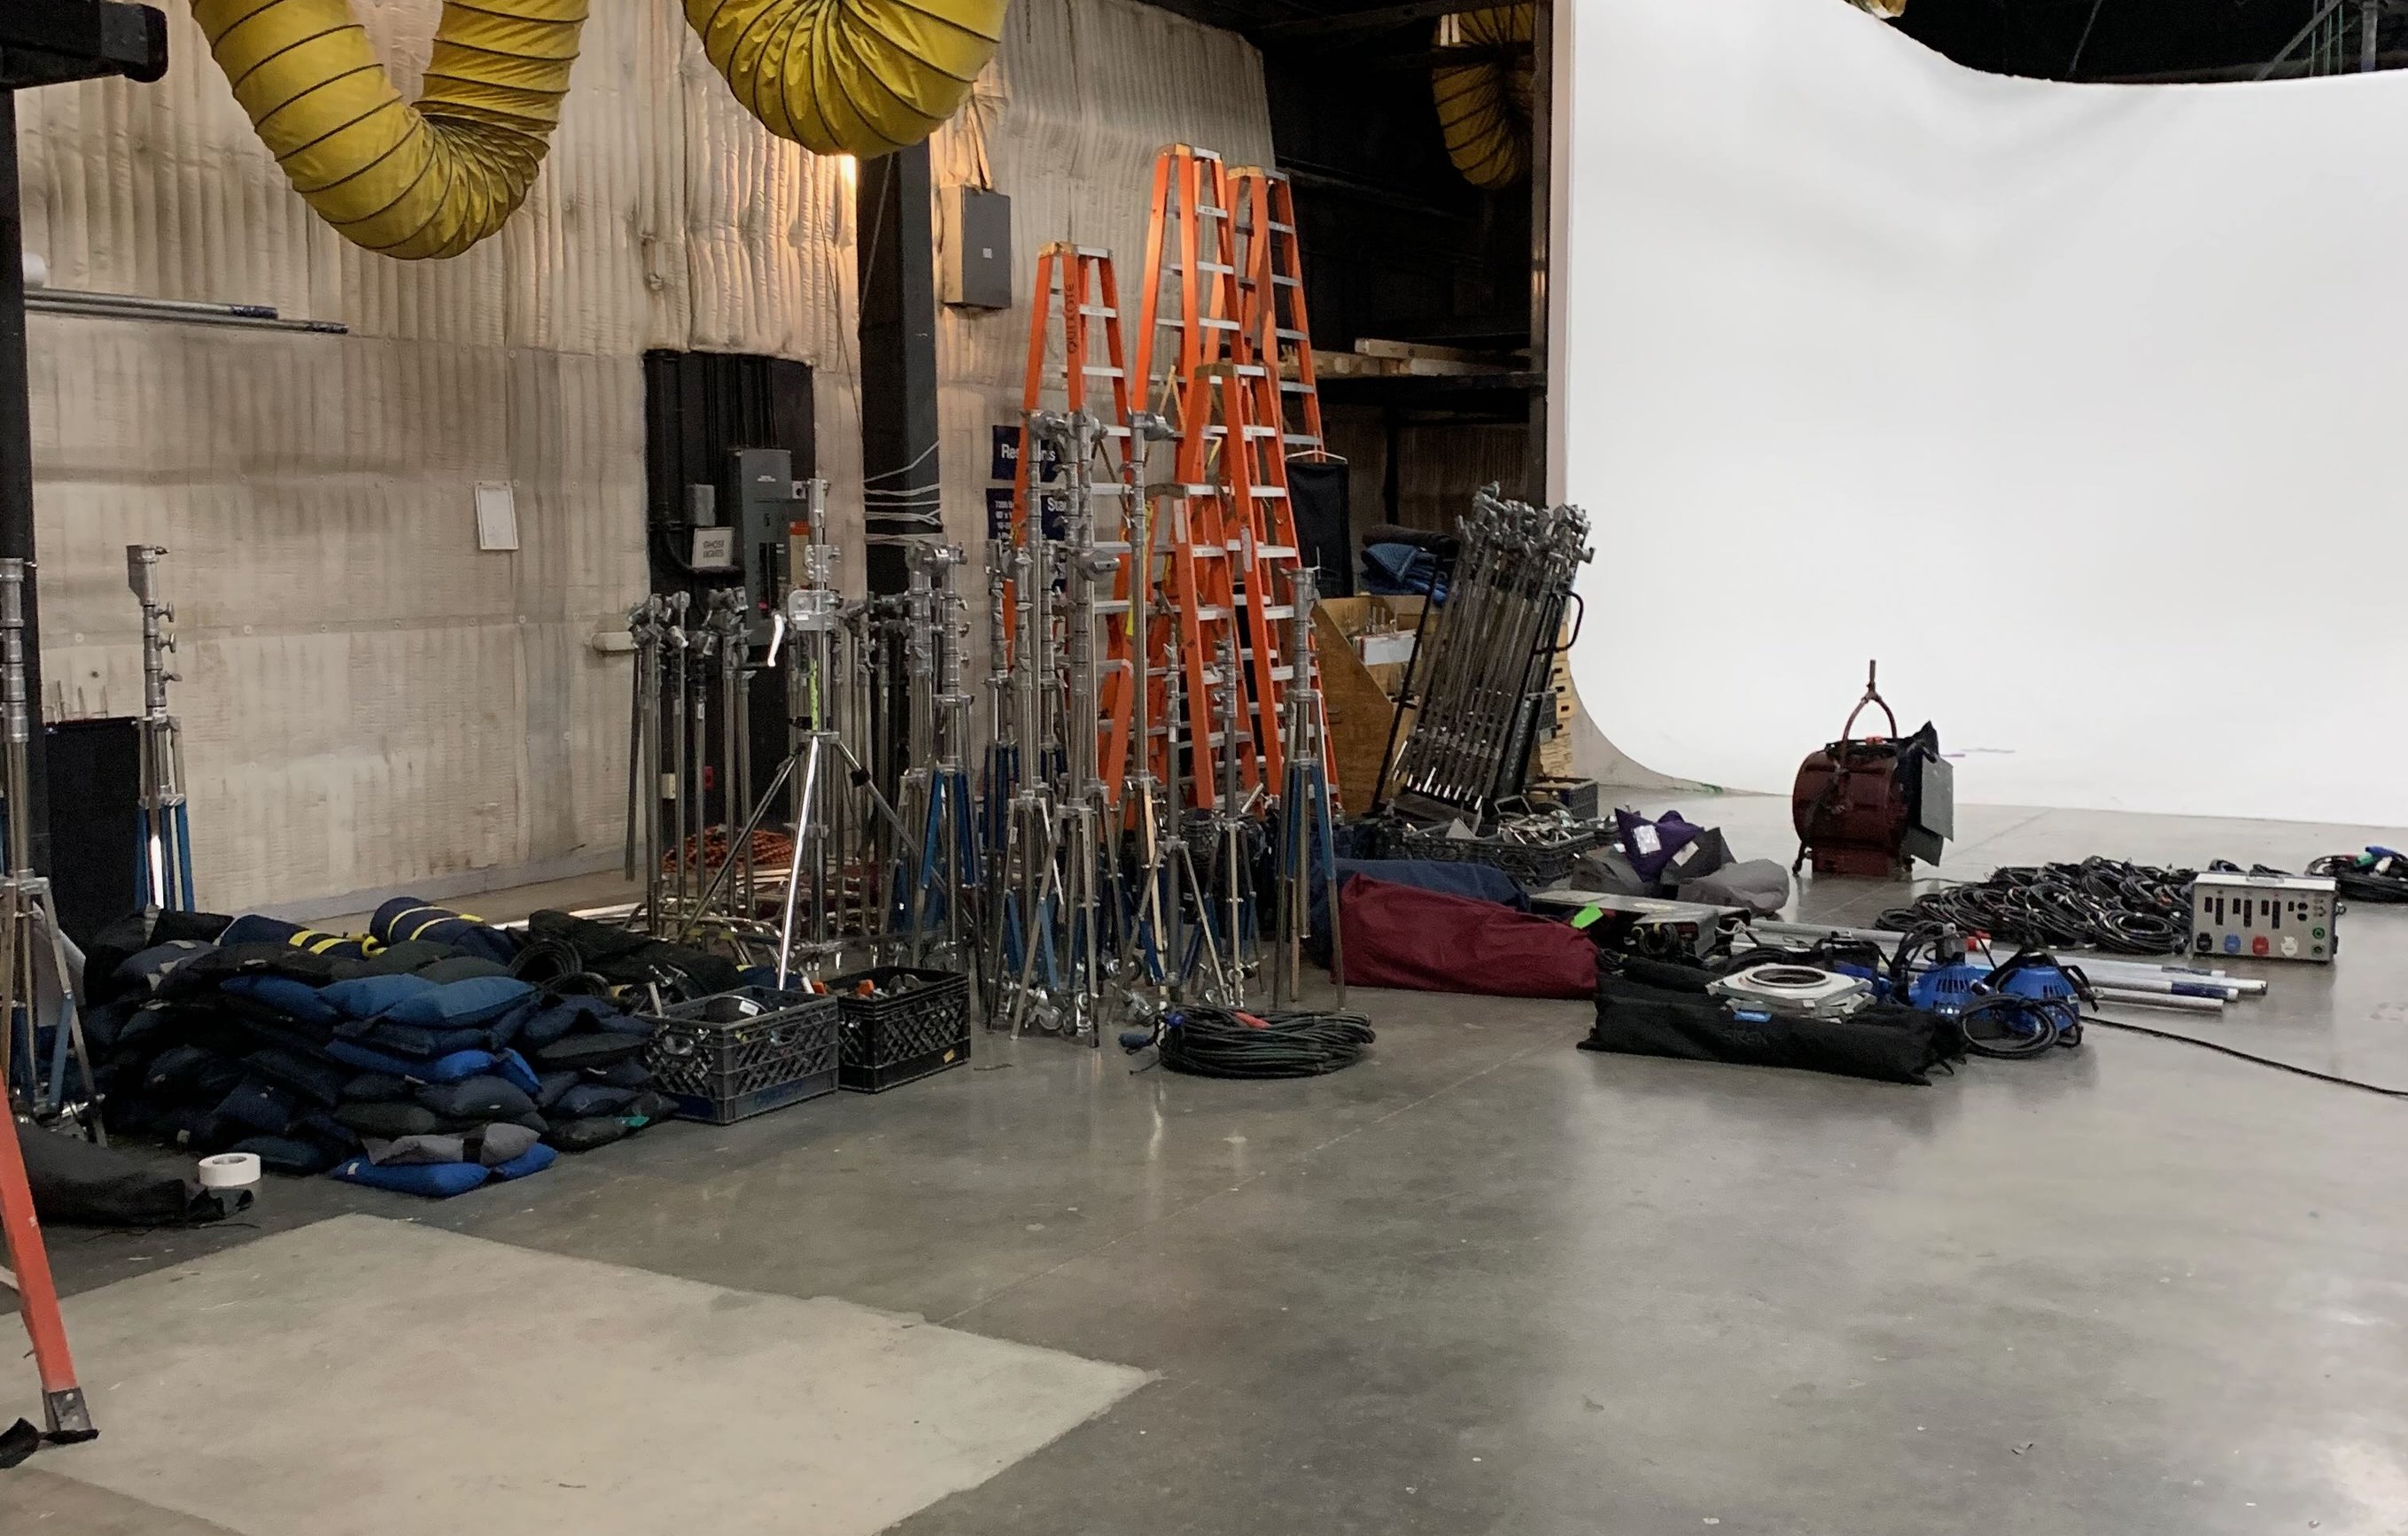
With a stage order, the equipment waiting on the floor is the equipment you have to work with.
Who These Package Lists Are For
It is easy to assume that a grip package list is mainly useful to someone who owns a truck.
That is not the case.
These lists can help if you:
Need to submit a grip order to a stage
Are reviewing a rental-house package or quote
Work from someone else's truck and want a reference
Are building a custom package for a production
Want to compare common package sizes
Are gradually putting together gear of your own
Want to learn how a more complete grip package is organized
Need to check an existing order for obvious gaps
The issue is not whether you own the equipment.
The issue is having to anticipate what the job may require before you show up.
Anyone responsible for creating, reviewing or approving the order can benefit from beginning with a more complete list.
Why Duplicating Old Orders Eventually Fails
For years, I built stage orders the same way.
I would open a fresh Google Doc and try to remember everything the job might need.
Eventually, I got a little smarter and started duplicating old orders. That was better, but it created a different problem.
I would remove something because one production did not need it. Then I would duplicate that edited version for the next job and forget the item had ever been there.
Over time, every document became its own slightly different version of the package.
One had additional rigging hardware.
Another was missing textiles I had removed for a smaller shoot.
A third had 45 sandbags.
Eventually, it became difficult to tell which document was the actual master list.
This problem is not unique to stage orders. Whenever the job-specific copy becomes the system, information gets removed, changed or scattered until there is no longer one reliable source to work from.
The better system is to begin with a complete package and create a separate version for each production.
Start with the package closest to the size and complexity of the job. Remove what you know you will not need. Add the specialty equipment the production requires.
Most importantly, preserve the original package so it is still complete the next time you need it.
Choosing the Right Starting Package
There is no universal definition of a 3-ton, 5-ton or 10-ton grip package.
One rental house may include items another treats as add-ons. One truck may have a more comprehensive rag package, while another carries more rigging hardware.
The number is only a rough guide. Choose the package based on the actual work, not simply the number of shoot days. Build your own perfect package with these starting points.
3-Ton Grip Package
The 3-ton package is a useful starting point for streamlined shoots with a dedicated grip truck.
That might include:
Interviews
Short films
Indie movies
Smaller commercials
Small stages or standing sets
Jobs with limited overhead or rigging requirements
A smaller package should still be functional. It is not simply a few stands, flags and sandbags thrown together. It still covers most of the same basic categories as a larger package, but with less depth and fewer duplicate items.
5-Ton Grip Package
The 5-ton package is a stronger general-purpose starting point for medium-sized projects.
That might include:
Commercials
Music videos
Medium-sized sets
More extensive frame and rag needs
Basic overhead or speedrail builds
Projects that need a larger quantity of standard equipment
For many stage jobs, this will probably be the most useful package to begin with and customize.
10-Ton Grip Package
The 10-ton package is intended for larger or more complex work where you need to bring the heat.
That might include:
Multiple sets
Larger crews
Extensive overhead work
Large frames and textiles
More involved rigging
Several setups working at the same time
Productions that need much greater depth across the package
A 10-ton package is not simply a 5-ton package with twice as many combo stands.
It should provide more depth across support, rags, rigging, ladders, organization and the smaller equipment that keeps everything working.
The right package is the one that gives you a strong foundation for the actual production. It is still up to the key grip, best boy grip, rigging crew and rental house to tailor it to the job’s needs.
How to Build a Stage Order From the Package
Once you choose the closest starting package, work through it deliberately.
1. Review the Work Before Cutting the List Down
Start with the creative and logistical requirements.
Review:
The shot list
Lighting diagrams
Stage drawings
Set dimensions
Ceiling height
Access limitations
Overhead requirements
Prelight and strike schedules
Camera-movement and camera-rigging needs
Any unusual rigging or specialty setups
The package gives you the baseline. The shoot needs tell you what to change.
2. Remove Equipment Carefully
It is tempting to start cutting the package down immediately.
Do not remove an item simply because you cannot picture using it at first glance.
Ask whether it is unnecessary because of the actual plan or whether the job has not been worked through far enough yet.
Starting with a complete package and subtracting deliberately is usually safer than building upward from a more minimal order.
As a grip, I usually find it best to carry more than I’ll actually need. There have been plenty of times when I thanked my past self for ordering extra pipe clamps or safety chains. Or an extra ladder. Grips are also helping other departments. I can usually build that reasoning into my justification for the amount of gear I need.
I usually build the first version around the complete needs of the job rather than cutting it down before production has seen the real number. Once the initial quote comes back, I can work with production to reduce the order deliberately based on the budget and the actual plan. It is much easier to remove equipment from a complete order than to justify adding forgotten items later.
3. Add the Specialty Equipment
A standard package can’t predict every single situation, especially if it’s specialized.
Add anything specific to the job, such as:
Specialty camera-rigging equipment
Additional speedrail
Larger quantities of a particular textile (solids or green screen)
Hollaender fittings
Truss and motors
Unusual mounting hardware
Track, dollies or camera-movement equipment
Additional carts or storage
Max menace arms
Long john silver or other crank stands
CRLS boards
Keep specialty equipment clearly identified so it can be confirmed with the stage or rental house.
4. Confirm What the Stage Actually Carries
Do not assume the stage uses the same terminology or stocks the same versions of equipment as your normal rental house.
Confirm:
Whether every requested item is available
Which brands or versions they carry
Whether substitutions are likely
Whether carts are included
Whether the necessary pins, fittings and accessories come with each item
Whether your 4x diffusions are available skinned
How additions are handled during the day
Whether there are pull, restocking or handling charges
The goal is not simply to submit a complete-looking list.
The goal is to make sure the package that gets pulled matches the package you thought you ordered. When you receive the quote back from the stage or rental house be sure to check it thoroughly to make sure it matches your requests.
I’ve trusted they got my order exactly right far too many times in the past and didn’t thoroughly check.

A complete order should account for how the package will actually be used, moved and organized during the day.
The Equipment That Usually Gets Forgotten
The larger equipment is rarely the problem.
Most people remember the stands, overhead frames and most rags. The missing pieces tend to be the smaller items that connect, adapt, hang, or secure everything else. A complete package also depends on hardware, pipe fittings, rope, carts, ladders and other things that make the larger equipment usable.
Before submitting an order, make a deliberate pass through each of these categories.
Stands, Rollers and Casters
Confirm which stand types and heights you need, along with which stands need to roll.
That may include:
Short and 40-inch C-stands
Low-boy combos
Three-riser combos
High rollers
High-high rollers
Mombo combos
Crank stands
Specialty stands and supports
Do not assume the wheels are included. Confirm that you have enough caster sets for the low boys, combos and mombos.
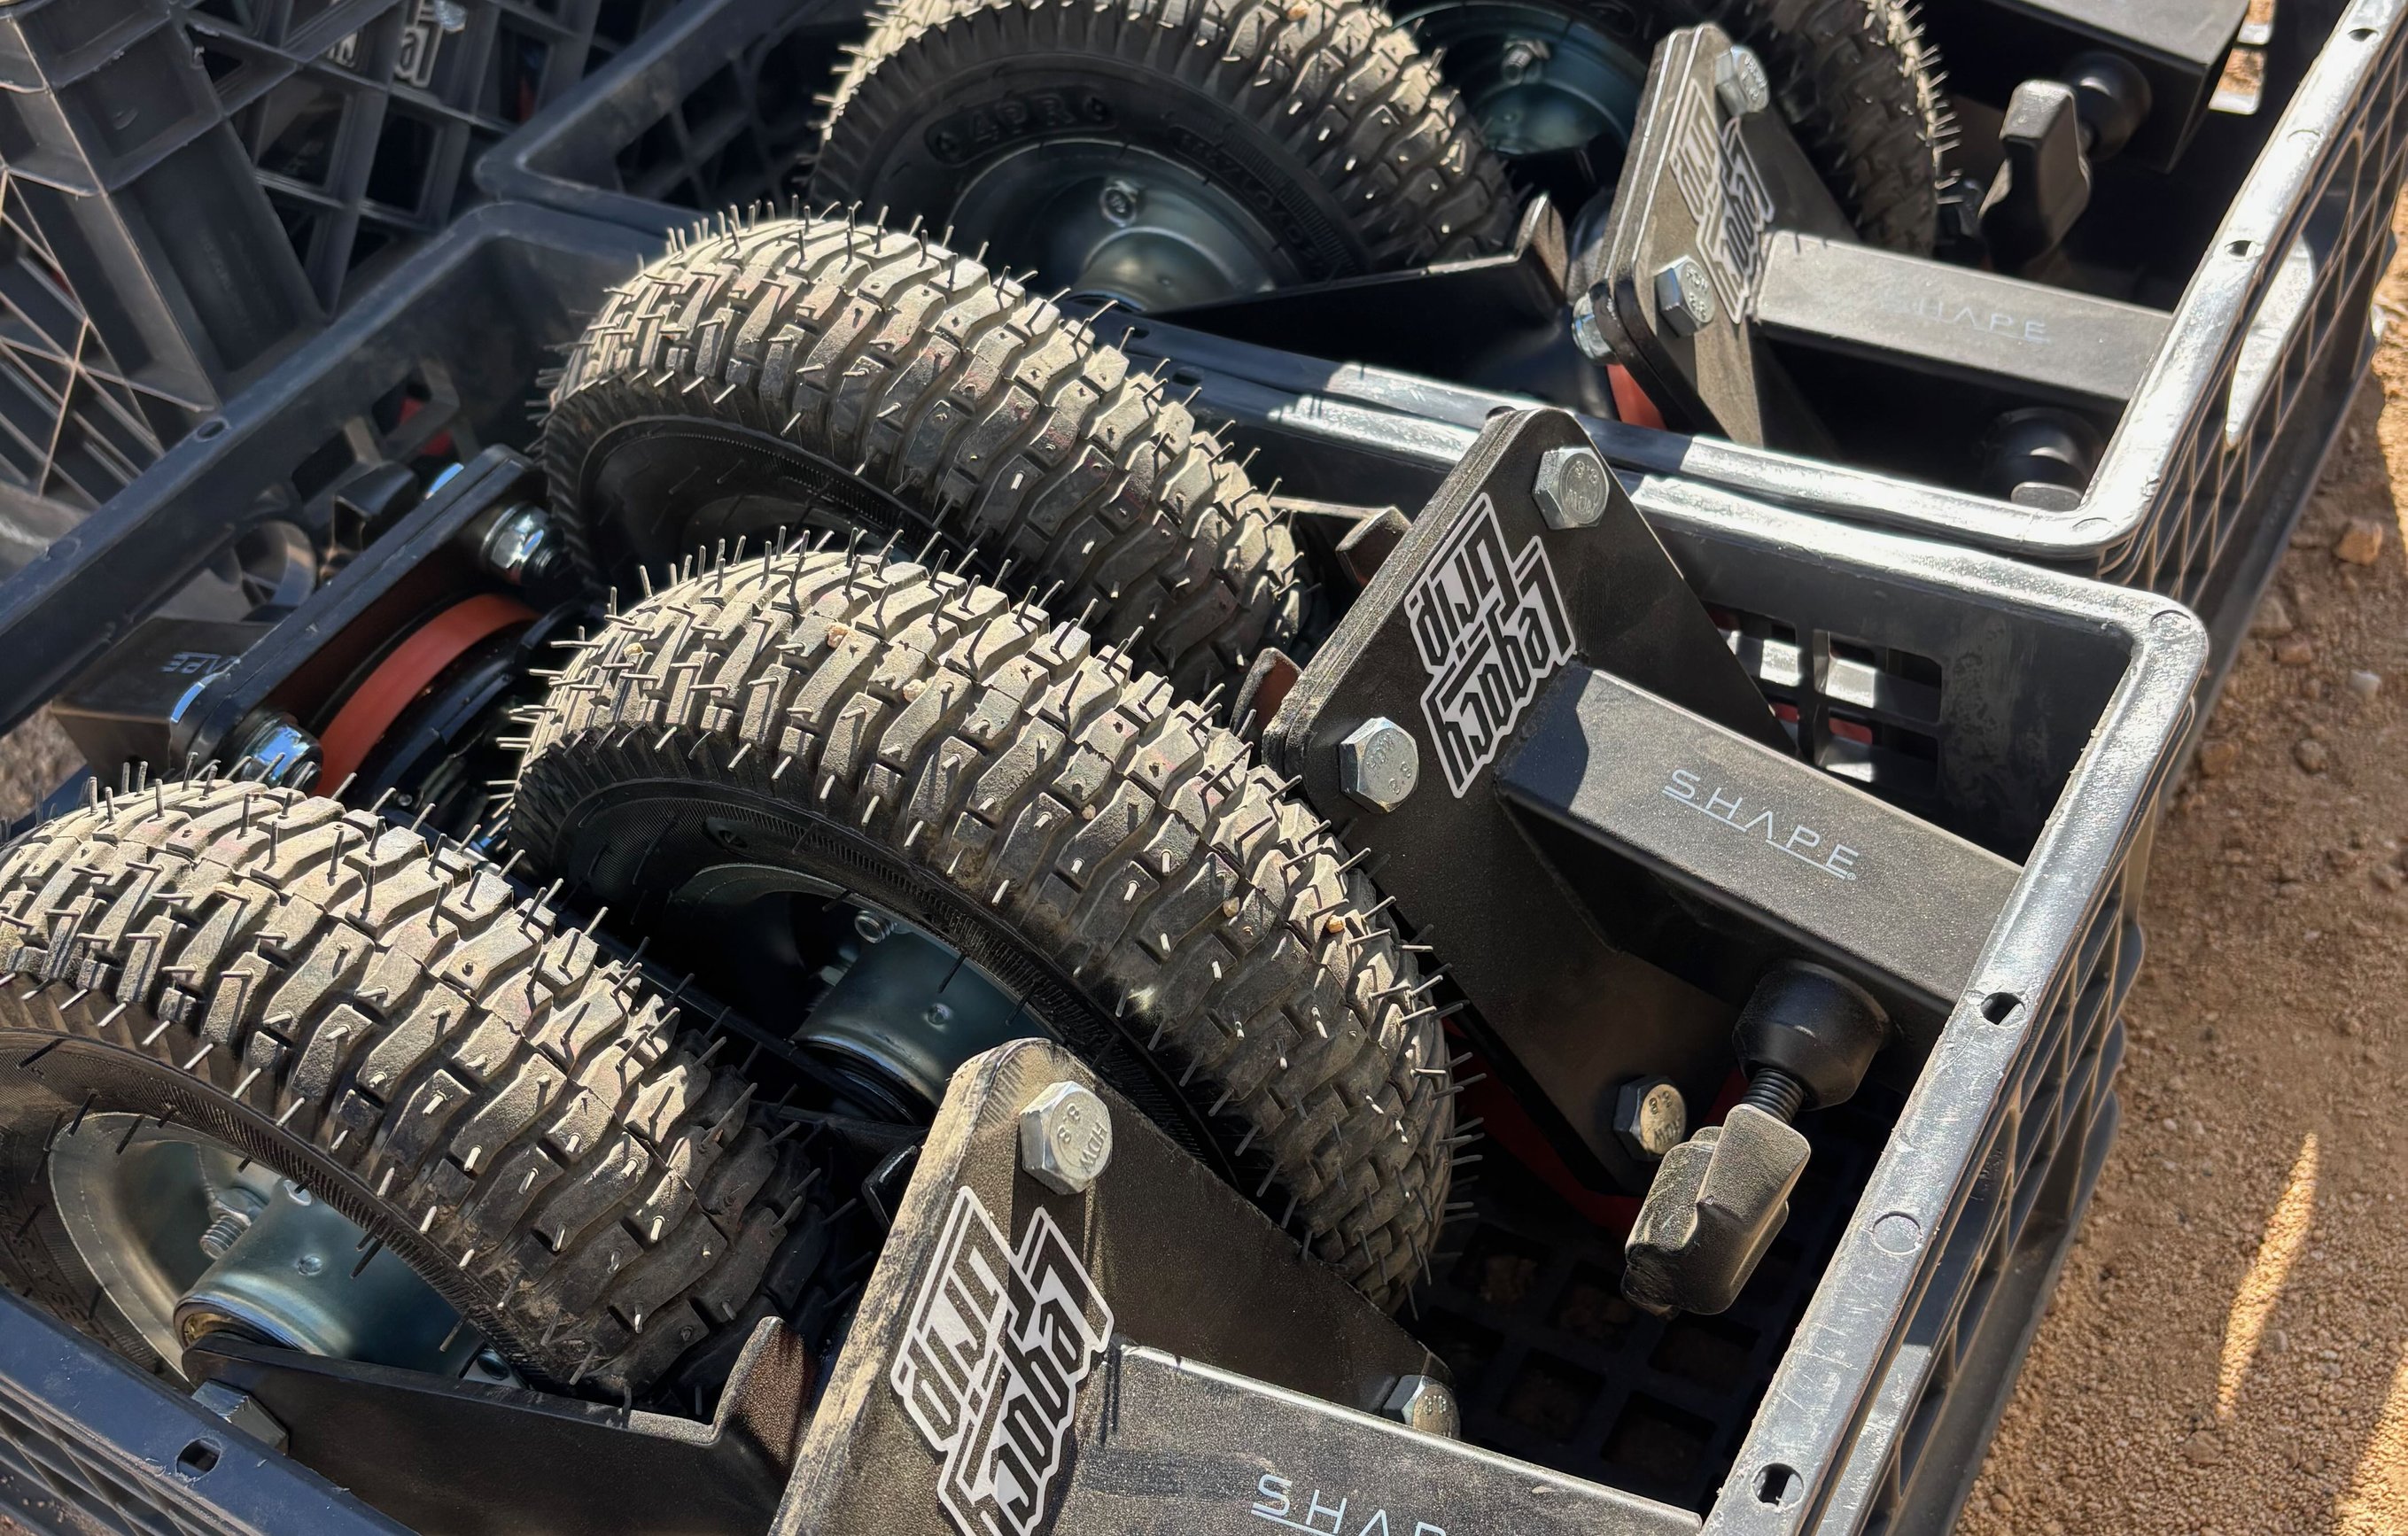
Wheels are their own line item. A stand that cannot roll is a stand in the wrong place.
Flags, Frames, Rags and Reflectors
Confirm both the frame sizes and what needs to go on them.
Look at:
Solids and floppies
Singles and doubles
Silks
Open 4x4 frames
Cutters and blades
Wood and celo cucoloris
Wag flags
Grid cloth and other diffusion
Ultrabounce
Bleached and unbleached muslin
Chroma / digi green and blue
Reflective materials
Mirrors and reflector boards
CRLS
LCDs
Softbox sides, skirts and specific diffusions
Also confirm the actual overhead sizes required, whether that is 6x6, 8x8, 12x12, 12x20, 20x20 or any custom size.
“Two 12-by frames” is not enough information if one needs to be a solid and the other needs a specific diffusion.

Two 12-by frames - specify the size and exactly what goes on each.
Baby and Junior Hardware
This is where a lot of stage orders fall apart.
On a truck, you may be used to reaching into a drawer and finding the adapter you need. On a stage job, that drawer only exists if someone ordered the hardware to stock it.
Not every stage job will require every item on these lists - scissor clamps for drop ceilings, for example - but they are also included here for when building a broader grip order through a rental house.
Check for:
Cardellinis in the jaw styles you use
Baby and junior C-clamps
Scissor clamps
Baby plates
Junior pin and junior receiver plates
Baby and junior pipe clamps
Baby and junior grid clamps
Offset arms
Double and triple headers
Junior-to-baby adapters
Baby pins and Norms pins
3/8-inch and 1/4-20 adapters
Grip heads and lollipops
Foam-core holders
Platypus clamps
Chain vises
Specialty clamps and adapters
Do not simply write “baby adapters.” Specify the connection on both ends whenever possible.
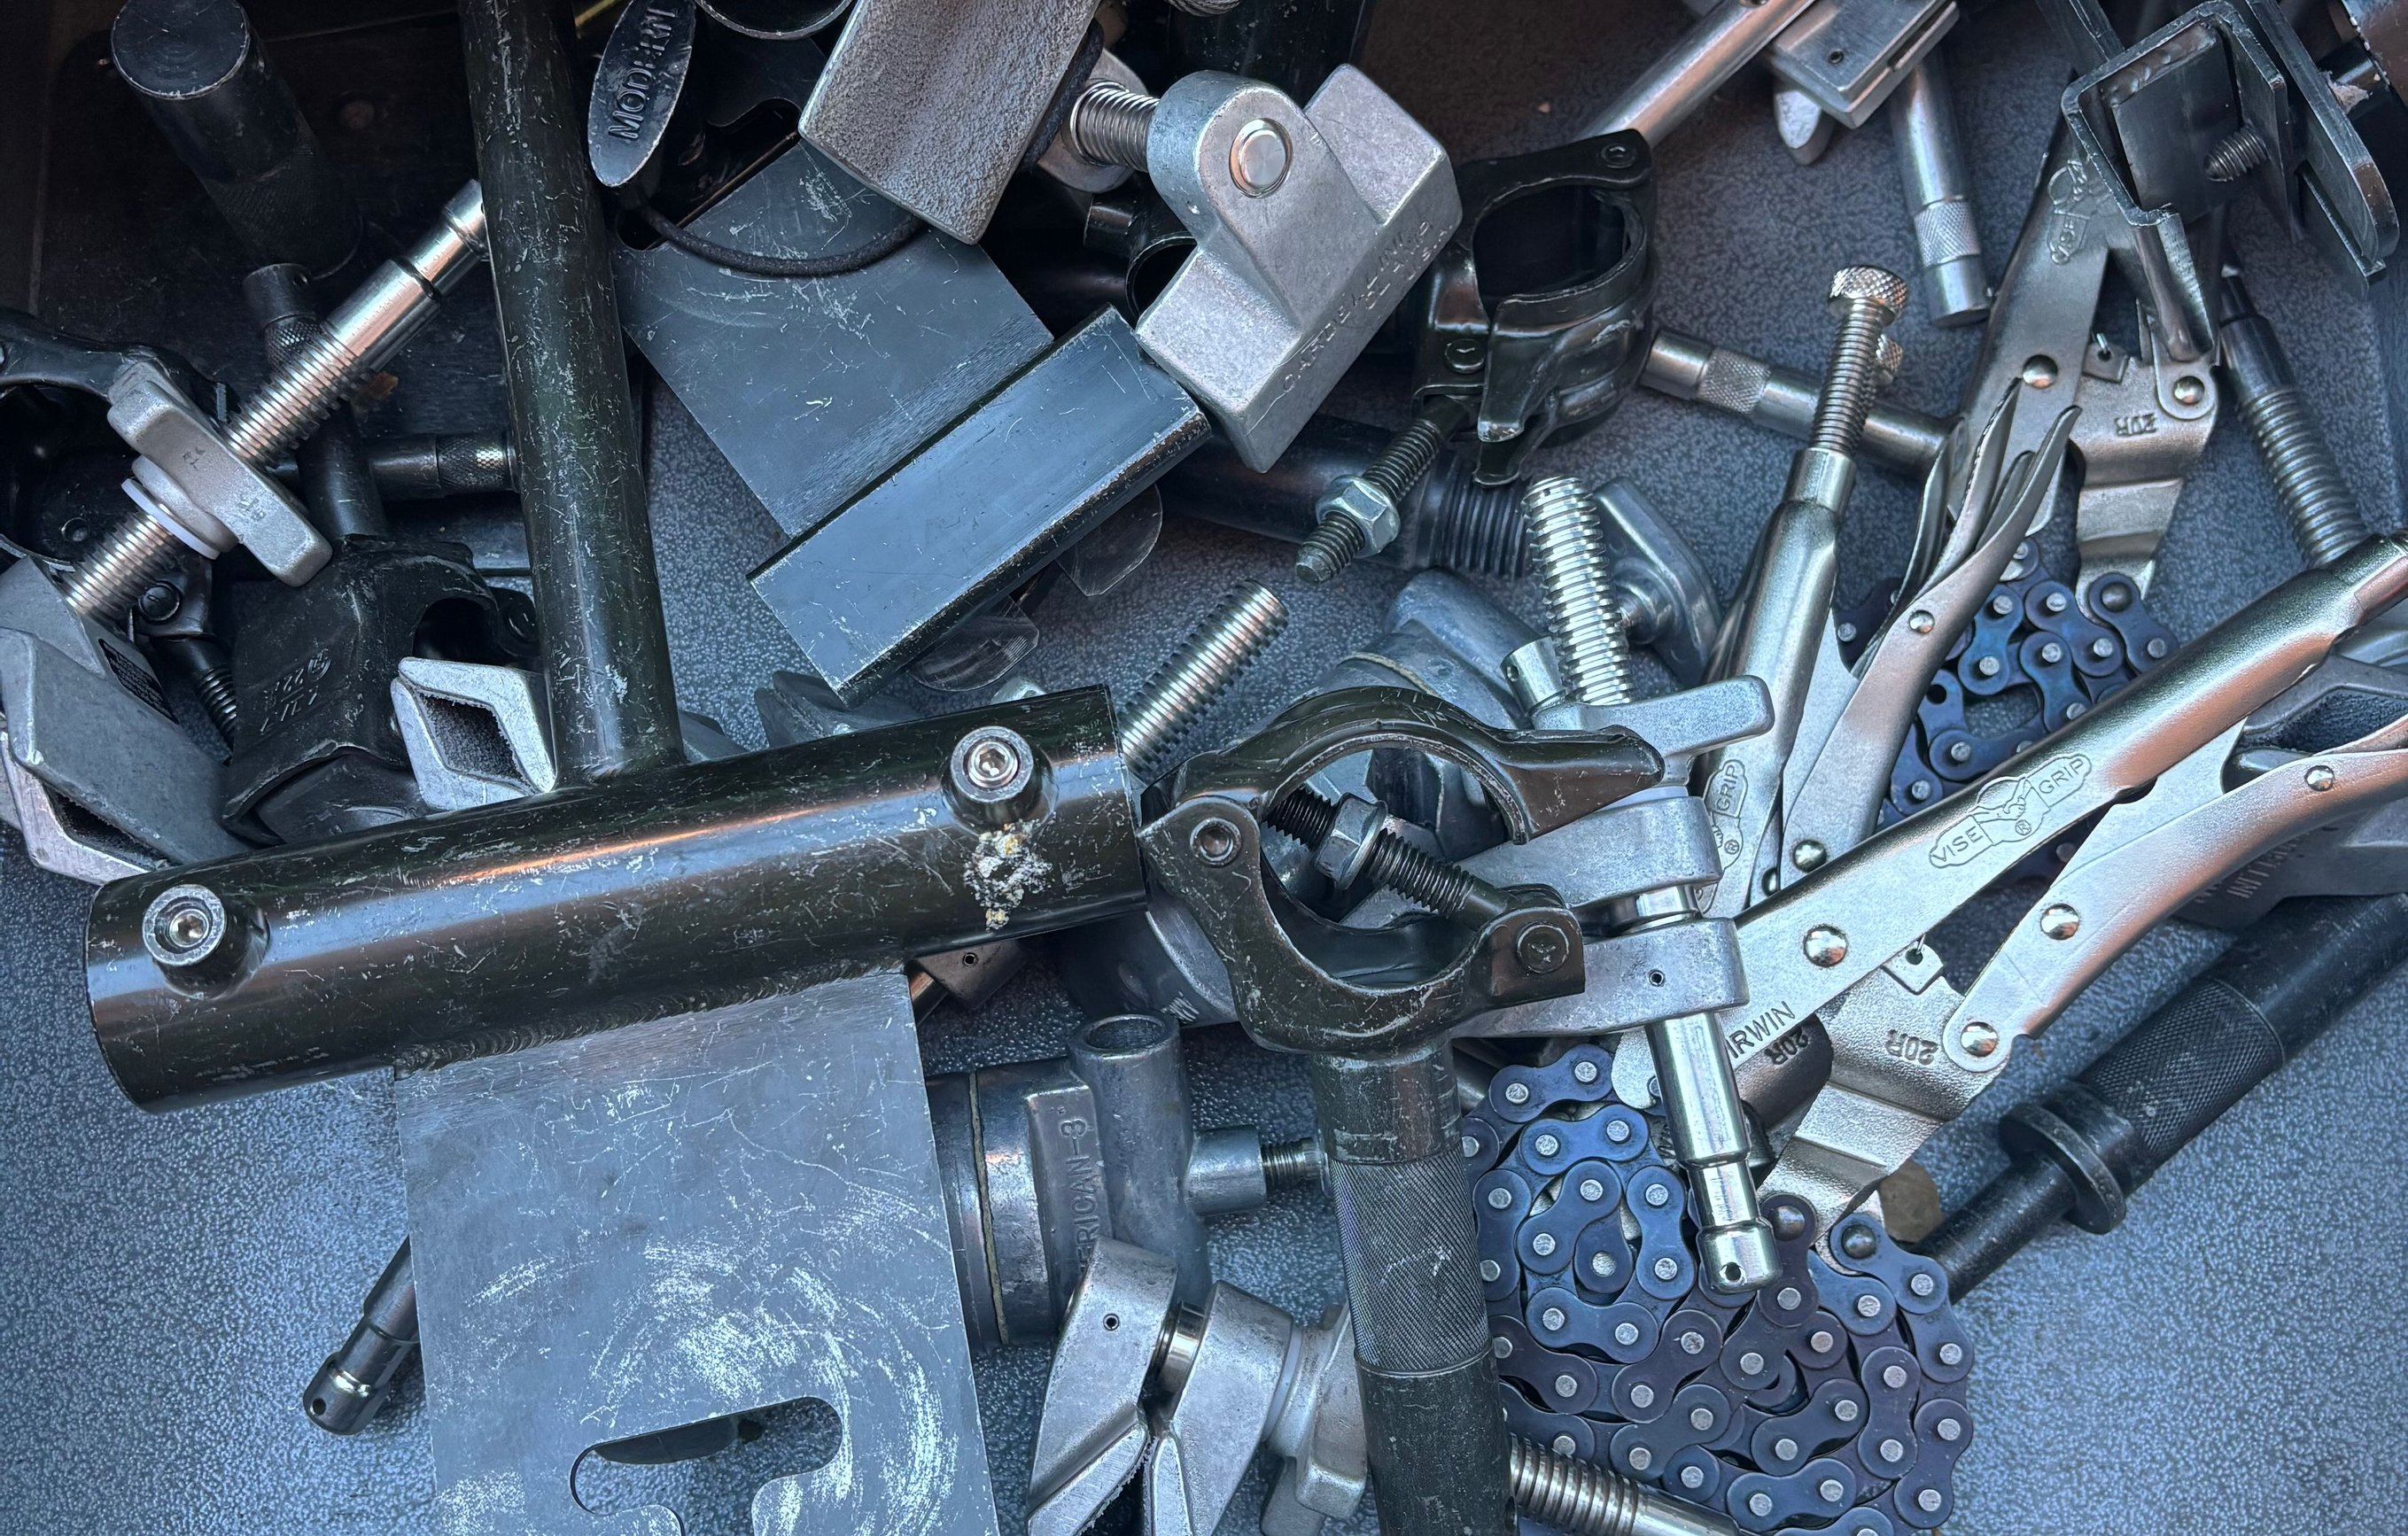
The drawer you reach into on a truck only exists on a stage if someone ordered the hardware to stock it.
Rigging Hardware
Rigging hardware includes the clamps, fittings, plates, adapters, pulleys and connectors used to attach, support and build out a rig.
Check for:
I-beam clamps
Fixed and swivel cheeseboros
Speed C-clamps
Menace-arm kits
Tri truss makers
Ladder-truss makers
Wall spreaders
Shackles
Pulleys and locking pulleys
Carabiners
Anderton pins
Nail-on D-plates
Specialty plates and rigging adapters
A grid clamp with a junior receiver is not interchangeable with one that has a baby pin. The attachment point, load and next piece in the system all matter.
The package list is a reminder to account for the equipment. It is not a substitute for a proper rigging plan or qualified rigging crew.
Pipe, Square Stock and Fittings
Do not simply write “speedrail.”
Confirm:
Pipe & square stock diameter
Pipe material
Required lengths
Quantities of each length
Couplers
Corners
Hollaender fittings
Short barrel crosses
Swivel tees
Tees
Flanges
Rackmasters
Starters
The same applies to square stock. Confirm whether the build requires 3/4-inch, 1-inch or another size, along with the correct corners, tees, couplers and reversible ears.
A pipe or square-stock build depends on specific dimensions. Ordering a pile of assorted lengths may leave you with plenty of material but no clean way to finish the build.
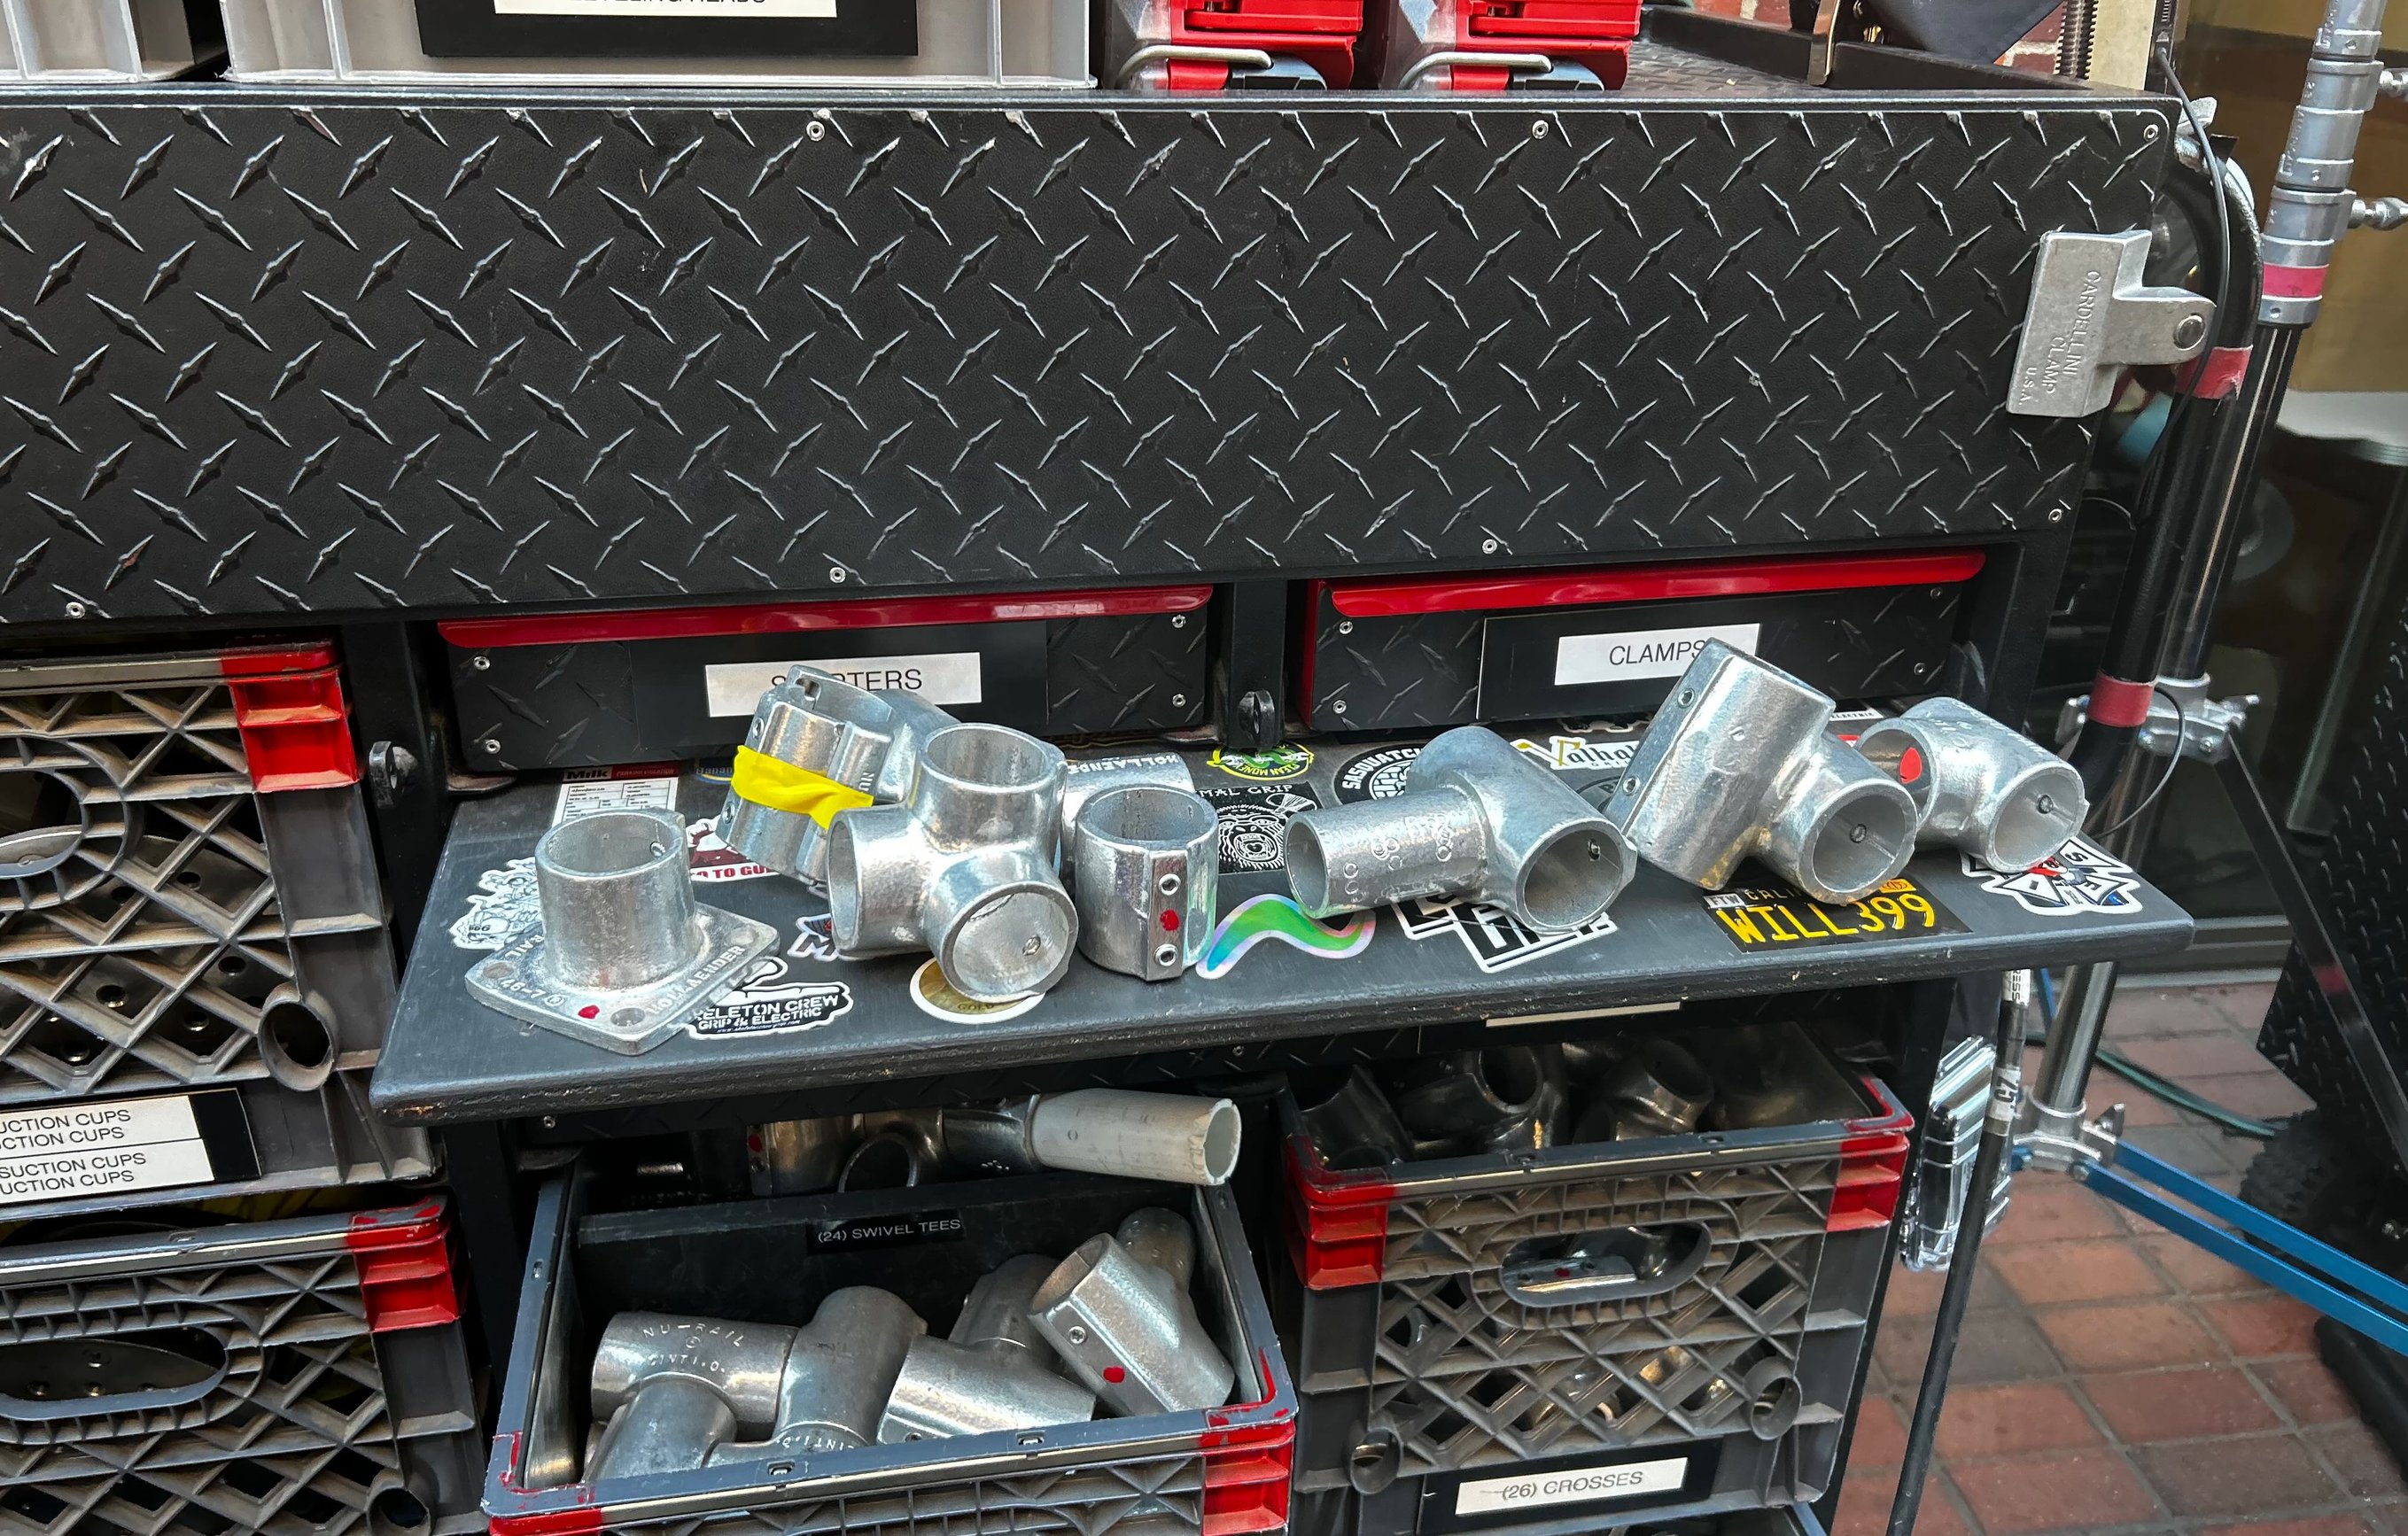
“Speedrail” is not an order. The fittings - tees, crosses, swivels, starters, ears - are what you also need to add.
Rope, Webbing and Tie-Downs
Because rope, straps and tie-downs are often grouped under a general rigging line item, it is easy to overlook the specific types, lengths and quantities the job actually requires.
Check for:
Multiline rope in 50’ and 100’ lengths
3’ and 6’ spansets
Hooked ratchet straps
Endless ratchet straps
Daisy chains
Safety chains
Rope ratchets
Lanyards
A lot of stages will make you order rope as an expendable - in which case you have to make your own lines.
Sandbags, Apple Boxes, Cribbing and Lumber
These are the basic support materials used to weight, level, crib and brace equipment throughout the job.
Review:
Sandbags and shot bags
Ball busters
Full, half and quarter apple boxes
Super apple boxes
Mini apple families
2x4 and 1x3 cribbing
Camera wedges
Crate of wedges
Cup blocks and Basso blocks
Pine and dimensional lumber
Dolly planks
4x8 plywood
Ramps
Sawhorses
Pay attention to both quantity and weight. Twenty-five-pound sandbags and thirty-five-pound shot bags do not always serve the same purpose.
I usually keep lumber on the truck - I rarely order it specifically for stage jobs.
Ladders, Access, and Material Handling
The grip department often supplies ladder access for several departments, so quantities can disappear quickly.
Check:
4-step ladder
6-step ladder
8-step ladder
10-step ladder
12-step ladder
Scissor lift
Condor
Material lift
Forklift
Pallet jack
Do you need one of each, two of each or several of a particular height? What platform height do you need for the scissor lifts?

Lifts, ladders and access are the grip department’s to plan - often for several departments at once.
Safety and Fall Protection
Fall protection and PPE should be worked out directly with production, the stage and a qualified safety professional. Do not treat this section as a shopping list or assume that adding a harness to the equipment order creates a complete fall-protection plan.
Depending on the work, confirm the required PPE, who is supplying it, how it will be inspected and fitted, and what approved attachment or restraint system will be used. That may include full-body harnesses, fall-restraint equipment, high-visibility vests or other stage-required PPE.
Confirm that the equipment is appropriate for the work and that suitable attachment points exist if you need to be up high. Do not rely on an unknown shared harness simply because one is available from a stage or rental house. Fall-protection equipment should be properly selected, fitted, inspected and approved for the specific work under the direction of a qualified person.
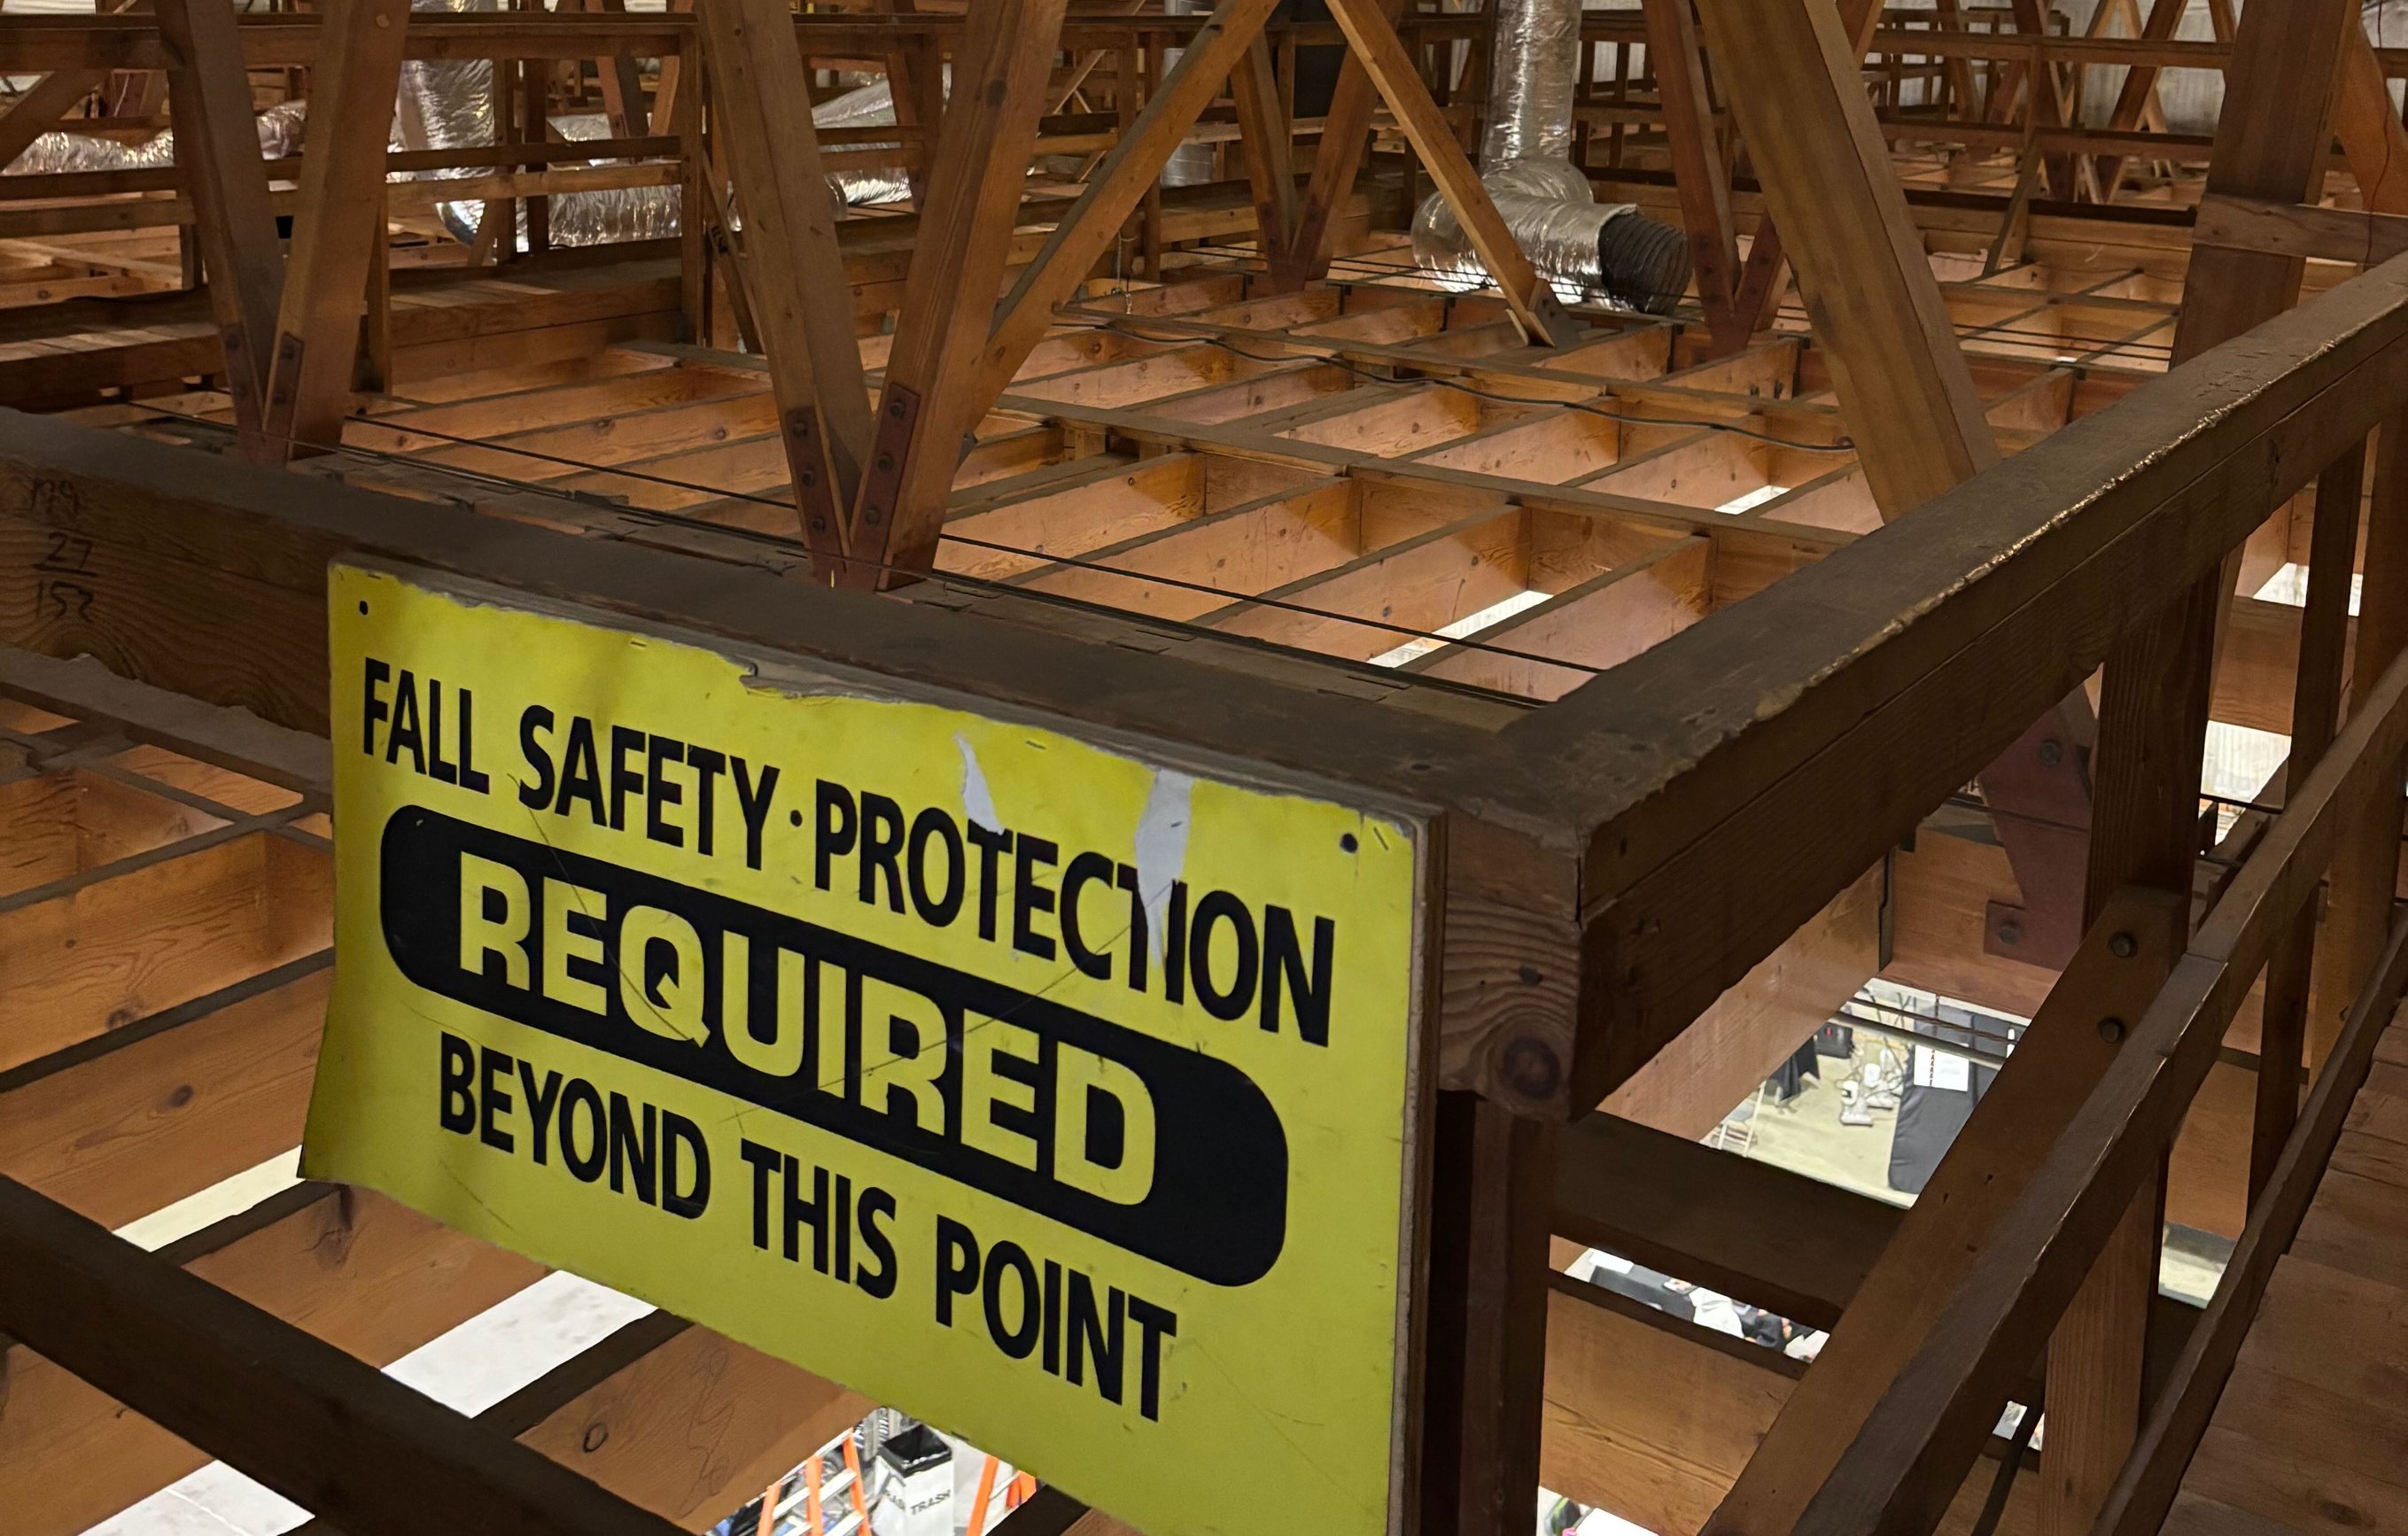
Above the perms, fall protection is not a line item - it is a plan made with production and a qualified safety pro.
Carts and Package Organization
A complete package spread across the stage floor is not an organized working package.
Confirm whether the stage package includes:
A taco cart with flag storage
A 4x4 frame cart
A C-stand dolly
A muscle cart
A rigging cart
A pipe organ
Crates and half crates
Dedicated storage for hardware
Think about how the equipment will be:
Stored
Moved
Separated by category
Kept out of the shooting area
Made accessible to the crew
Also distinguish between the carts included with the stage package and the key grip’s personal set cart.
Carts are part of the package plan, not an afterthought.
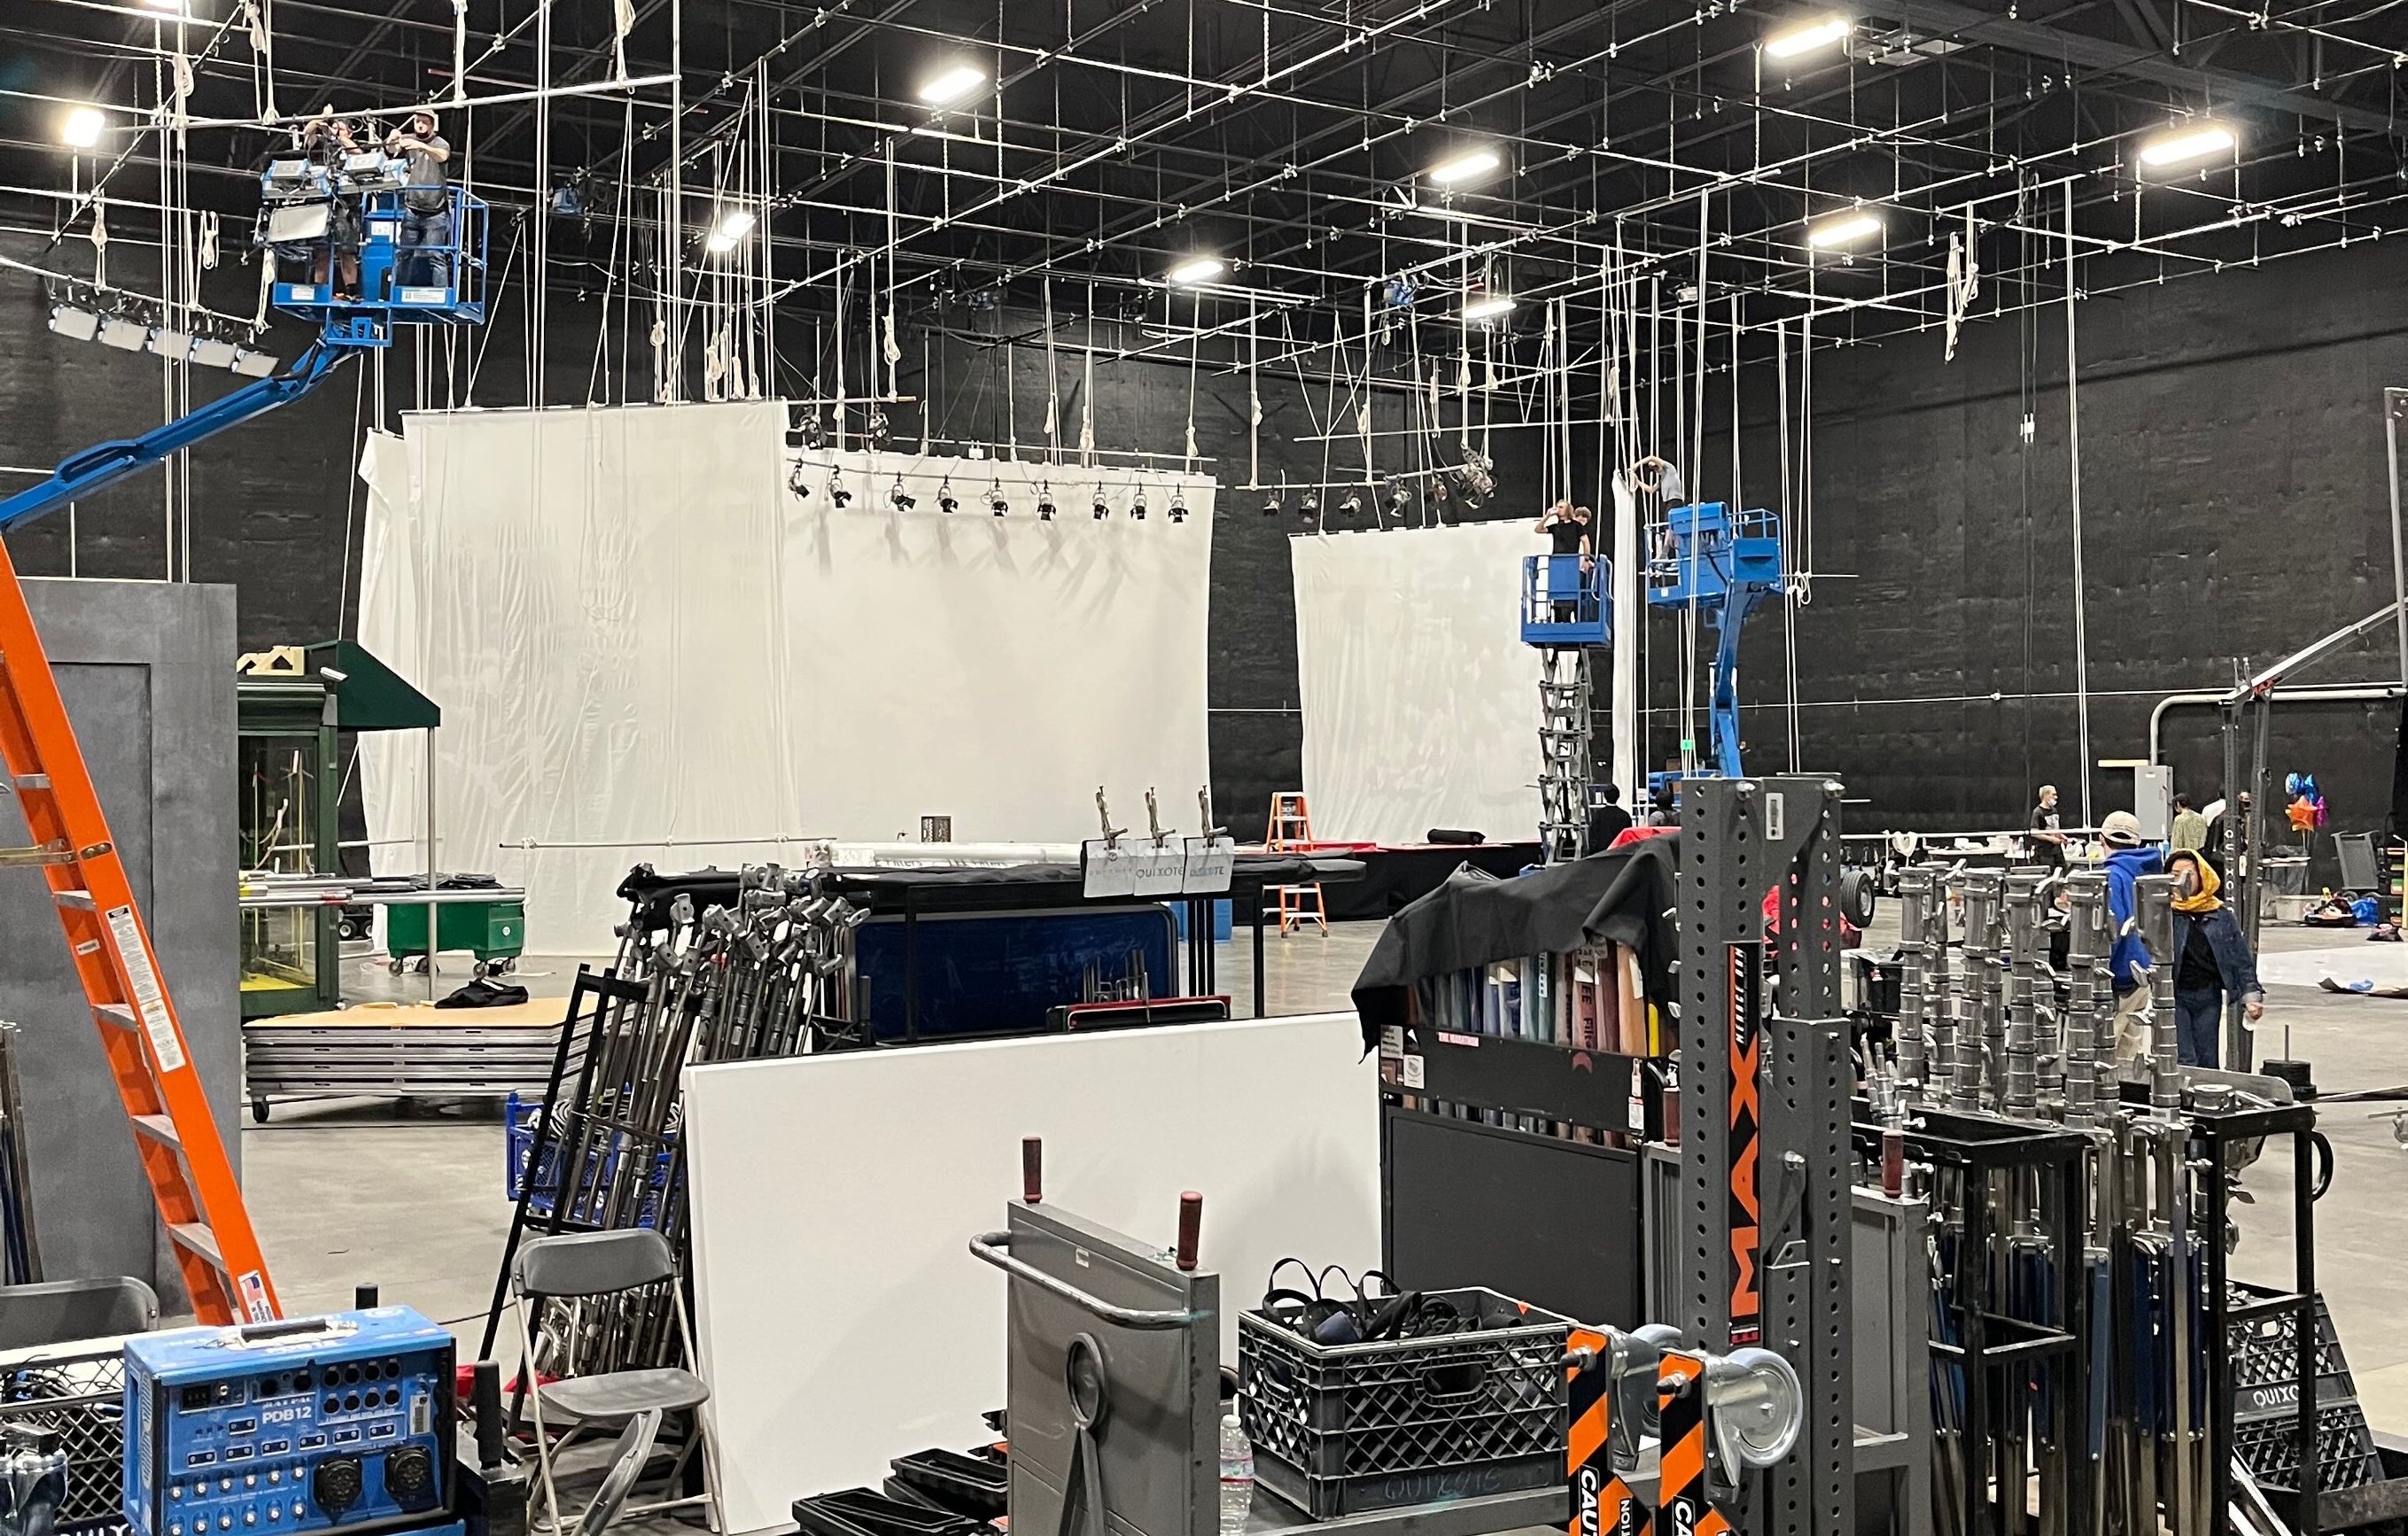
A package spread across the floor is not organized. Carts are how it becomes a working package.
The Set Cart
Tools usually do not come with a standard stage grip package, so the key grip needs to plan for how those items will get to the stage.
One option is for the key grip to bring their own set cart. Whether that is possible depends on several things: whether the stage allows outside carts, whether production wants to pay for it, whether transportation can be arranged and, of course, whether the key grip owns one.
On many stage jobs, I bring my own seven-crate set cart and arrange for production to pick it up, deliver it to the stage and return it after the job. I negotiate a rental price with production that accounts for the cart, its tools and the expendables we expect to use.
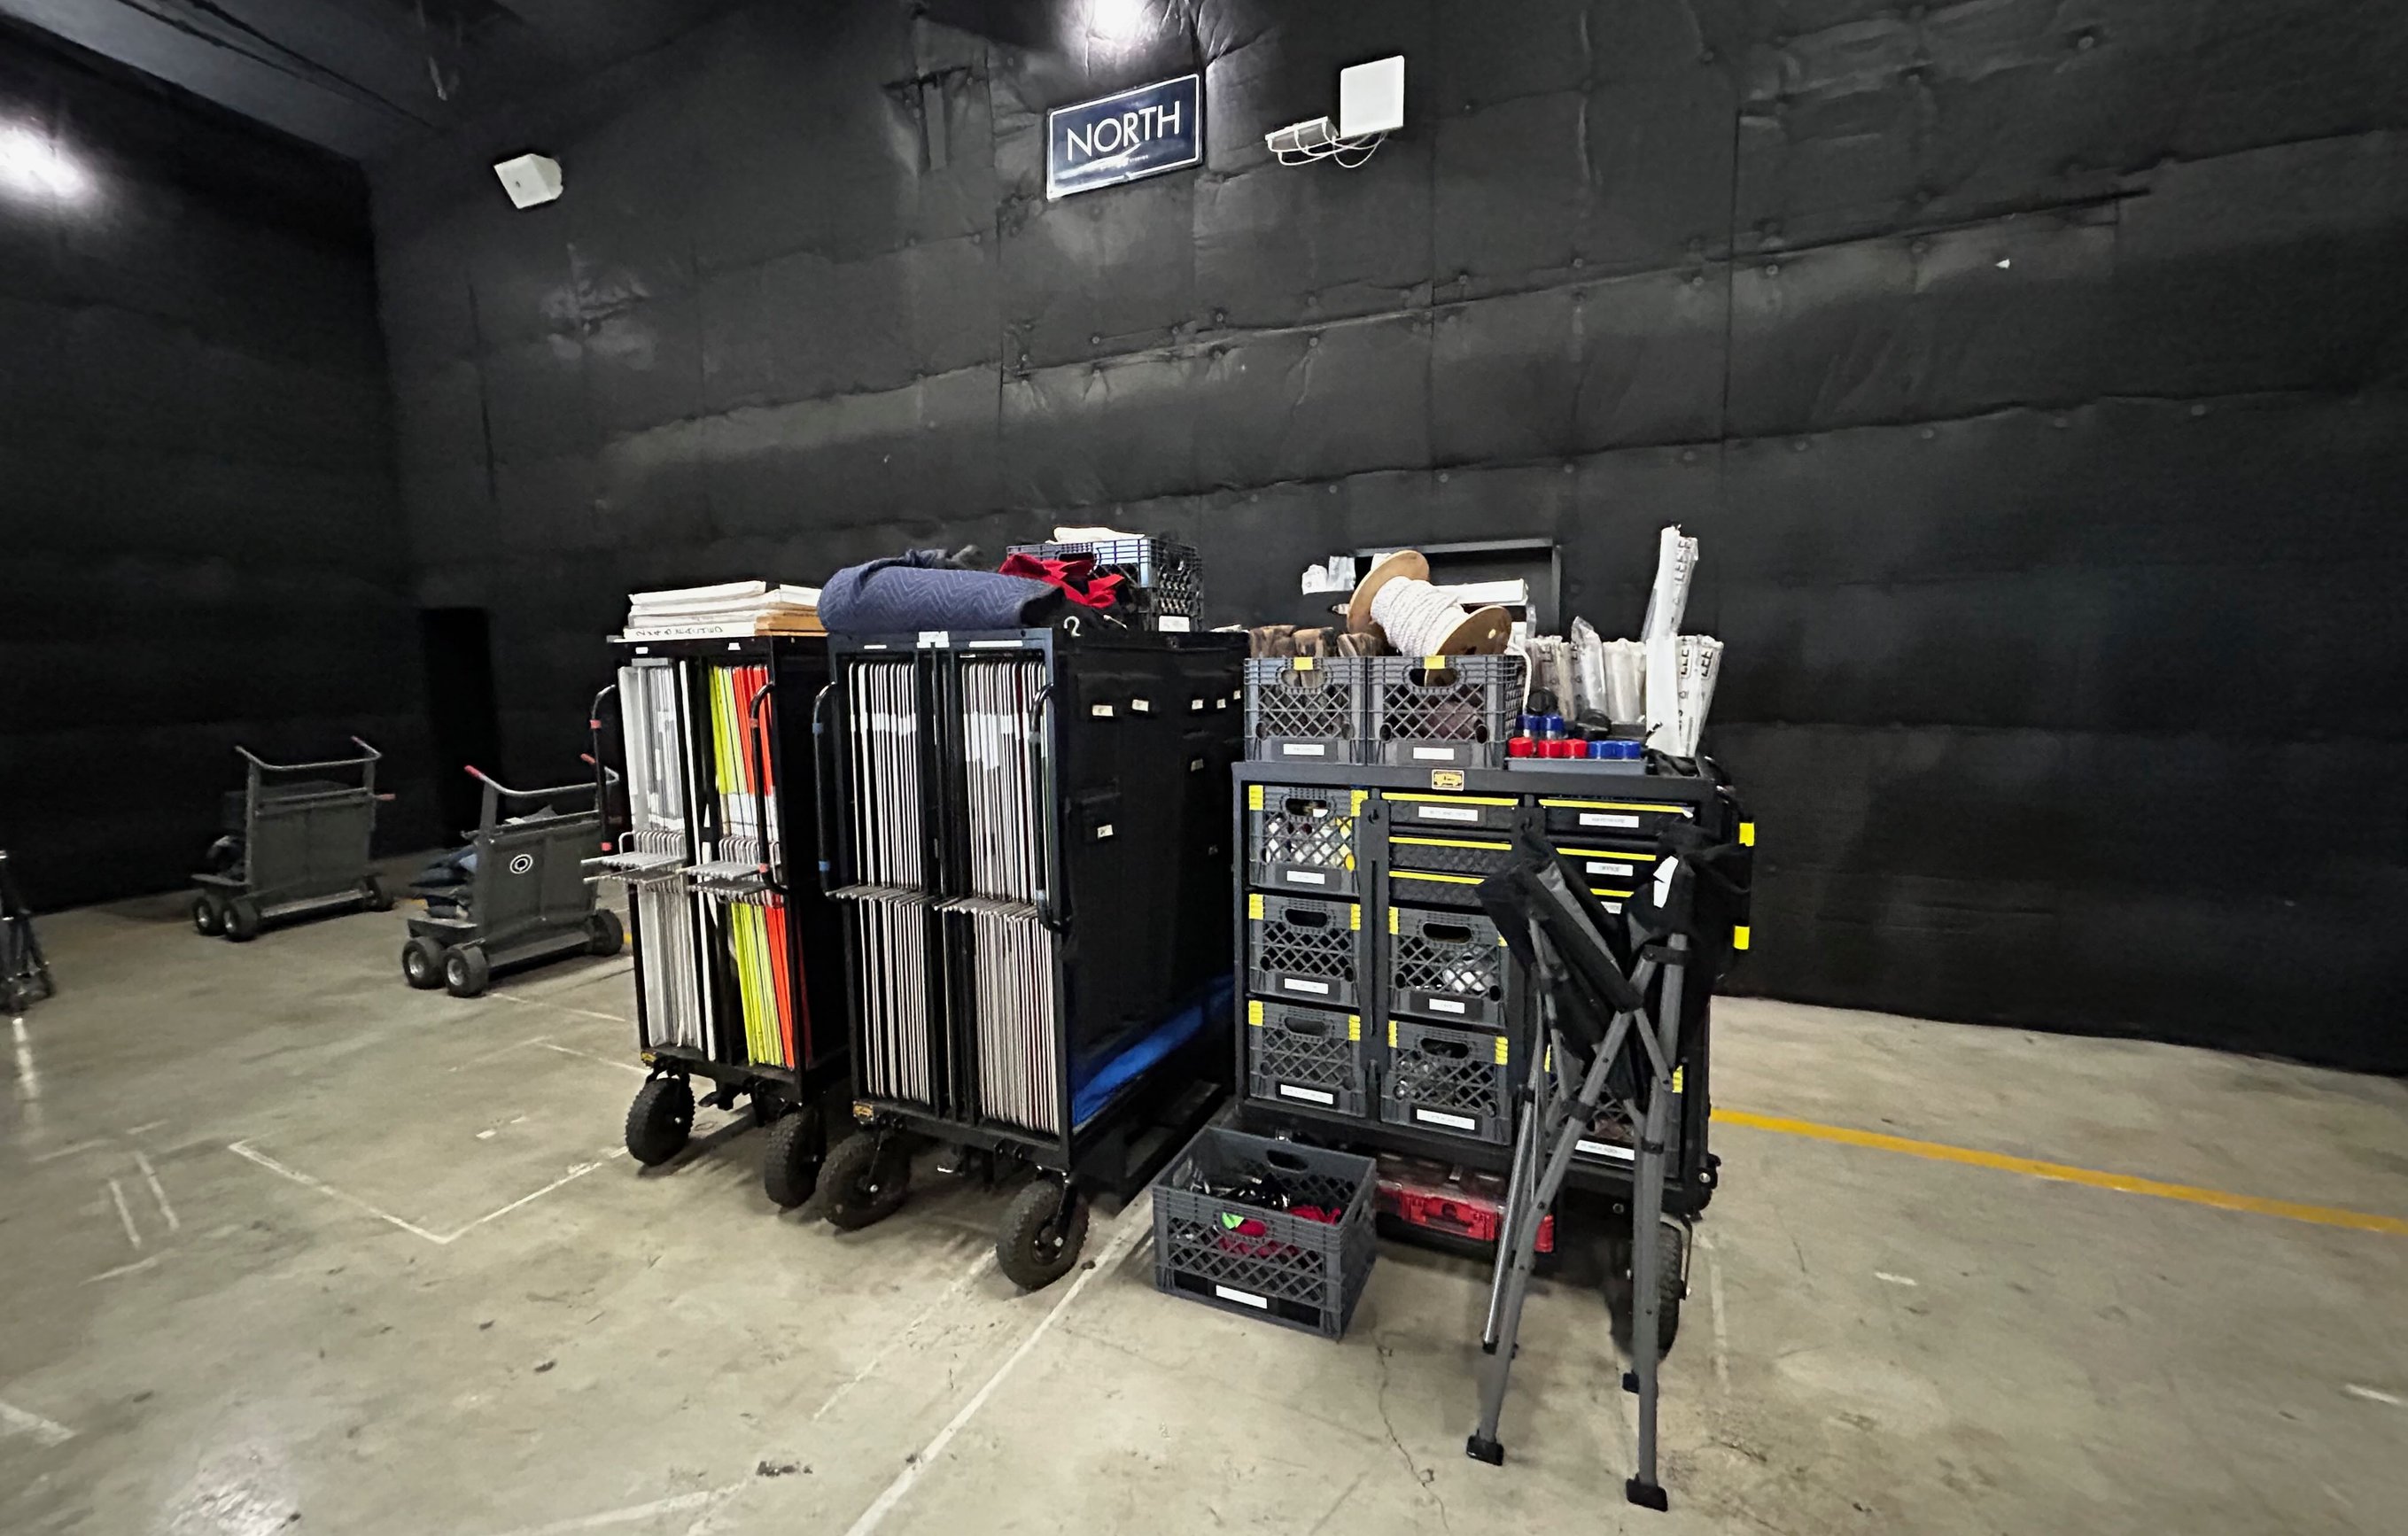
My gear on the stage floor, seven-crate set cart on the right.
A set cart may contain:
Hand tools
Power tools
Batteries and chargers
Driver bits, sockets and extensions
Hammers and cutting tools
Nuts, bolts, screws and washers
Small clamps and miscellaneous hardware
.5 clips, binder clips and paper clips
Tape, sash cord and other expendables
Cuts and scraps of duvetyne
Bleached and unbleached muslin scraps
Furniture pads
Foam and padding
Tennis balls
Kneeling pads
Wedges, Bag-Its and other problem-solving supplies
There are a few ways to handle the expendables on the cart. They can be billed as used, or production can pay a single negotiated price that includes the cart and a reasonable amount of expendable use. Work that out before the job so everyone understands what is included.
Before the job, confirm:
Whether the stage allows the set cart
Whether the key grip is supplying one
The agreed rental rate
How expendables will be billed
Who is transporting it
When it will arrive
Where it can be stored
How it will return at the end of the job
The set cart does not replace the stage package or eliminate the need for a separate expendables order. It supplies the tools, hardware and smaller materials the key grip regularly works with, but larger items and anything not stocked on the cart will still need to be ordered separately.
Expendables
Stage grip packages usually do not include expendables, so you need to establish what is coming from the key grip’s set cart and what production needs to purchase separately.
If I bring my set cart, I may already have many of the smaller expendables we need. Depending on the arrangement, those materials are either included in the cart price or billed as they are used.
I will still place a separate expendables order for anything the cart does not contain, anything we need in larger quantities or anything too large to transport on it. A 4x8 sheet of foam core or bead board, for example, will need to be ordered whether or not the set cart is coming.
If I do not bring my set cart, production will generally need to purchase the full expendables order, including any diffusion or color needed to skin the smaller frames.
Expendables I commonly order include:
2-inch white gaffer tape
2-inch small-core black paper tape
Double-sided tape
#8 sash cord
Binder clips
.5 clips
Bag-Its
Marking supplies
Screws and other fasteners
Nuts, bolts and washers
4x8 white/white bead board
4x8 black/white foam core
Duvetyne and muslin rolls
Diffusion rolls
J-Lar
Super 77
Mylar
Silver and gold Roscoflex
Heat Shield
Color rolls
Confirm what the key grip is supplying, what production is purchasing and how materials used from personal stock will be billed or replaced.
Items to Discuss With Production
Not everything that affects the grip department belongs on the grip order.
Layout board is the main example. If the stage floor needs to be covered before load-in, discuss it with production and confirm who is supplying and installing it.
The same conversation should cover transportation for the key grip’s set cart, the expendables budget and any stage-specific requirements that fall outside the rental package.
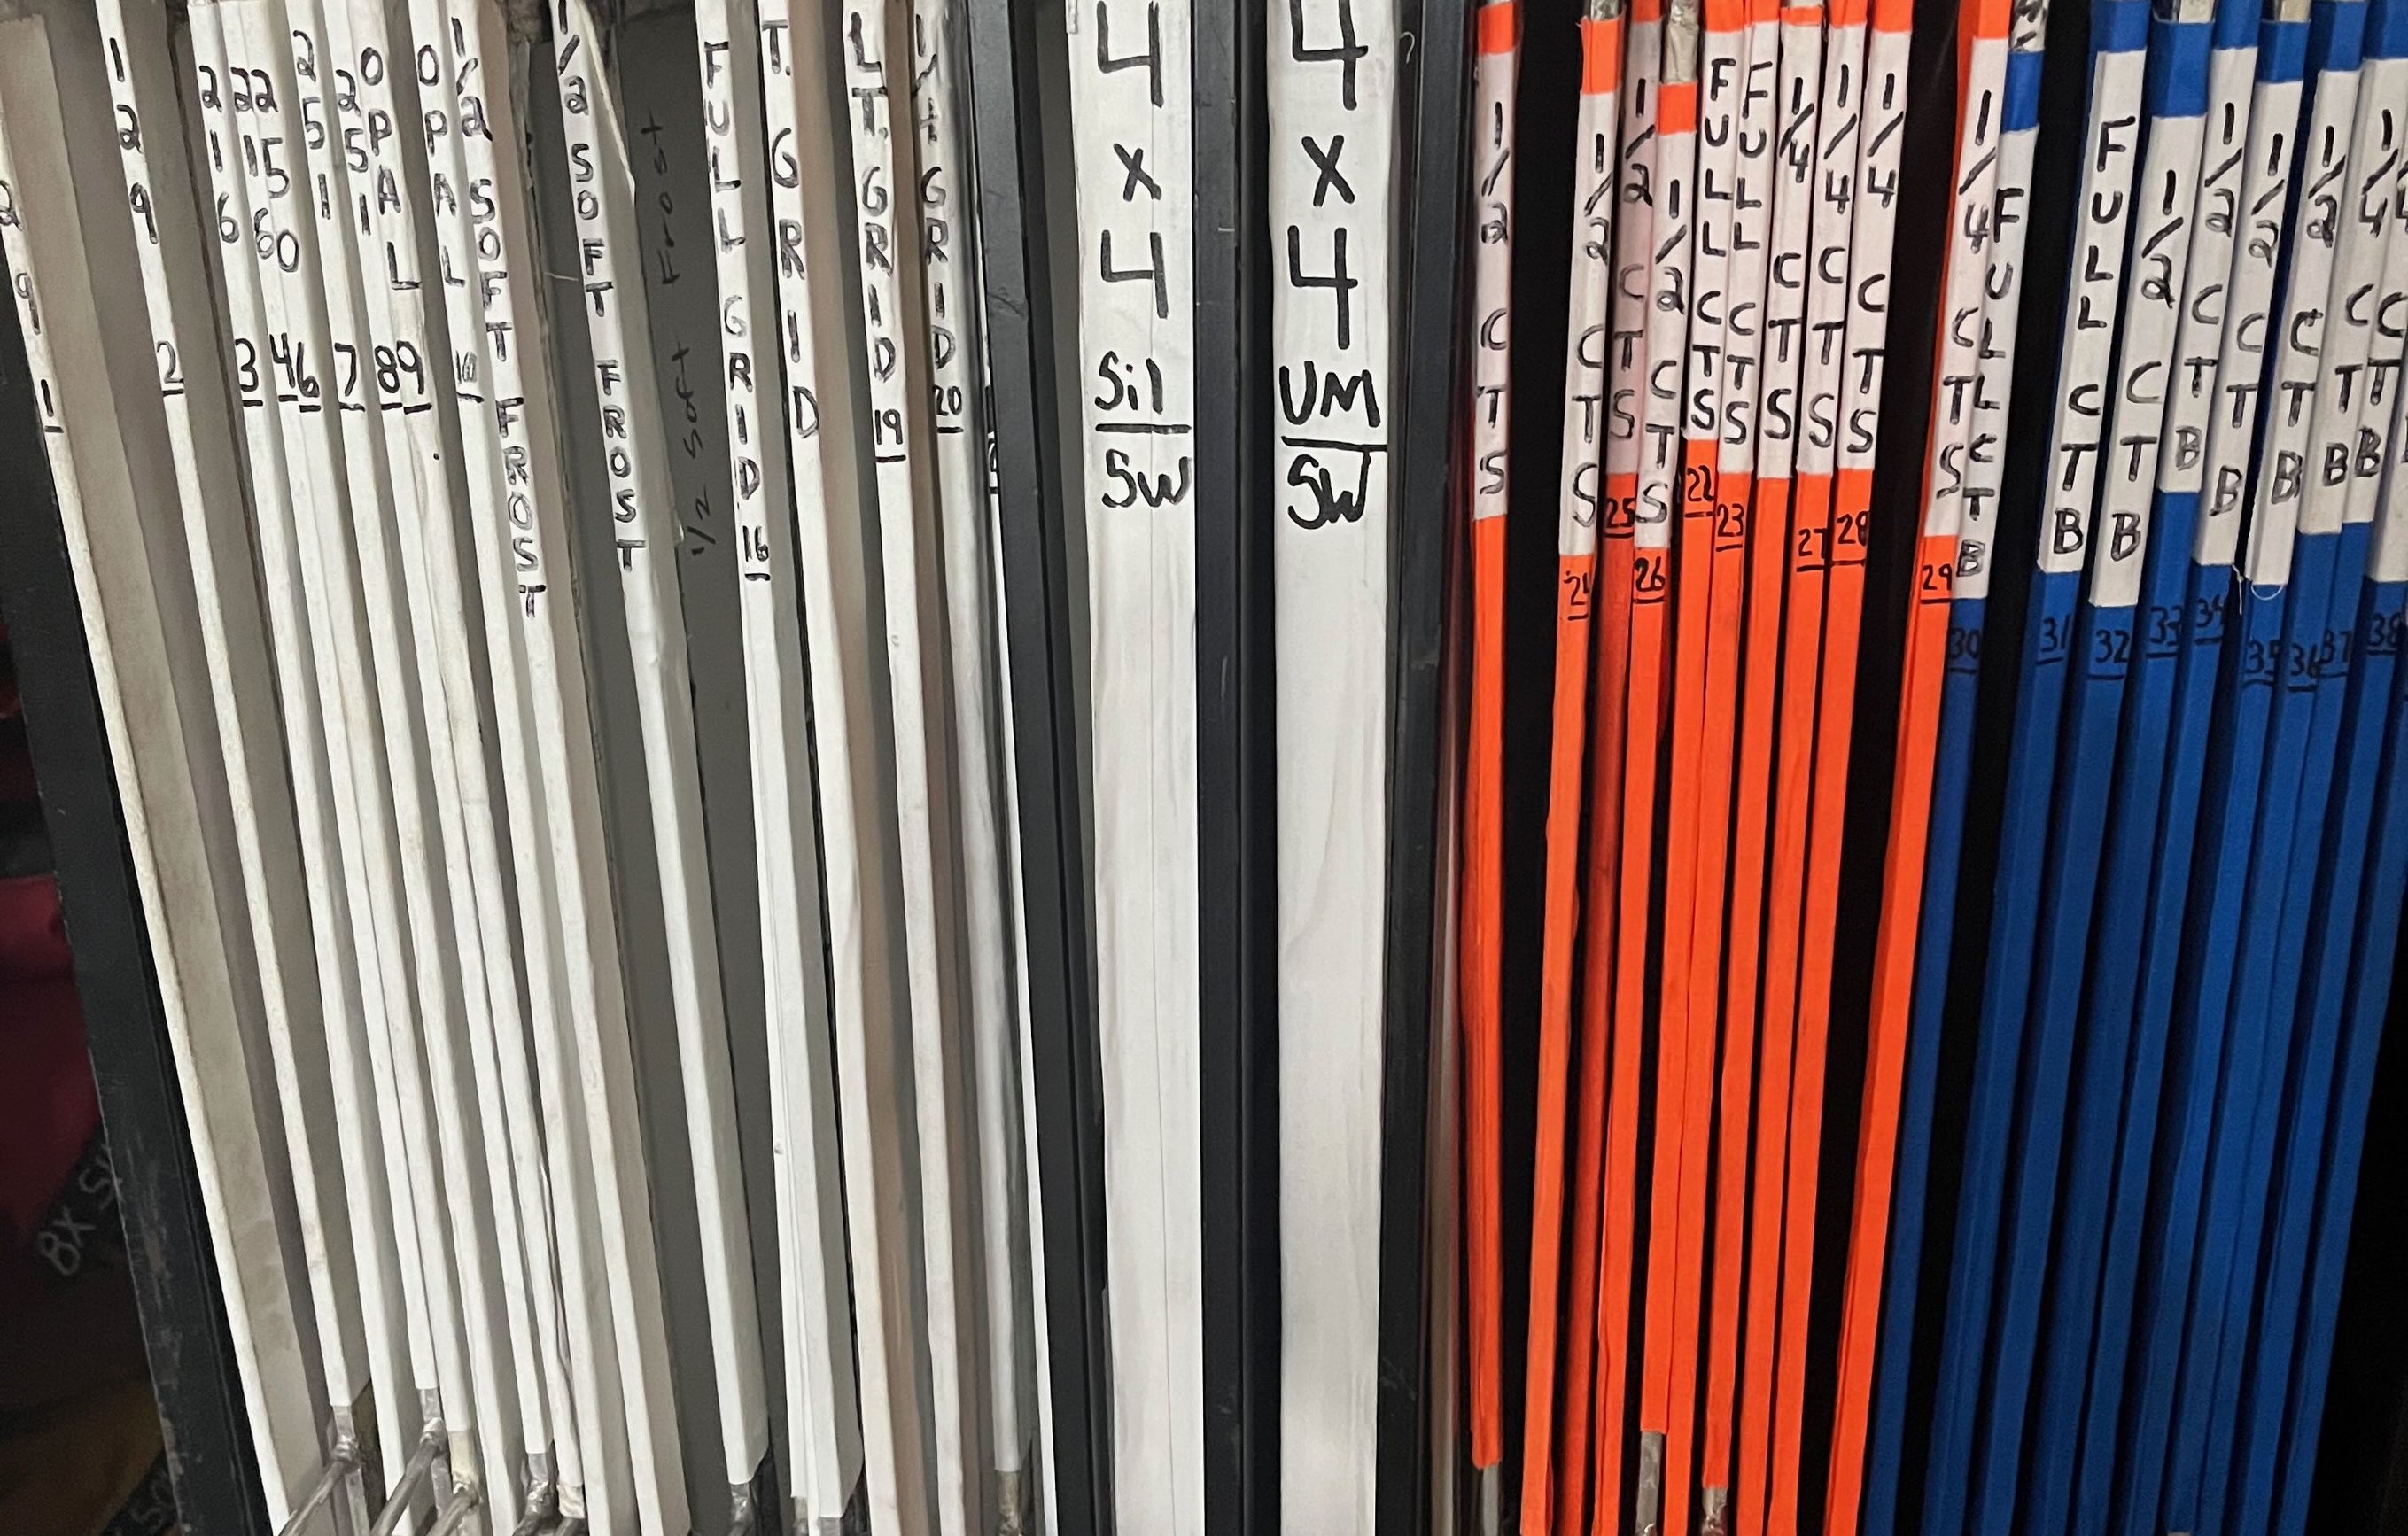
A package needs to be organized well enough that the crew can find and use what was ordered.
Turn the Master Package Into a Real Stage Order
The free package lists solve the blank-page problem, but a master package is not the same thing as a finished stage order.
Every production needs its own version.
You may begin with the 5-ton package, remove equipment the job does not need, increase particular quantities and add specialty equipment. That customized version becomes the actual order.
The problem with duplicating PDFs, spreadsheets or old documents is that the job-specific copy can eventually become the only version you have. Items get removed, quantities change and the original package slowly disappears.
That is why I built these packages into Slater.
The complete 3-ton, 5-ton and 10-ton packages remain intact as master lists. From there, you can create a separate version for a production, change quantities, remove equipment, add specialty items and export a clean order without altering the original.
The PDFs are free and useful on their own. Slater is the reusable version for anyone who wants to manage the workflow without creating another disconnected document.
Get the Free Grip Package Lists
The PDFs are free and can be used entirely on their own.
Download them if you want to:
Save a package reference
Print a checklist
Compare package sizes
Build a list in your own system
Review an order from a stage or rental house
Use the editable packages in Slater if you want to:
Customize them for a real job
Work off a template
Create job-specific versions
Change quantities and equipment
Export a clean stage order
Reuse the package without rebuilding it
Make an account when you want to keep what you built: save your version, hold onto the master packages, and pull them up again on the next job instead of starting over.
A good stage order isn’t necessarily about ordering everything under the sun.
It’s the order that gives you exactly what you need with a little wiggle room (because surprises happen on set).
Start with a complete package.
Remove equipment deliberately.
Add the job-specific pieces.
Confirm the order with the stage.
And stop rebuilding the entire thing from memory every time.
What is the small piece of equipment you have been burned by forgetting on a stage order?
Send me an email or reach out on Instagram. I want to keep improving these lists around the equipment that actually causes problems.

by:
Legacy Grip