
Grip Techniques
tags:
Camera Rigging
Set Safety
Behind The Scenes
A quick note: This is my process - not the process. Every coaster, every park, every rig is different. Do your own homework, talk to your own safety and operation teams, and make your own calls. I'm sharing what's worked for me. Use it as a starting point, not a rulebook.
Roller coaster rigging shares DNA with car rigging, but it's its own animal. The forces are different. The environment is different. And the consequences of something coming loose at speed on a track 60 feet in the air are different.
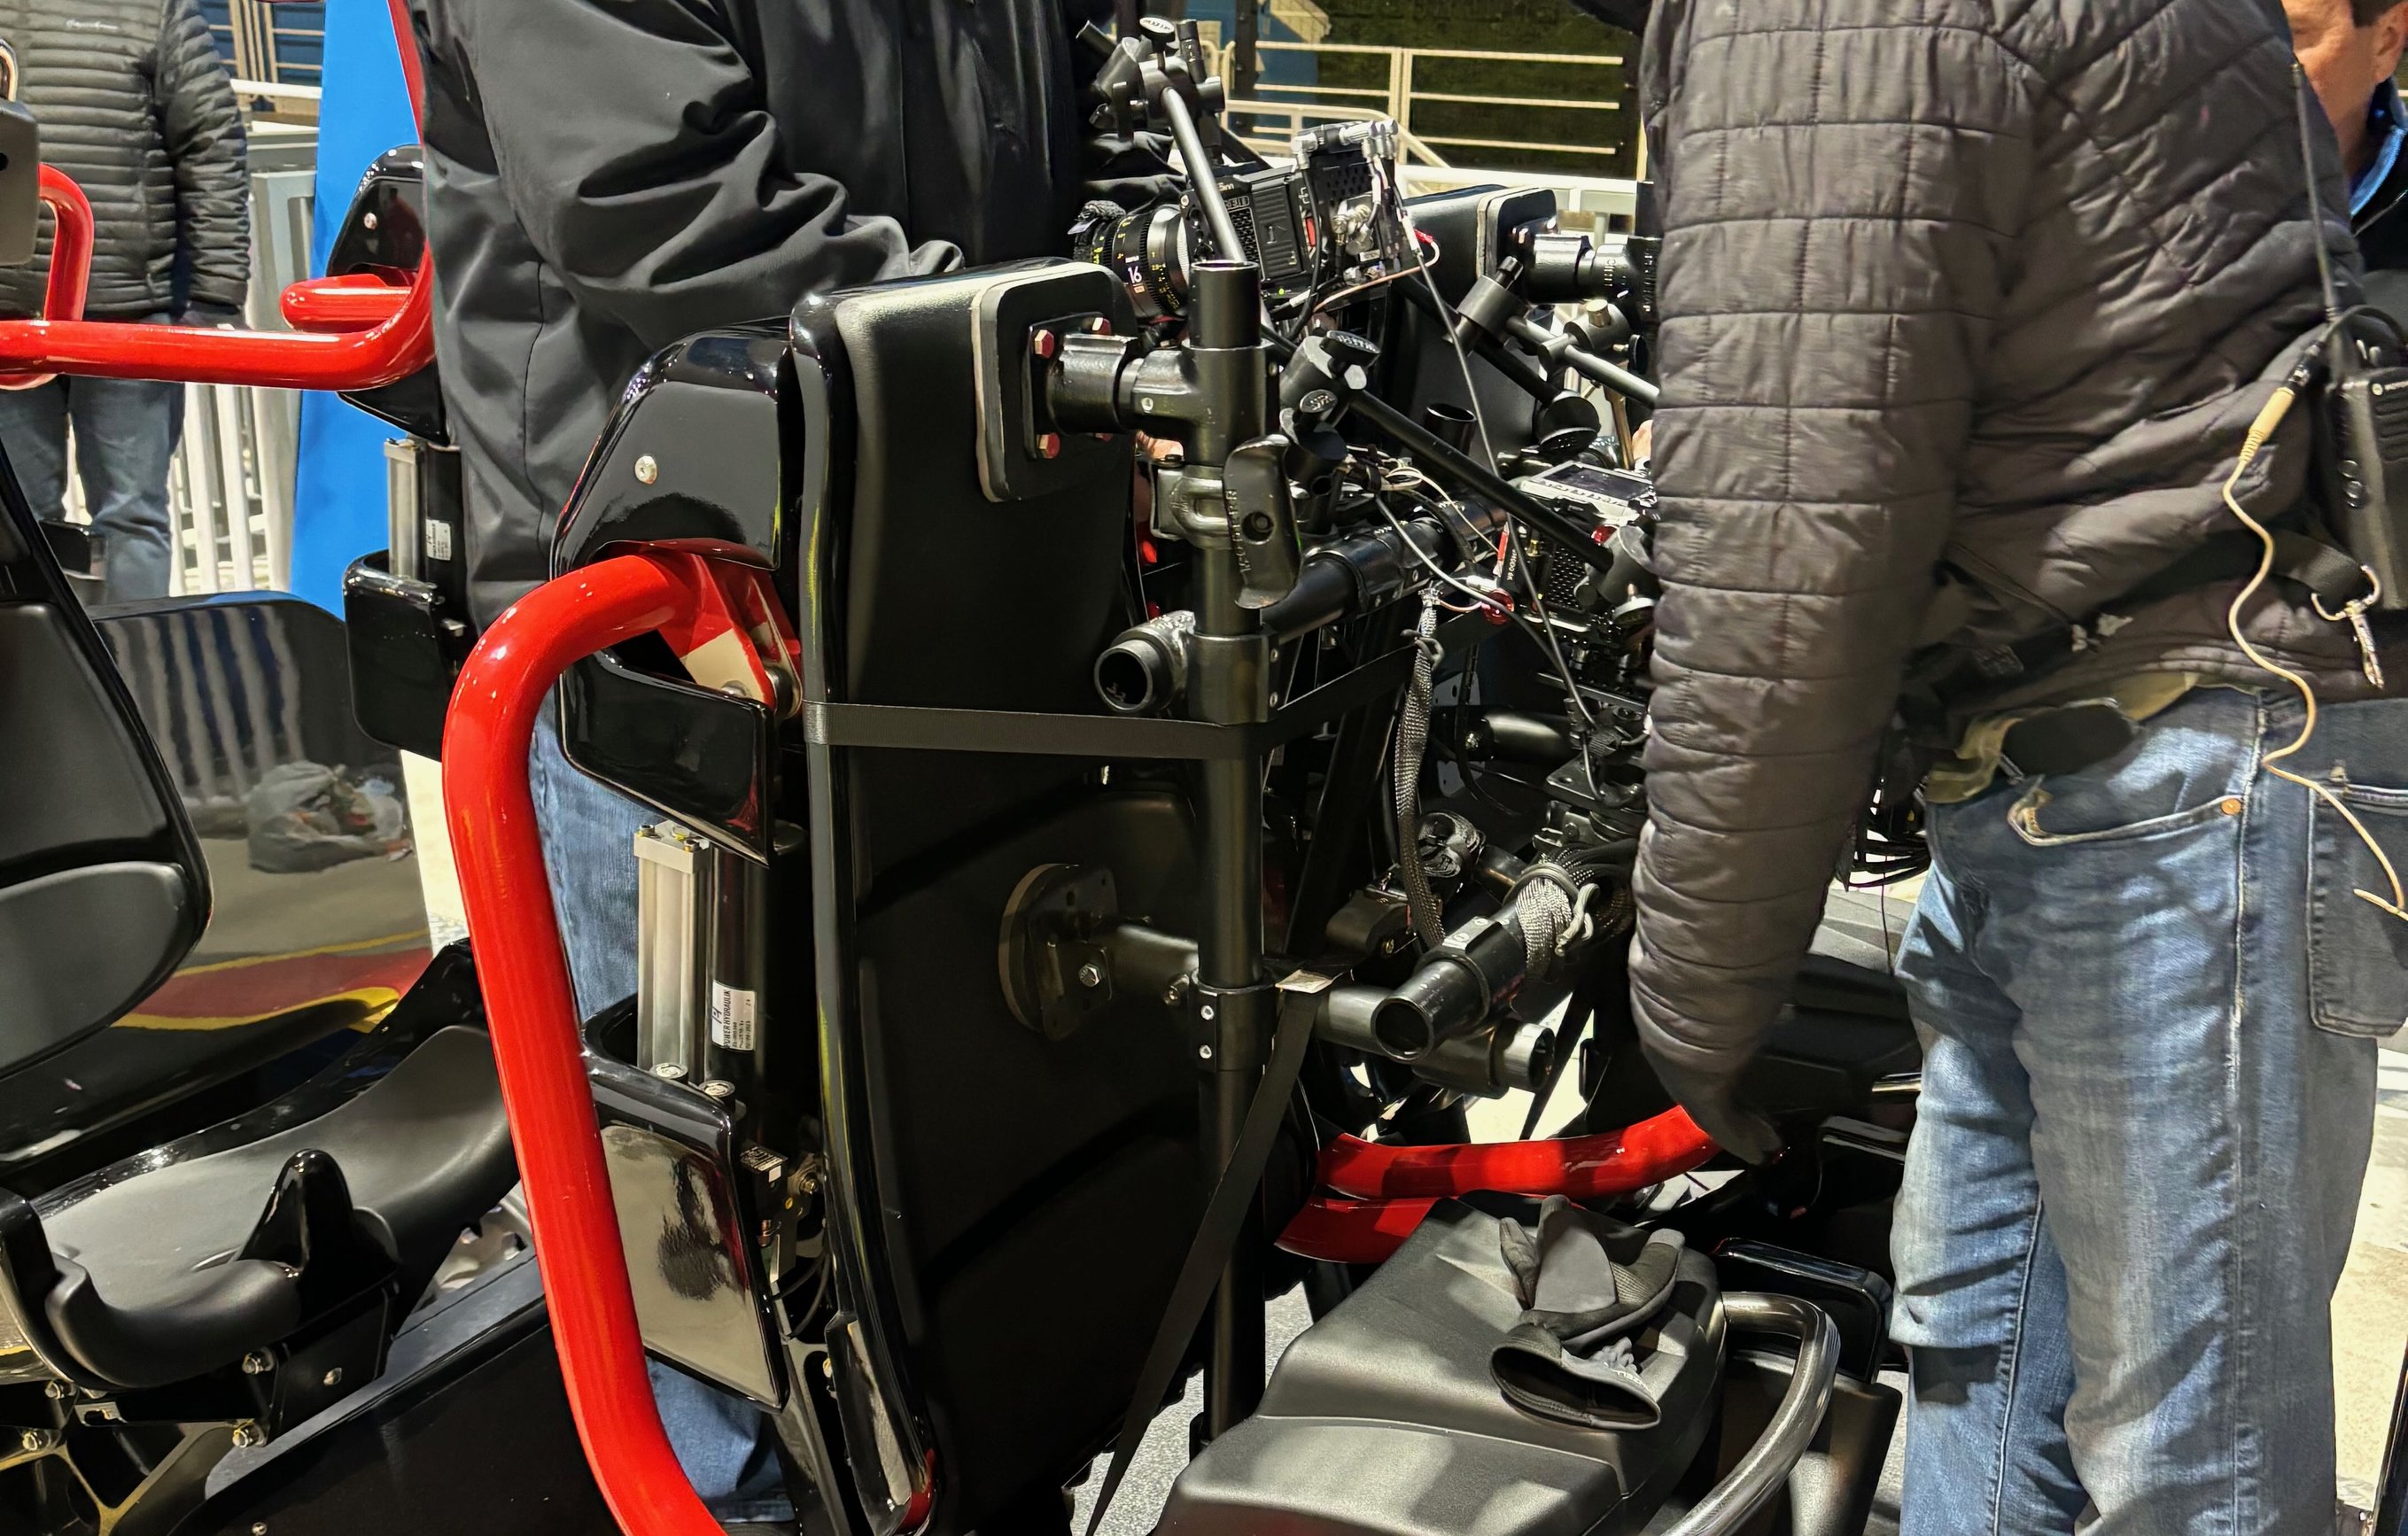
I approach every coaster rig the same way: hard mounts first and foremost. If I need to use suctions then the coaster has to be perfect for suction use and I will 100% integrate ratchet straps over them as well. I've rigged coasters at Legoland, the Santa Monica Pier, a new coaster in Ohio, and twice in San Diego. Every one is different, but the fundamentals don't change.
The most complicated rigs were in San Diego, where we mounted three cameras on the coaster at Belmont Park for a movie in 2024 - but more on that story later.
That's the baseline. Everything else - the gear selection, the coordination with the park, the testing protocol - builds on top of that foundation. Here's how the whole process works, start to finish.

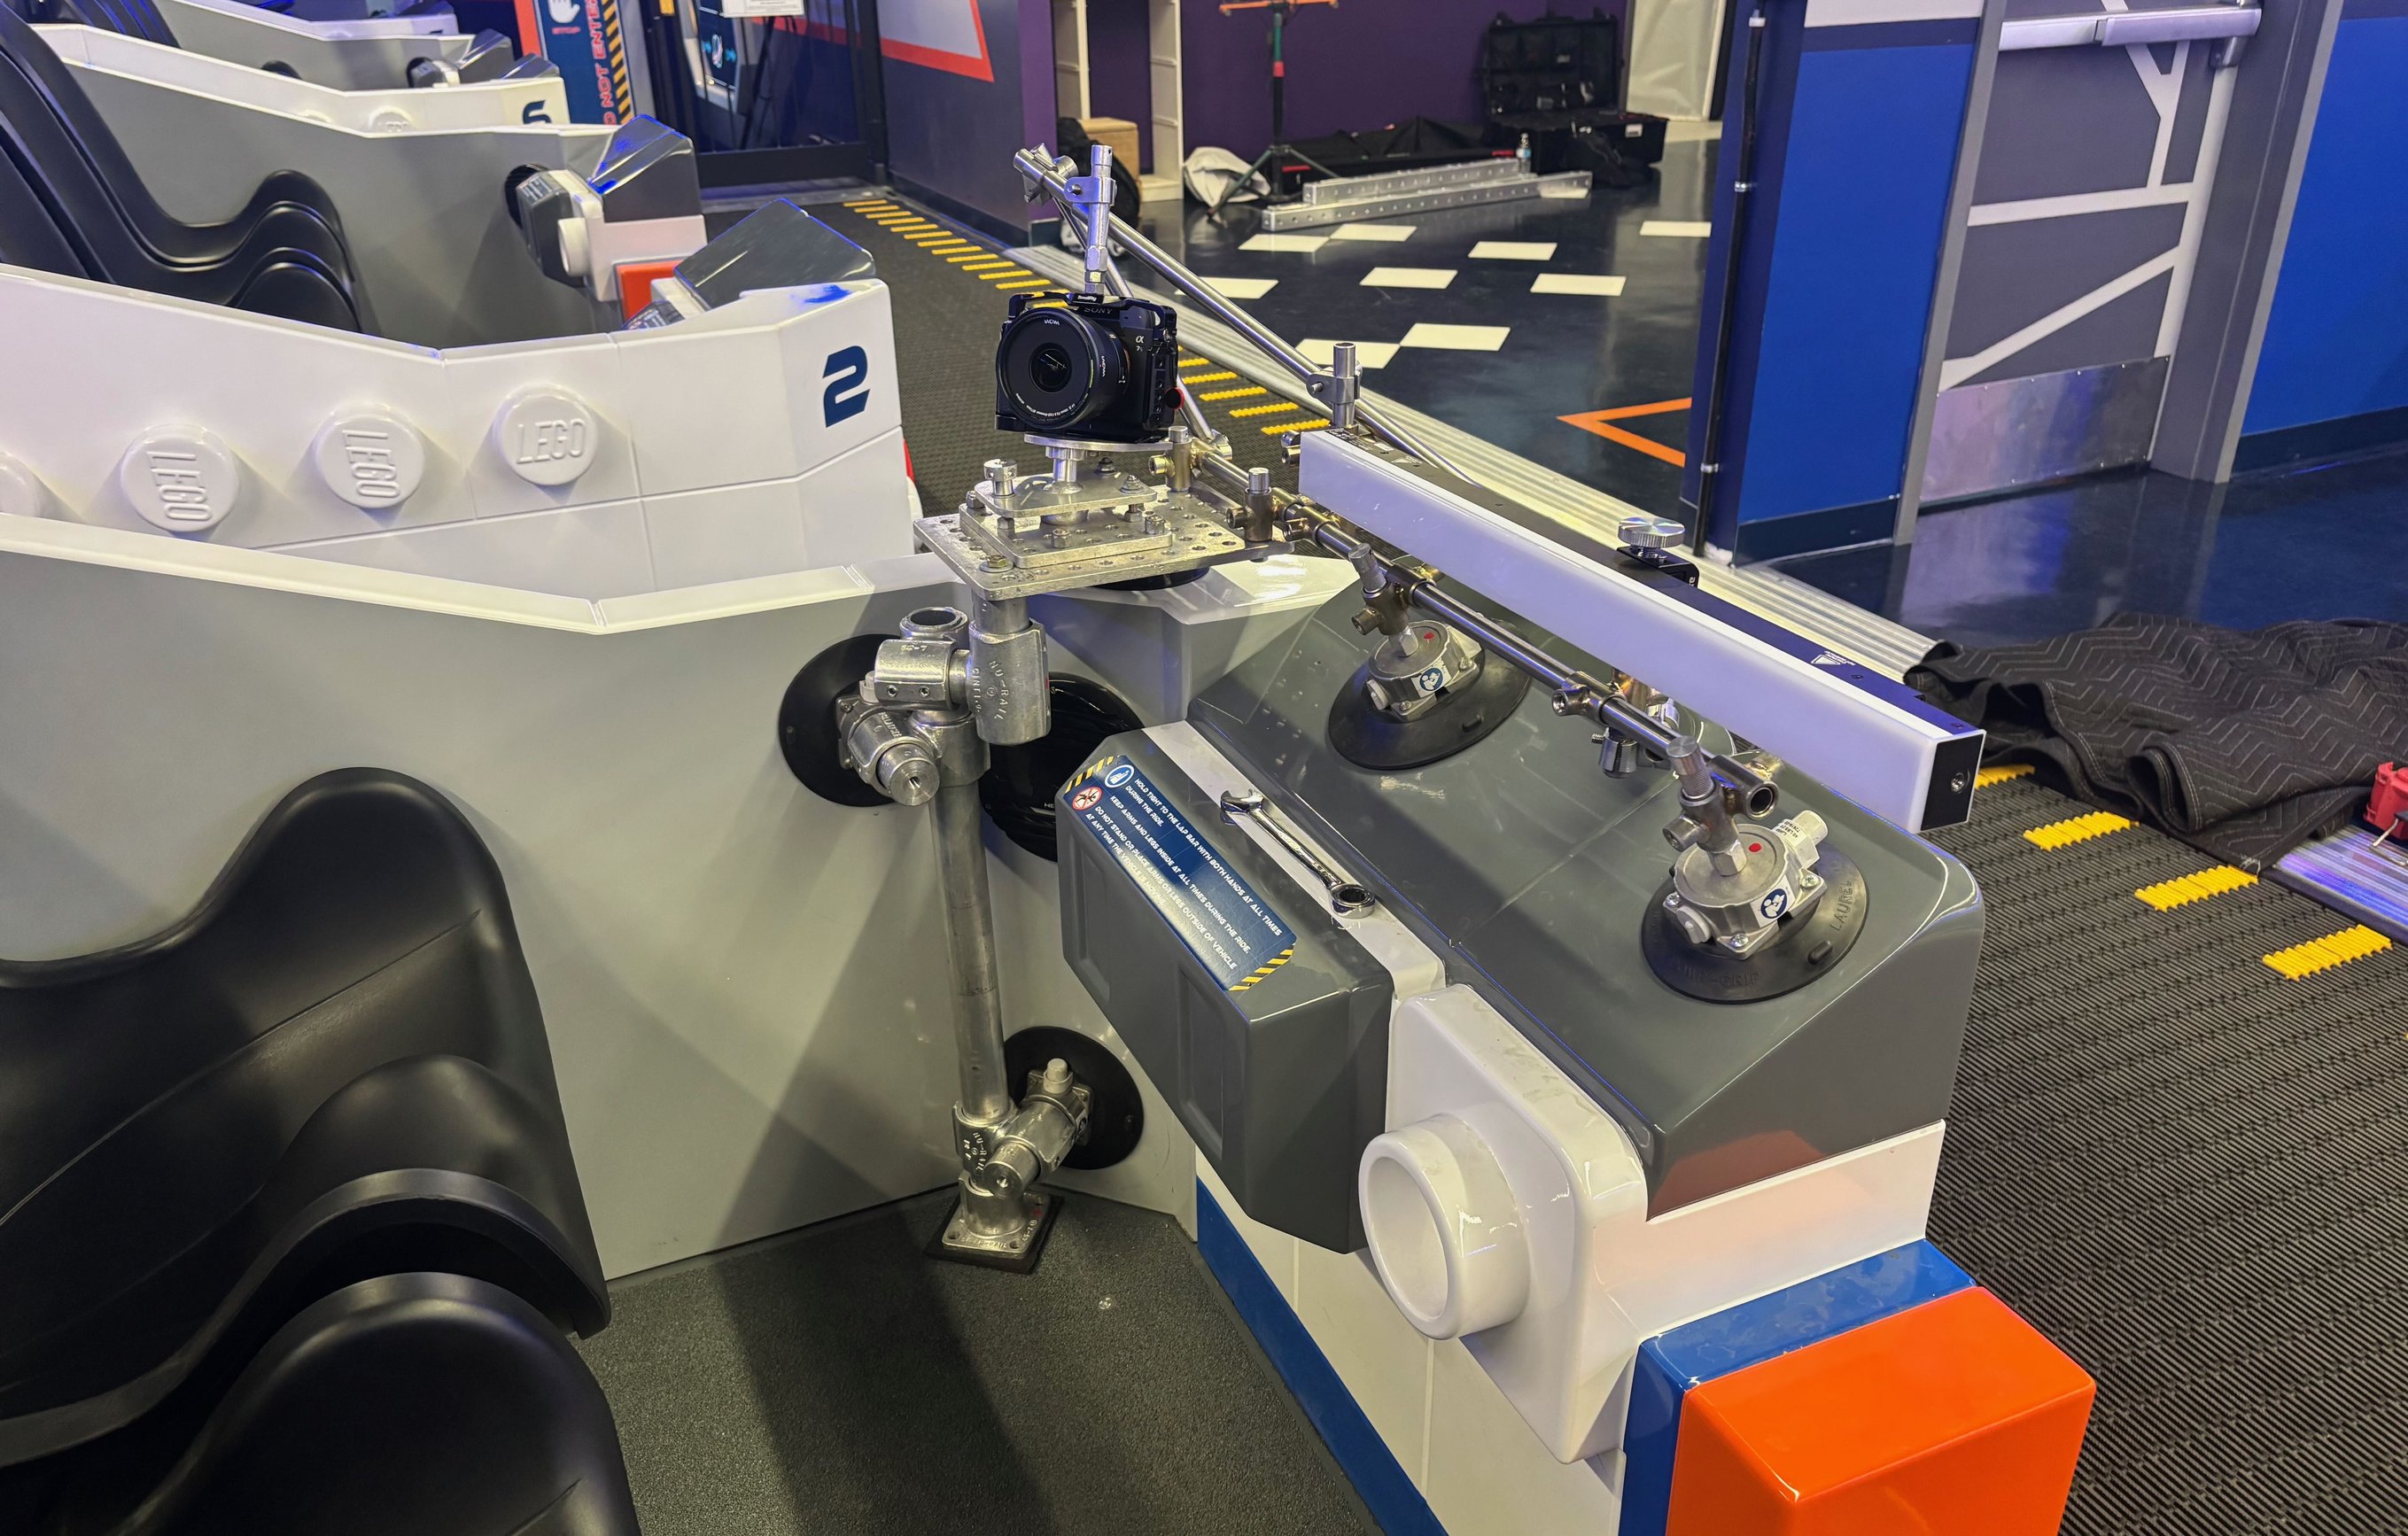
The skeleton of a suction cup-based coaster rig


Before You Touch Anything: Lockout & Protocols
Before you even think about building on a coaster, the ride needs to be locked out. This isn't just "turned off." Park employees physically lock the controls so the coaster ride can't turn on while you're working on it. This is a formal process - you talk with the park's operations & safety teams, they execute the lockout, and only then is it safe for you to approach the ride and start rigging.
You also want clearance for walking on the tracks and getting into the ride vehicles. The protocol here is with the park's safety department. Every park handles this a little differently, but the principle is the same: nobody touches anything until the safety team has signed off and the ride is physically locked out. Only then can you go in and rig. Same thing for when the coaster comes back around after a cycle. I make it a habit to ask for permission to approach the coaster until they've set the precedent that I don't need to anymore.
Locking out the ride
Hard Mounts For Everything
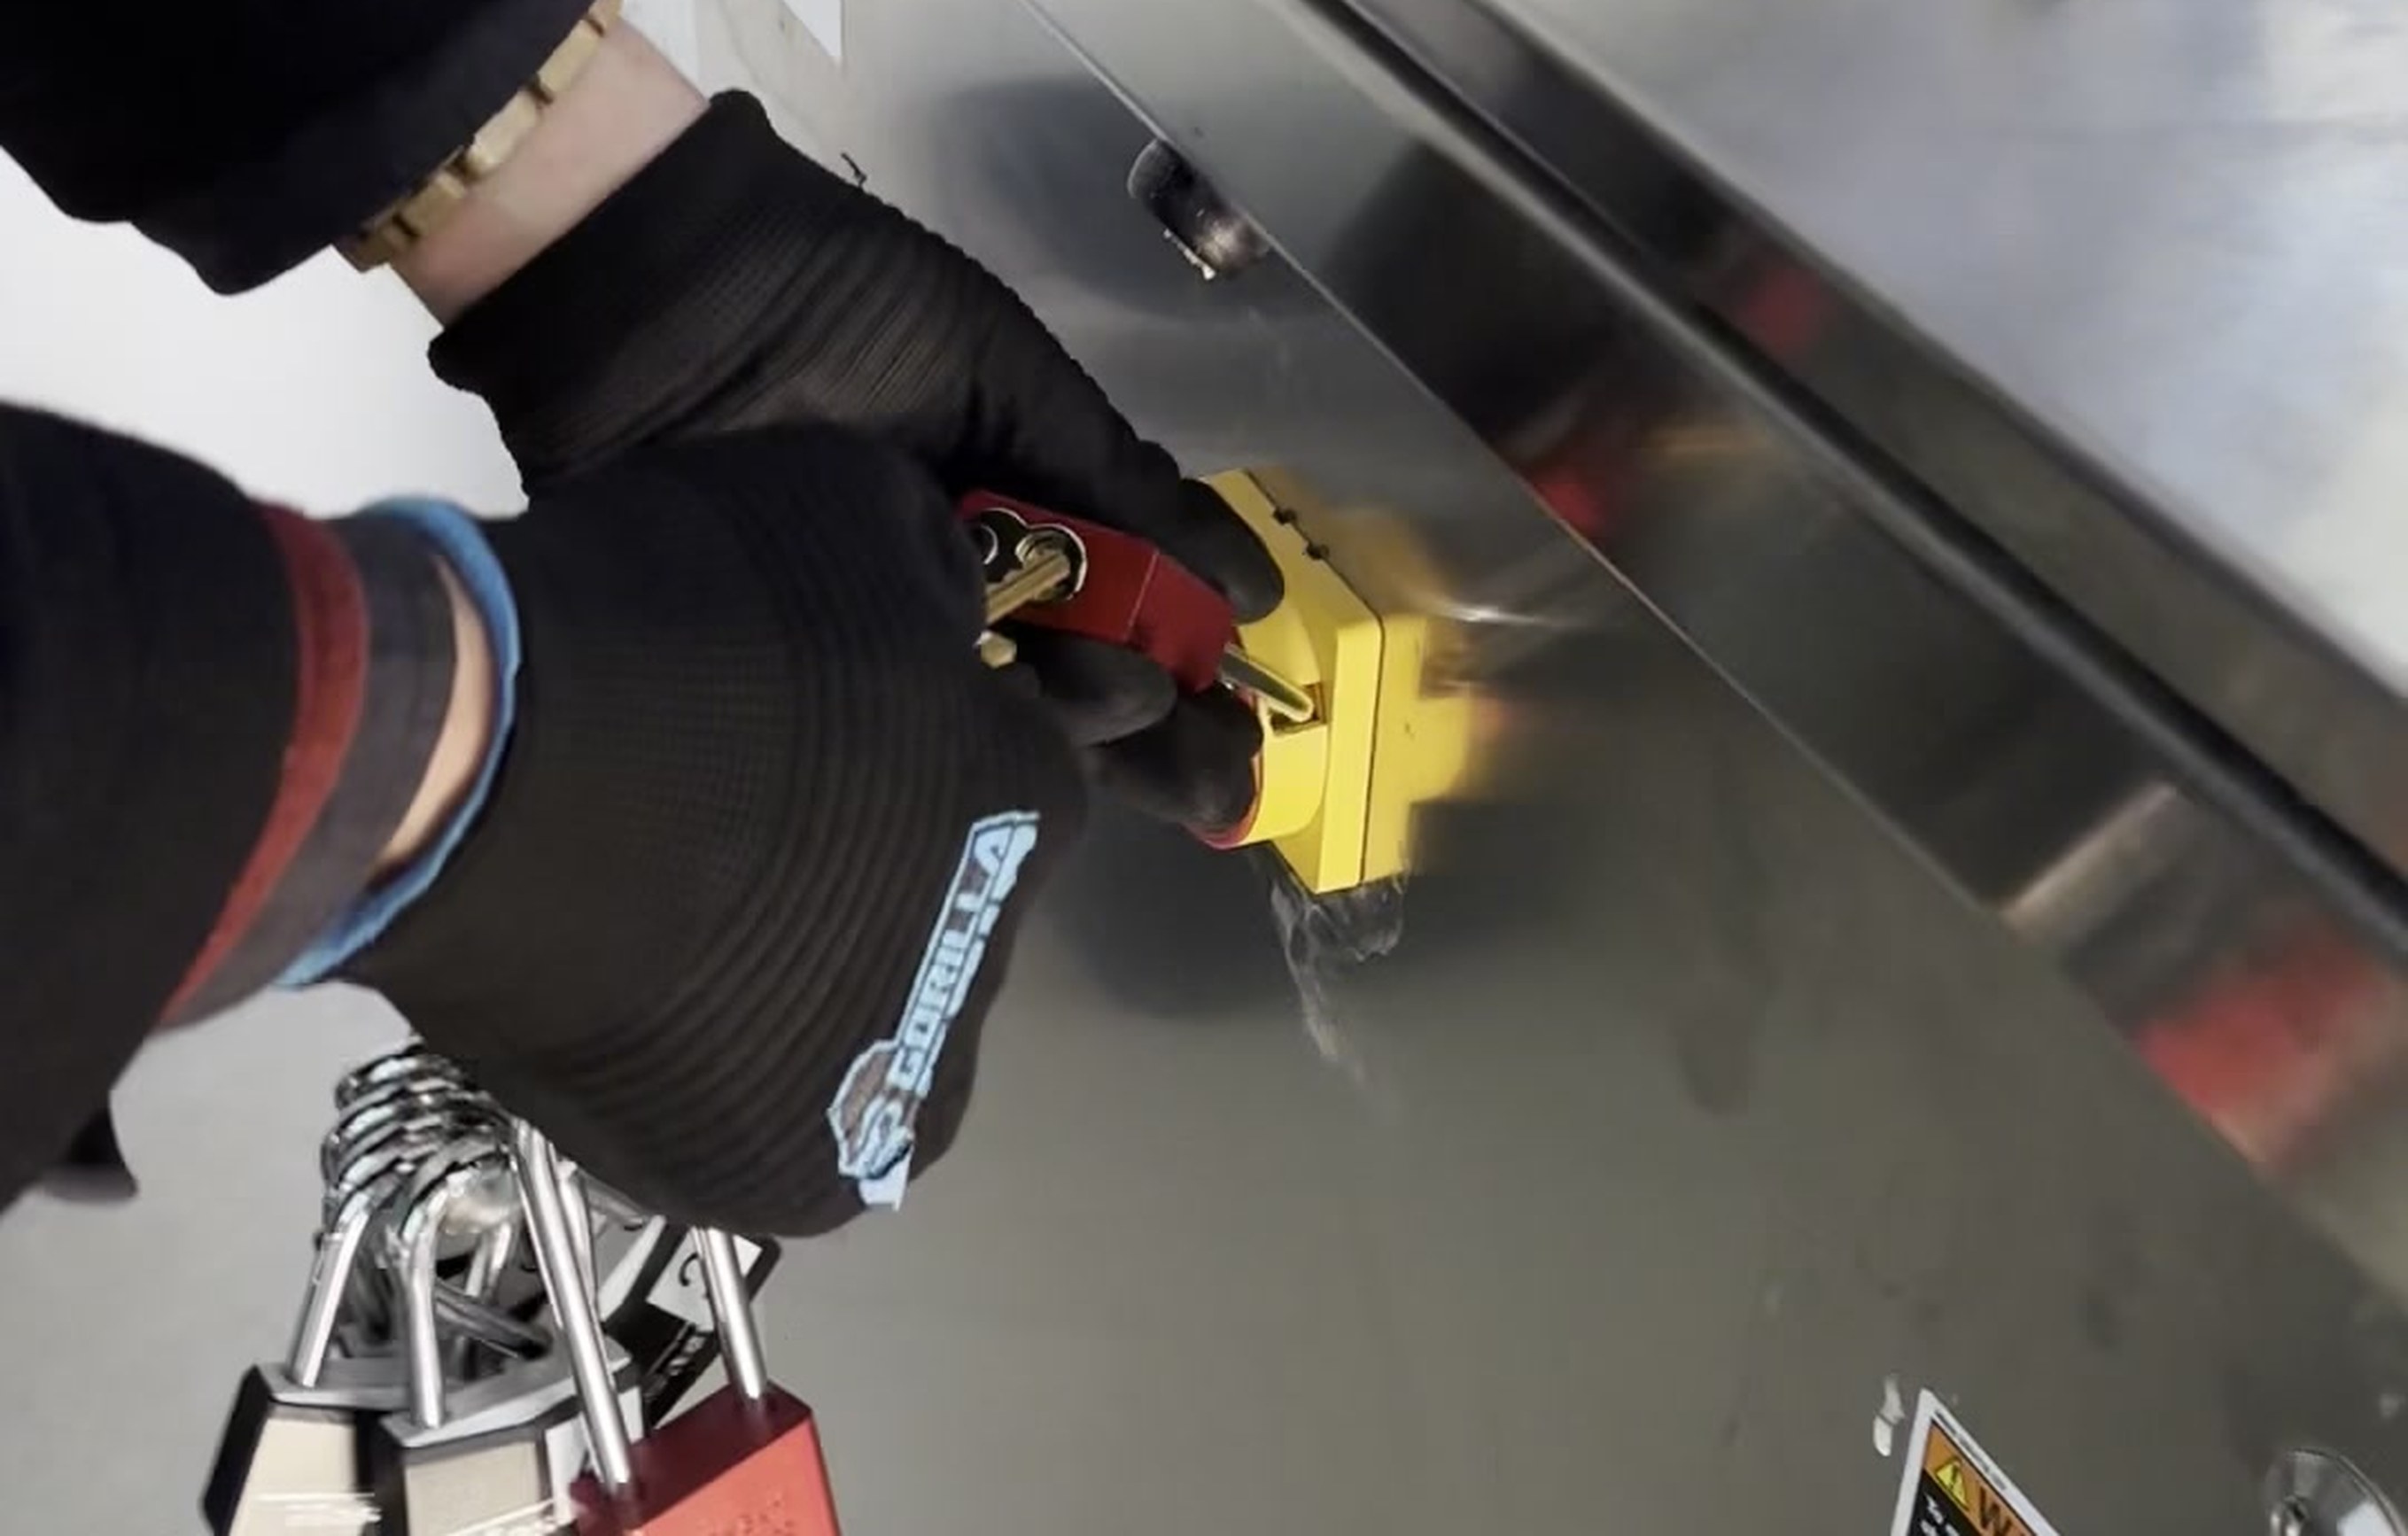
Here's where I'm opinionated: I always try to find hard mounts for coaster rigs. Whenever possible I do not like to rely on suction cups.
Be honest. Would you trust a suction cup at the forces a coaster generates? The G-forces during the ride, the vibration, the wind - suction cups could fly off or come loose. I just don't trust them in this application. On top of that, most coasters don’t even have the correct surfaces for suction cups.
If I have to use suction cups - and sometimes the geometry of the coaster car doesn't give you a choice - I will always, always, always introduce a safety ratchet strap as redundancy. Non-negotiable.
At Legoland, we ran three rigs: two camera rigs using ratchet straps and suction cups, and a lighting rig using suctions and ratchets. The coaster had big fiberglass panels that were well suited for suction cups. I have never seen anything like it before while coaster rigging. We still ratcheted every single one down.
The park initially didn't want me to pull off a part of the coaster so I could route a ratchet strap through it to safety a suction. That's something I'll respectfully fight for. And it ended up working out - they eventually agreed that it was safer. A lot of this job is educating and informing. You explain the why, you walk them through the risk, and you advocate for the safest approach. Part and parcel of the gig. Maybe I could go into politics, although I'm not quite as conniving as i am persuasive.
Ratchet straps over the suctions
In Ohio, I rigged two cameras on a brand new coaster with DP Jeff Nolde. That one was all ratchet straps and hard mounts, no suctions needed. At the Santa Monica Pier, we built a frame out of speedrail and ratchet strapped the whole thing down to the coaster. Every job has its own geometry, its own constraints. The approach adapts, but the standard doesn't.
The ratchet straps aren't just for safety - they make the rig more rigid, more secure, and more predictable under load. They make sure the suctions won't fall off or slip. That's the job. We're paid to solve hard problems and make sure nothing moves that shouldn't.
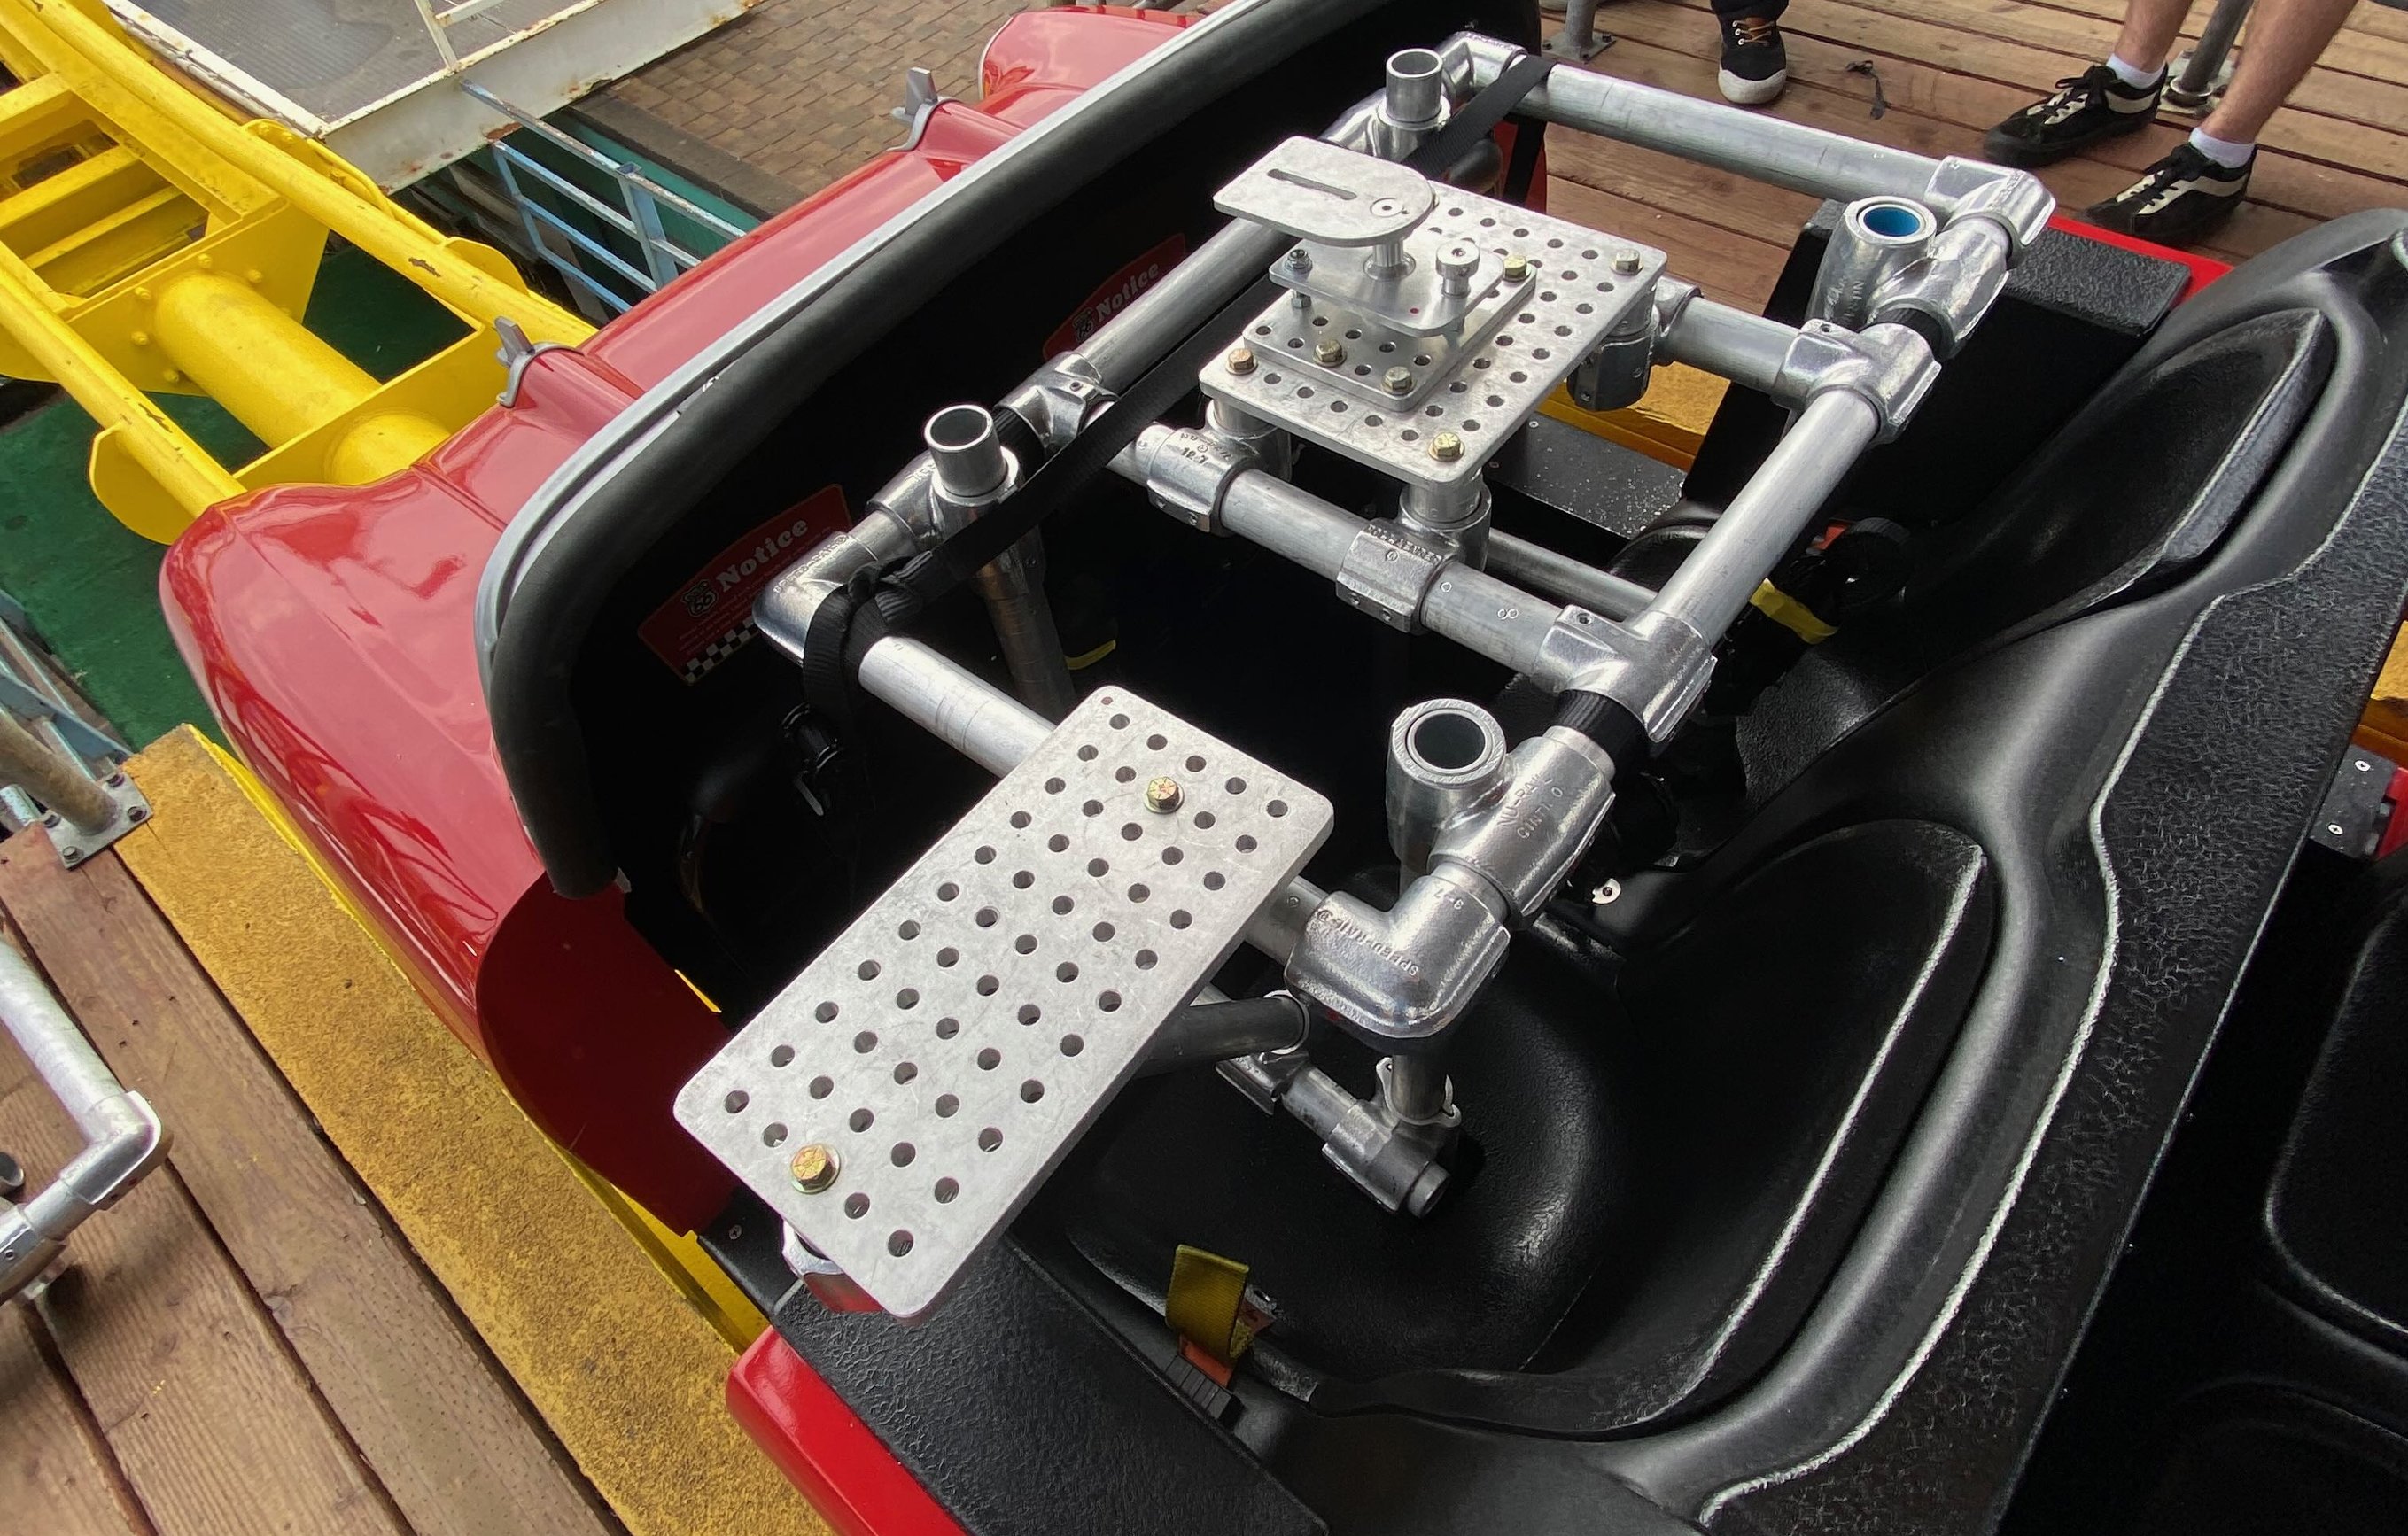
The Santa Monica pier coaster build
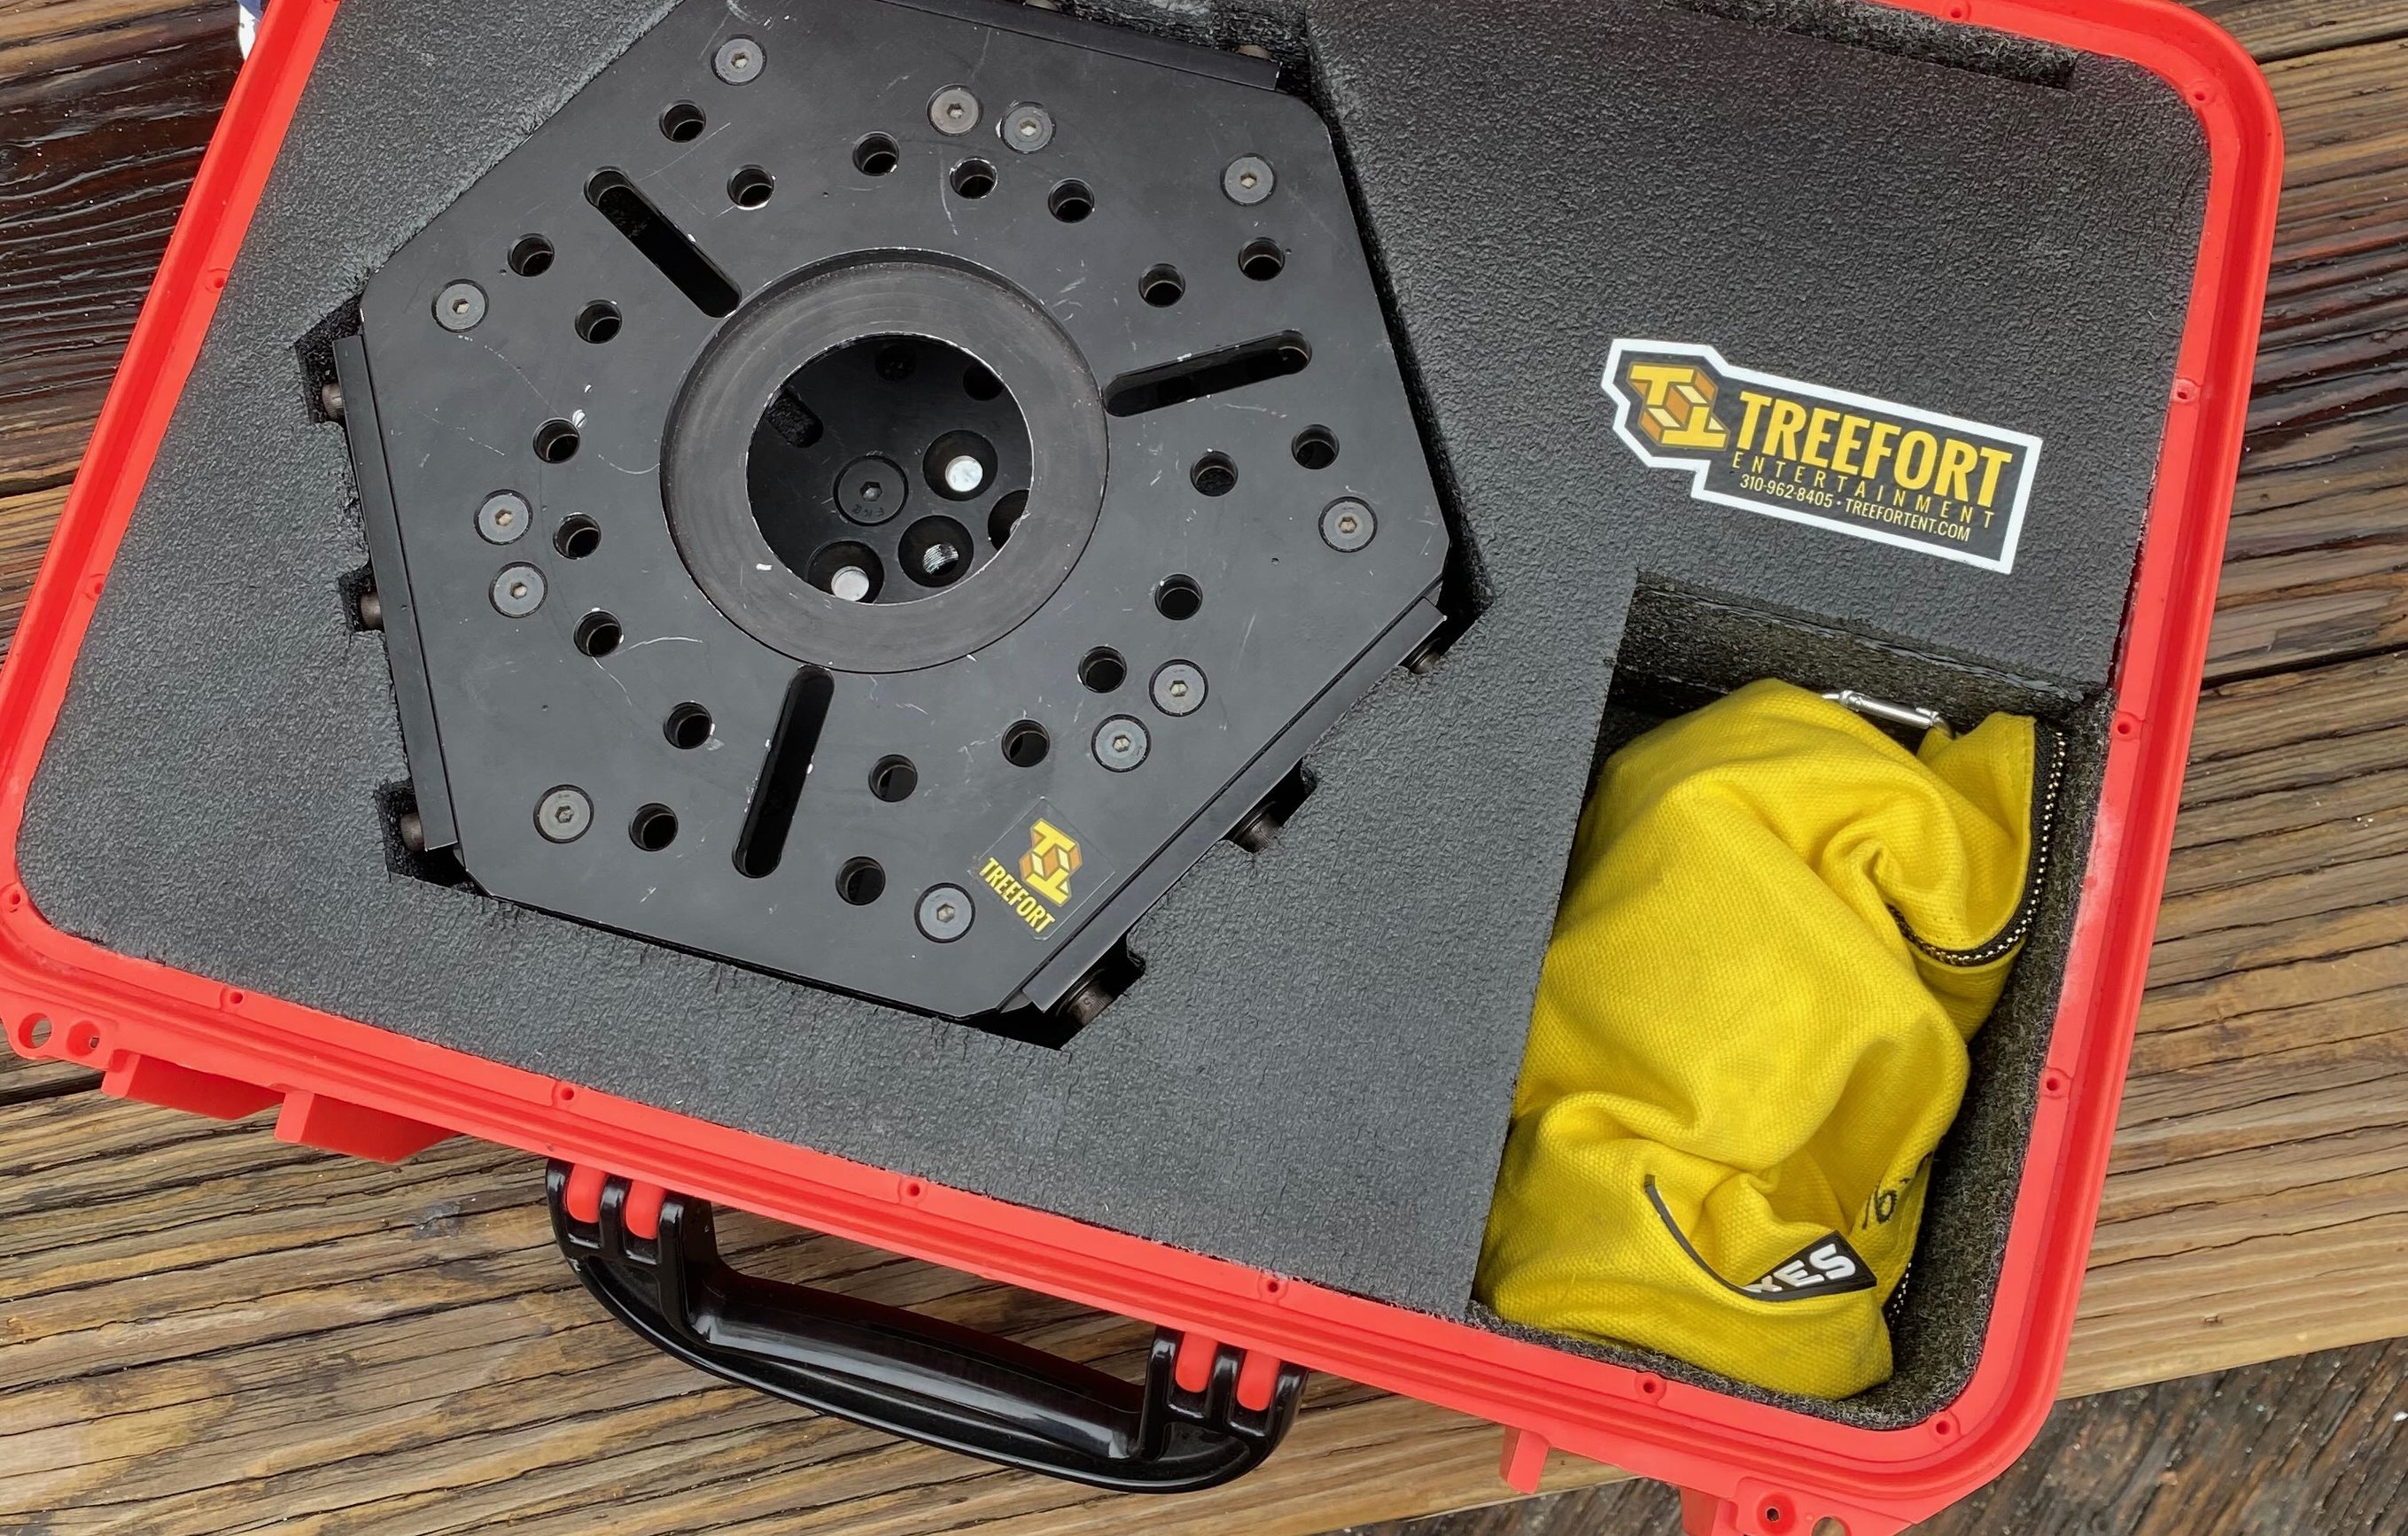
The Coaster Kit
Coaster rigging means keeping components small. You're working in tight spaces, often with weird geometry, and you need to stay lightweight. Here's what I'm typically working with:
Structural:
1-1/4" speedrail
1-1/4" Hollaenders
Speedrail starters
5/8" rods & hardware
3/8” rods & hardware
Cheeseplates of all sizes (seriously, you can’t have enough)
Truss:
3" x 3" CineDesign truss
6" x 6" Modulus-X truss
3" x 6" CineDesign truss
Smaller modular truss in general - NOT 12" x 12" box truss (usually too big for coaster applications)
Fastening & Safety:
Endless ratchet straps (short and long)
Hooked ratchet straps
Variety of 3/8" bolts
Variety of 1/4-20 bolts
Locking nuts (helps against vibrations)
Steel nuts
Locking washers
Steel washers
Large diameter 3/8 washers
SAE to metric adapters
Body starters
Doggi clamps
5/8 gags
Hose clamps
Unibody pinch plates (You never know)
Bicycle starters (adapt hard points to weird geometry)
Leveling & Mounting:
Dish leveling heads
Ball leveling heads
Mini ball leveling heads
Misc:
Lens supports
Baby pins - short & long
High density foam for vibration control
Camera wedges for the same
Padding (Cut up yoga mat)
You want to make sure you have all your bolt sizes available before you start. There's nothing worse than being halfway through a build in the coaster and realizing you're short on 1/4-20s.
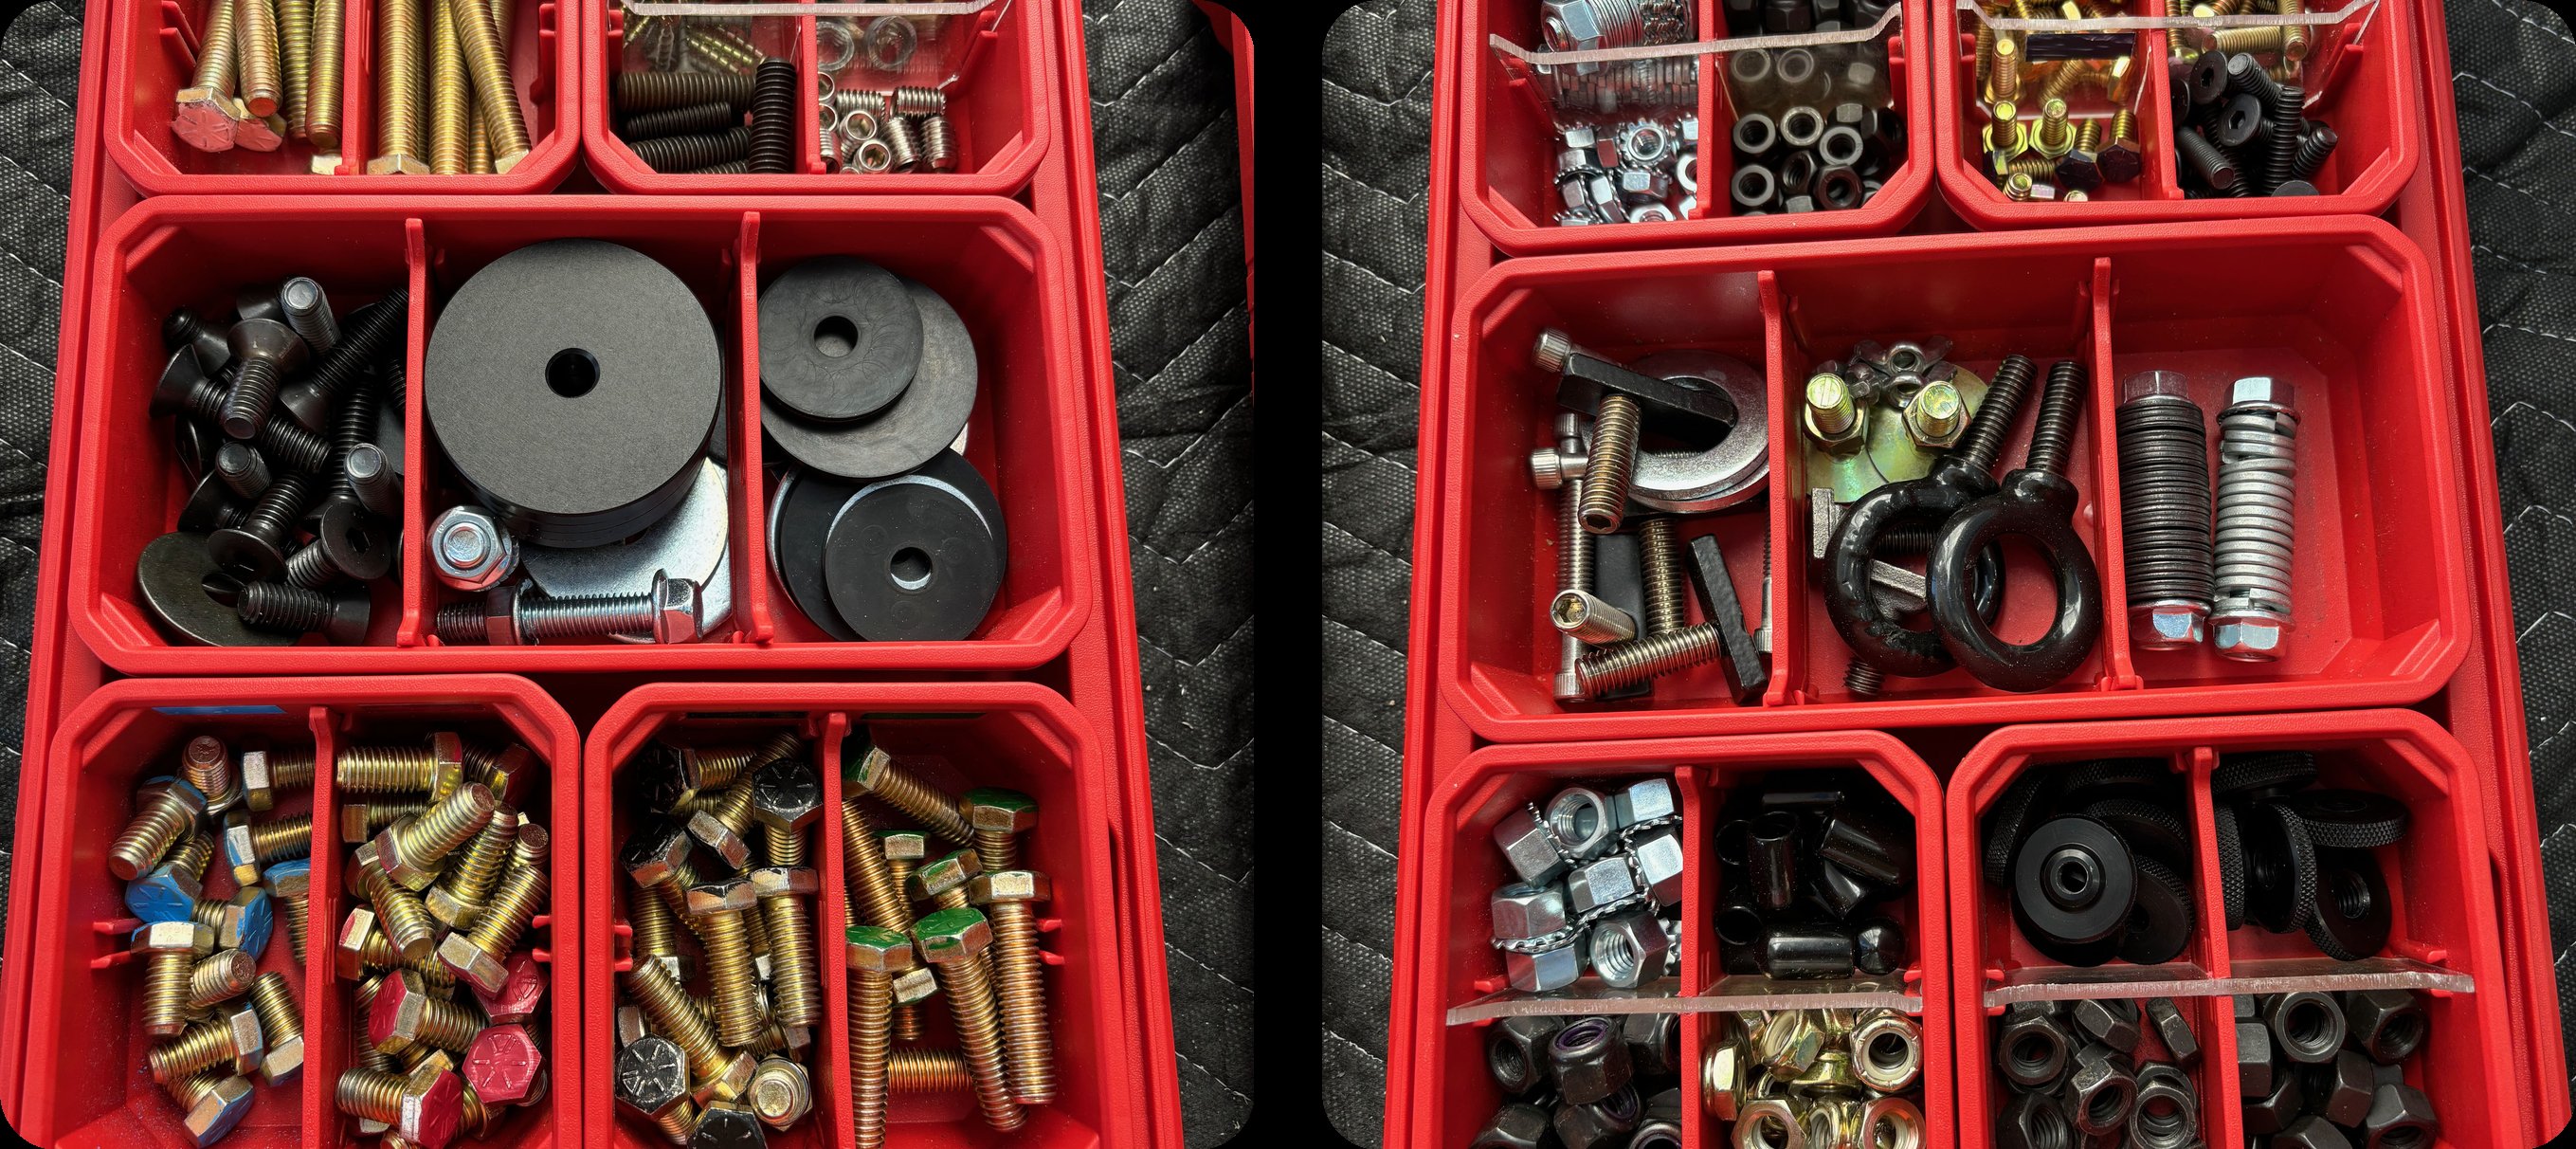
The small parts that make it all work
The Check Process: Every Cycle, Every Connection
This is the most important part of the whole workflow, and it's where a lot of people could get complacent.
Every time the ride comes back around after a test run, you check everything. All your clamps, all your connections, your ratchets, your suctions (if you're using them alongside your hard points and redundancy). Everything. Every time.
Here's the process:
Build or add something new to the rig
Send the coaster around without any people on it
When it comes back, check every single connection point
If something's loose, tighten it and send it again to make sure it stays tight
If it continues to be a problem, find a solution to make it safe and repeatable
Once you're satisfied, park staff rides it - they inspect and sign off
Only after they've confirmed everything is safe do you send it with passengers
I'm usually very involved with the park staff throughout this whole process. I want them to feel good about the rig. These are the people who know the ride better than anyone - its tolerances, its quirks, the forces at every point on the track. They do not know the rigging as well as you - guide them through it. Their sign-off matters, and I make sure they're comfortable before we move forward. I keep them involved in the process and explain my methods fully even if they don't understand rigging.
Park crew inspecting the rig for final approval
Why Vibration Isolators Don't Work Like You Think
A lot of people ask me about vibration isolators for coaster rigs and car rigs. I get why. You feel the vibration, you want to kill it, and a vibration isolator sounds like the answer.
And to be clear - this isn't a knock on vibration isolators as a piece of gear. Treefort carries an excellent vibration isolator, and when you have the right use case for it, absolutely rent it from them. It's great equipment. But on a coaster or a car rig, it's the wrong tool for the job.
Here's the problem: they take out too much. It's the same issue you get with a gimbal on a car. When you isolate the camera from the vehicle's movement that aggressively, it stops looking like the camera is mounted to the vehicle at all. You lose the connection between the camera and the ride. The audience should feel like they're on the coaster, and that means the camera needs to move with it.
Worse, a vibration isolator can actually make things worse by amplifying the swing. Instead of tight, controlled micro-vibrations, you get the camera swaying back and forth. That's the opposite of what you want.
My approach is simpler: high density foam, camera wedges, cut up yoga mats. You're dampening the harshest vibrations without decoupling the camera from the vehicle. But I'm using dovetails right to cheeseplates, ball leveling heads, and dish leveling heads. The rig stays solid, the image stays connected to the ride, and you're not introducing new movement problems.
Treefort's vibration isolator: great gear, wrong tool here
It's About Trust
Roller coaster rigging is ultimately about building trust - trust in your hard points, trust in your redundancy, and trust between you and the park's team. The gear matters, the process matters, but the communication and advocacy for safety is what makes the whole thing work.
The best example I have of that trust is San Diego. I rigged a coaster at Belmont Park a bunch of years ago, and when I went back in 2024 to do it again for a movie, the park crew actually showed me a photo of my first rig there and said, "This is how we want to do it." I said, "Funny enough, that is my rig." They were pleasantly surprised. That's what trust looks like - you do the work right, and it speaks for itself years later.
For that second rig, I was the key grip, and my rigging key grip, Chris Leidholt, headed the rig. Chris kills every rig he does, so I wasn't worried in the slightest. But the park was doubly not worried because they already knew me and they knew I was coming back for a coaster rig. We knocked it out of the park - made it even bigger and better than the first time. Three cameras mounted to that thing.

Three cameras, Belmont Park, 2024
If you've rigged a coaster before, I'd love to hear how your process compares. What's your approach to redundancy? Have you found hard mount solutions I haven't thought of? I don’t know it all and I haven’t done it all, I’m just sharing my process. Drop me a line.


by:
Brendan Riel
