Adjustability When Car Rigging
Cinematographer
Todd DosSantos
Car Rigging
Tips & Tricks
Behind The Scenes
KEY GRIP
Brendan Riel
Overview
Industry:
Car
Location:
Los Angeles
Grip Package:
Phantom Grip 32’
Shoot Days:
3
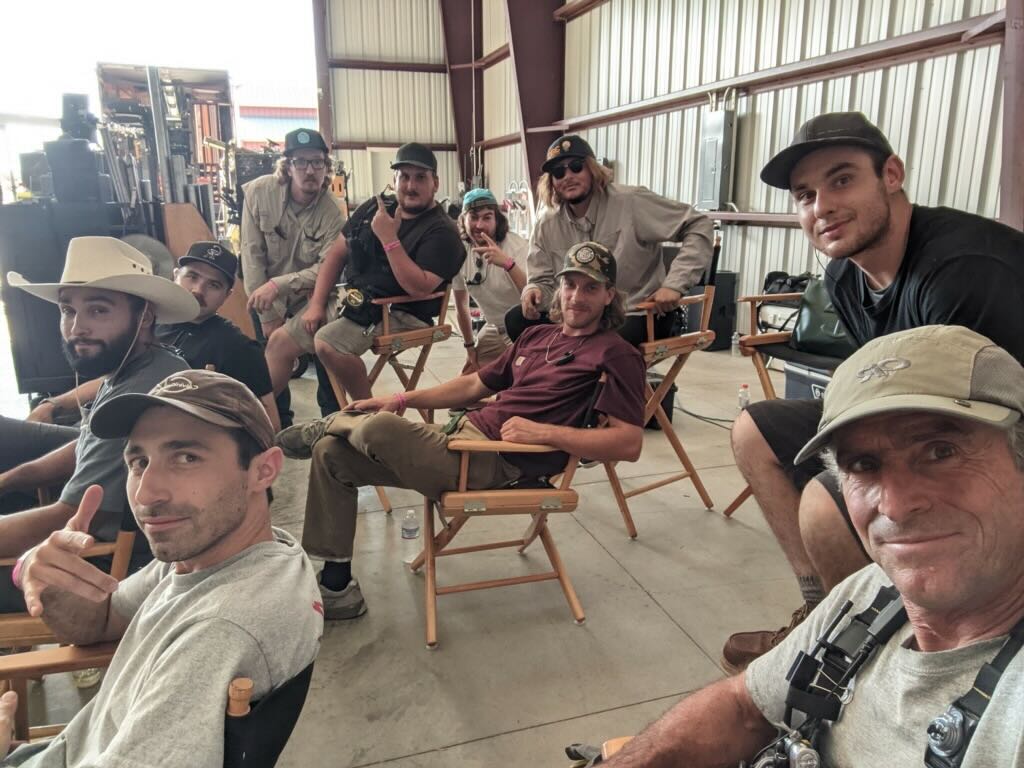
the crew
Gaffer:
Sebastien Nuta
Best Boy Grip:
Scott Hollander
Grips:
Jason Hodges, Kyle Sorvig, Logan Alesso, Vic Roca, Michael Moore, Connor Colby, Nick Zajic, Sean Carr, Chris Bridges
Setting Up For Success
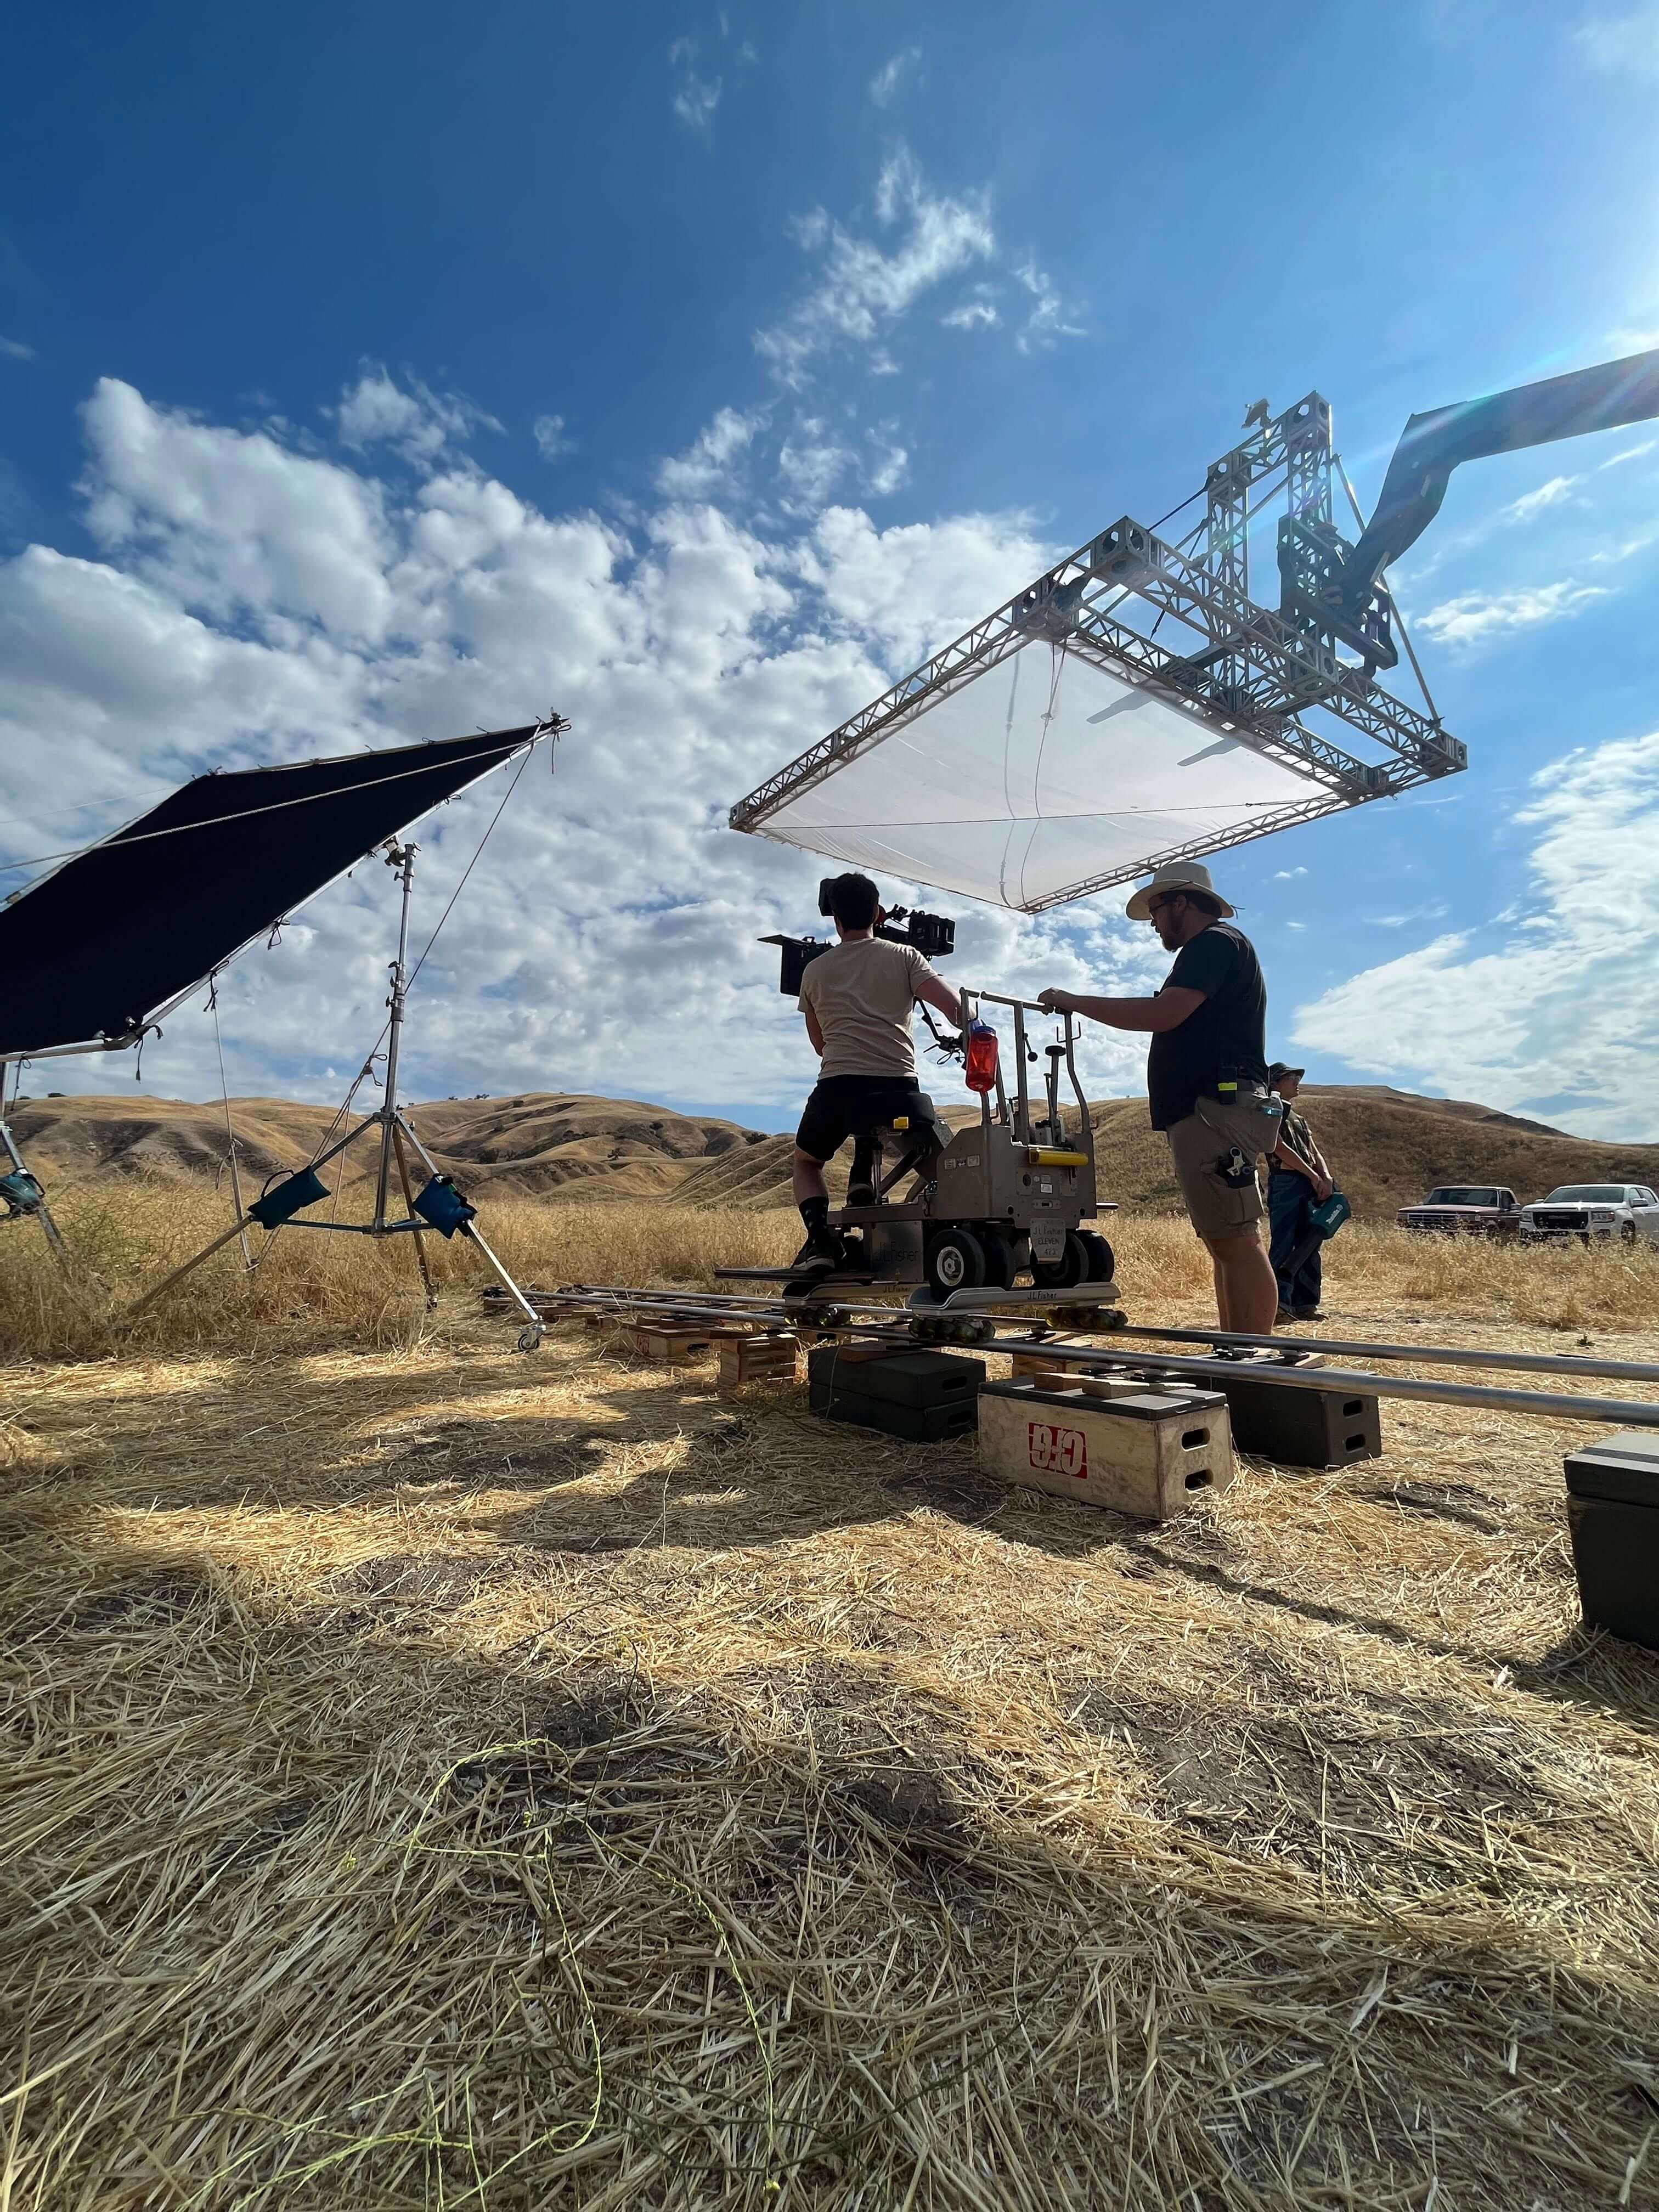
We had some location lighting, some drone work, some arm car work, and a ton of vehicle rigs for this Hummer EV commercial. I wasn’t complaining one bit.
The workload demanded that we have a decent crew size. Ran with K + 8 for the most part in order to make it all happen. We were rigging to what the audience would perceive as the same Hummer but we had 4 different identical vehicles to work with during our shoot. Production scheduled each car so that we’d always have on in our bay getting set up for the next rig. We pre-planned the majority of the rigs in pre pro and found a few camera positions on the day.
I was able to check out the vehicle before we started shooting. Went over to the dealer they shipped them all to and crawled underneath. What I saw seemed promising in some aspects. Like most electric vehicles, there was one big surface in the middle of the underside. But all around there appeared to be what looked like holes that would be great for body starters, ratchet hooks, and bolts. The wheels started turning. Additionally, I think only 2 of our Hummer EV’s featured tow hitches in the rear. Another mounting point that we would later utilize.
One thing that really worked in our favor for rigging to the underside was the fact that the vehicle could raise and lower its chassis. We had ample clearance underneath when raised, which was a key point for when I got to thinking about how we would be building out our rigging infrastructure.
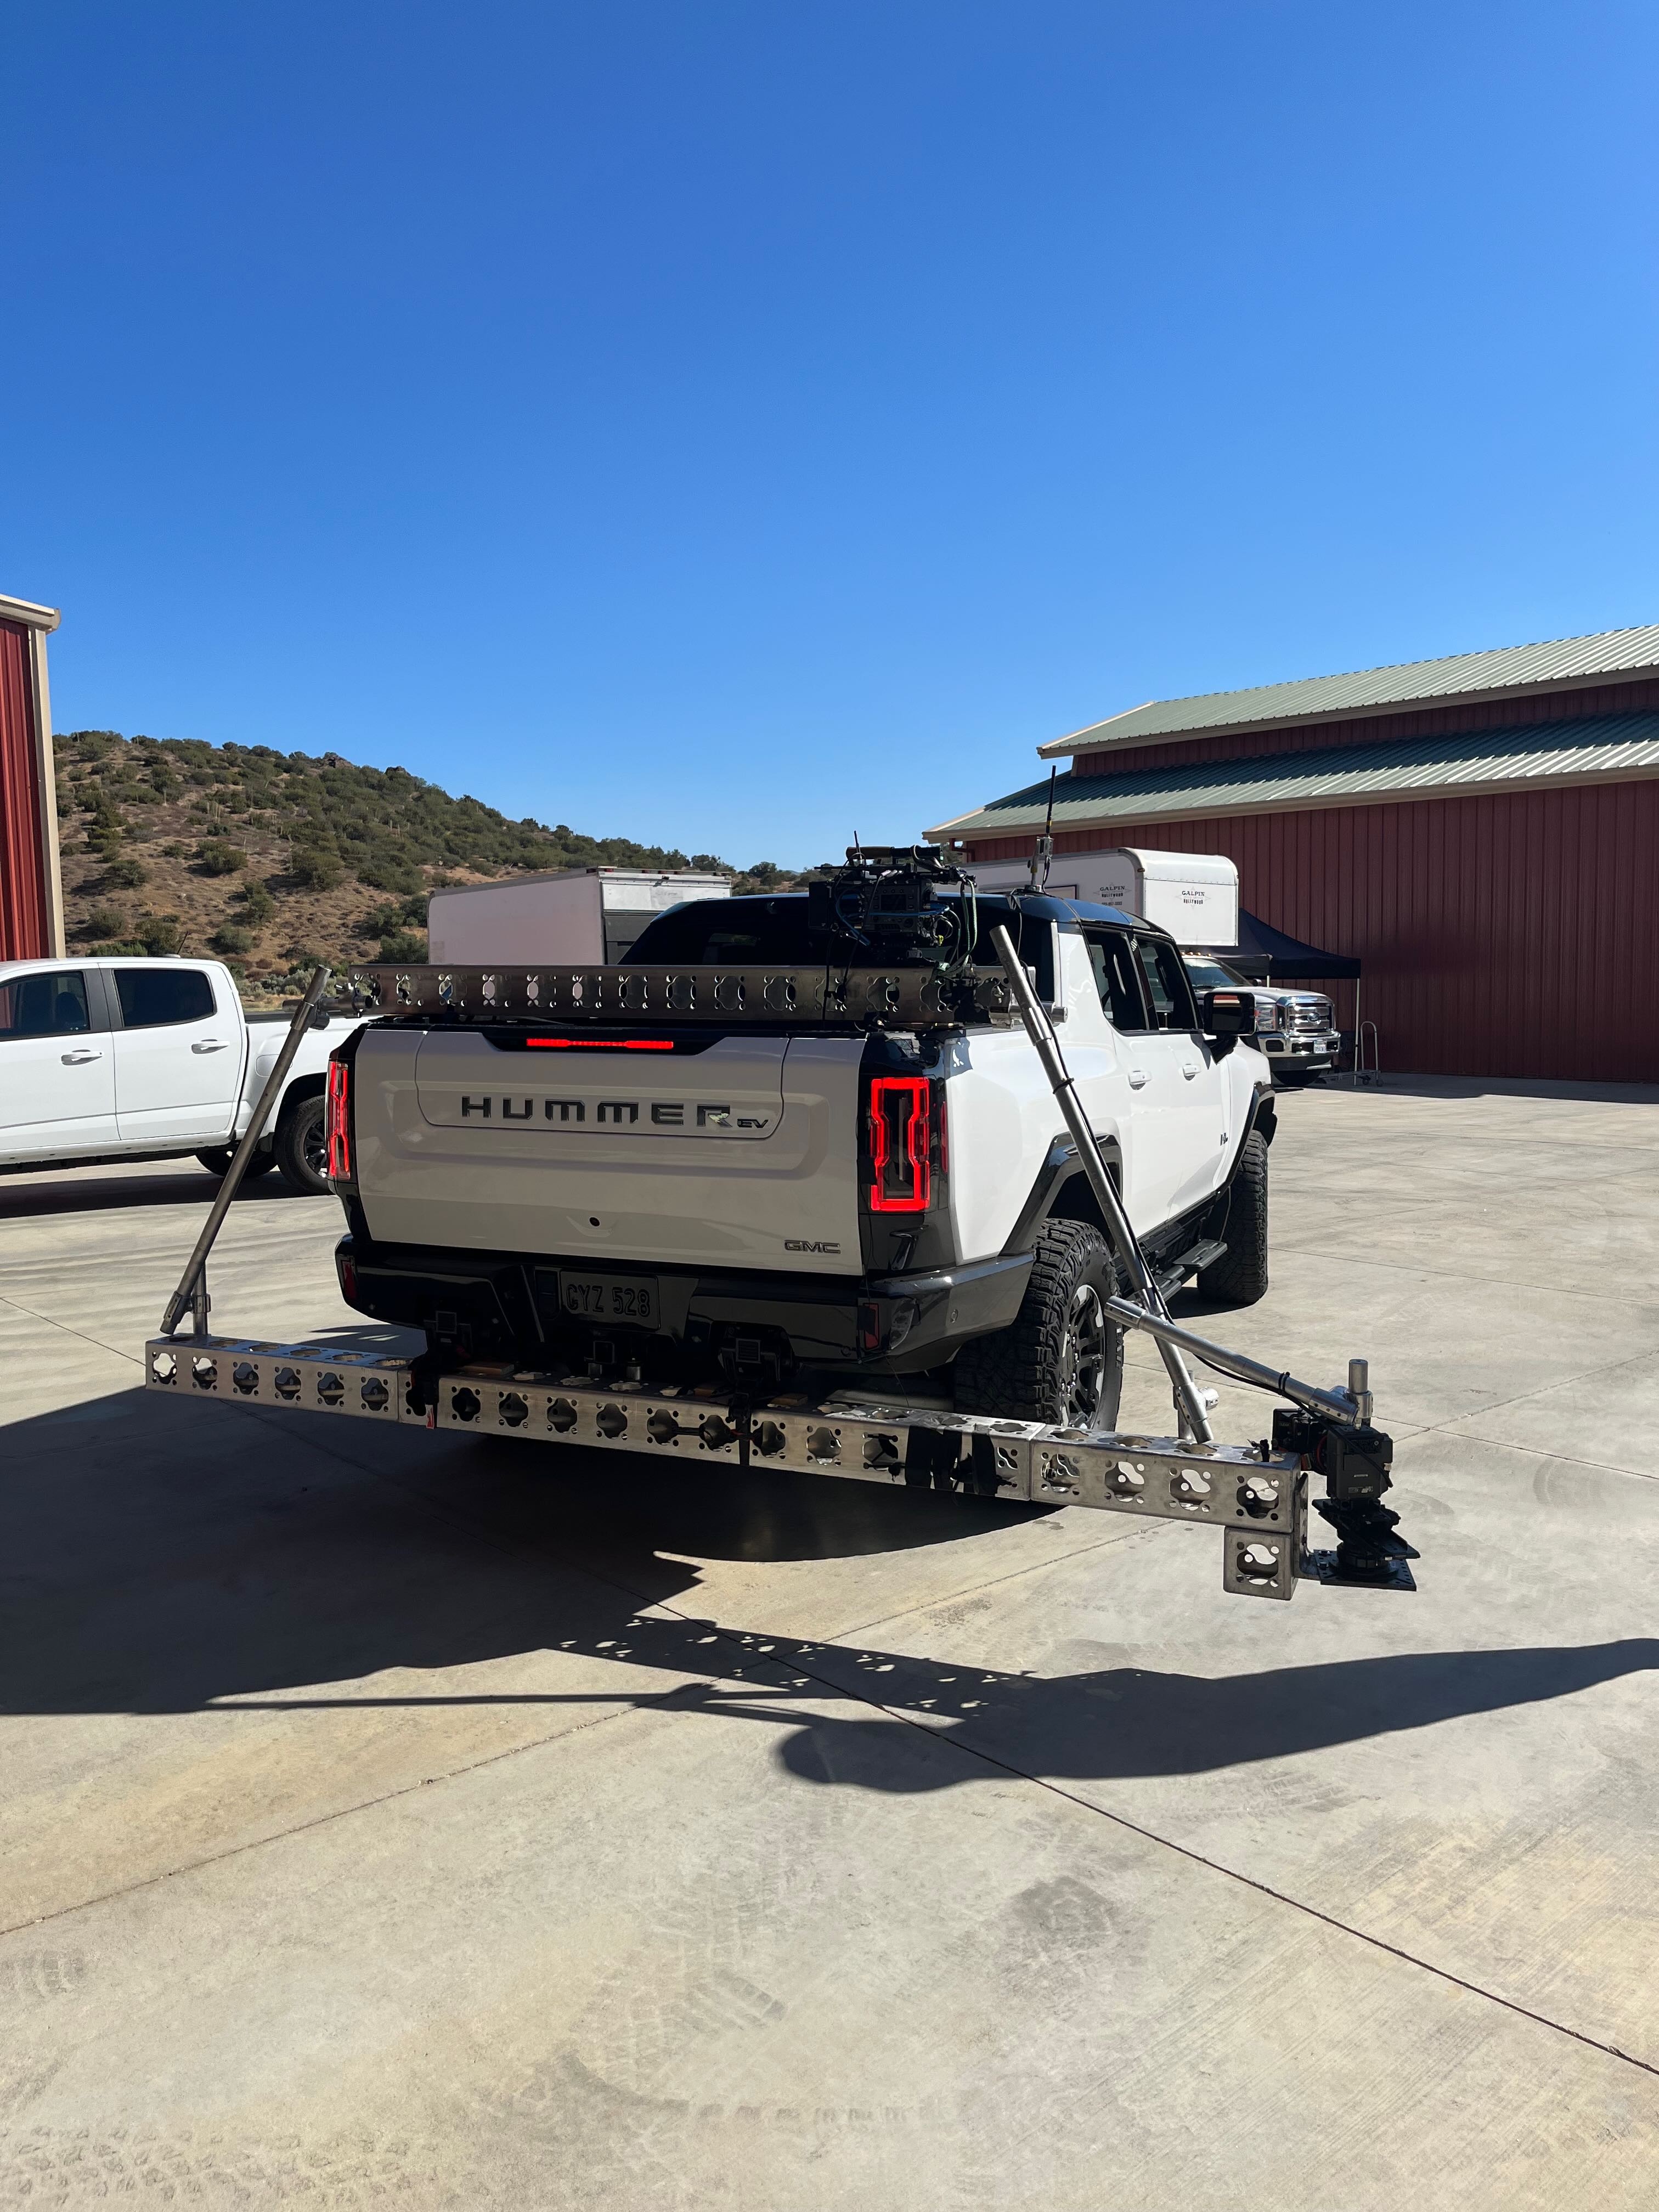
The DP and I chatted about being able to move from rig to rig quickly. Additionally he wanted to be able to pop off a shot that was far off the vehicle, low to the ground, looking down the whole side of the vehicle. I decided to employ the use of Mod Truss as the base for the majority of these rigs because of its ease of use, its rigidity, and its size to strength ratio. I knew with the clearance we had underneath the vehicle we could shoot truss across the entire width and / or length if we needed to. This proved useful in a few of our rigs.
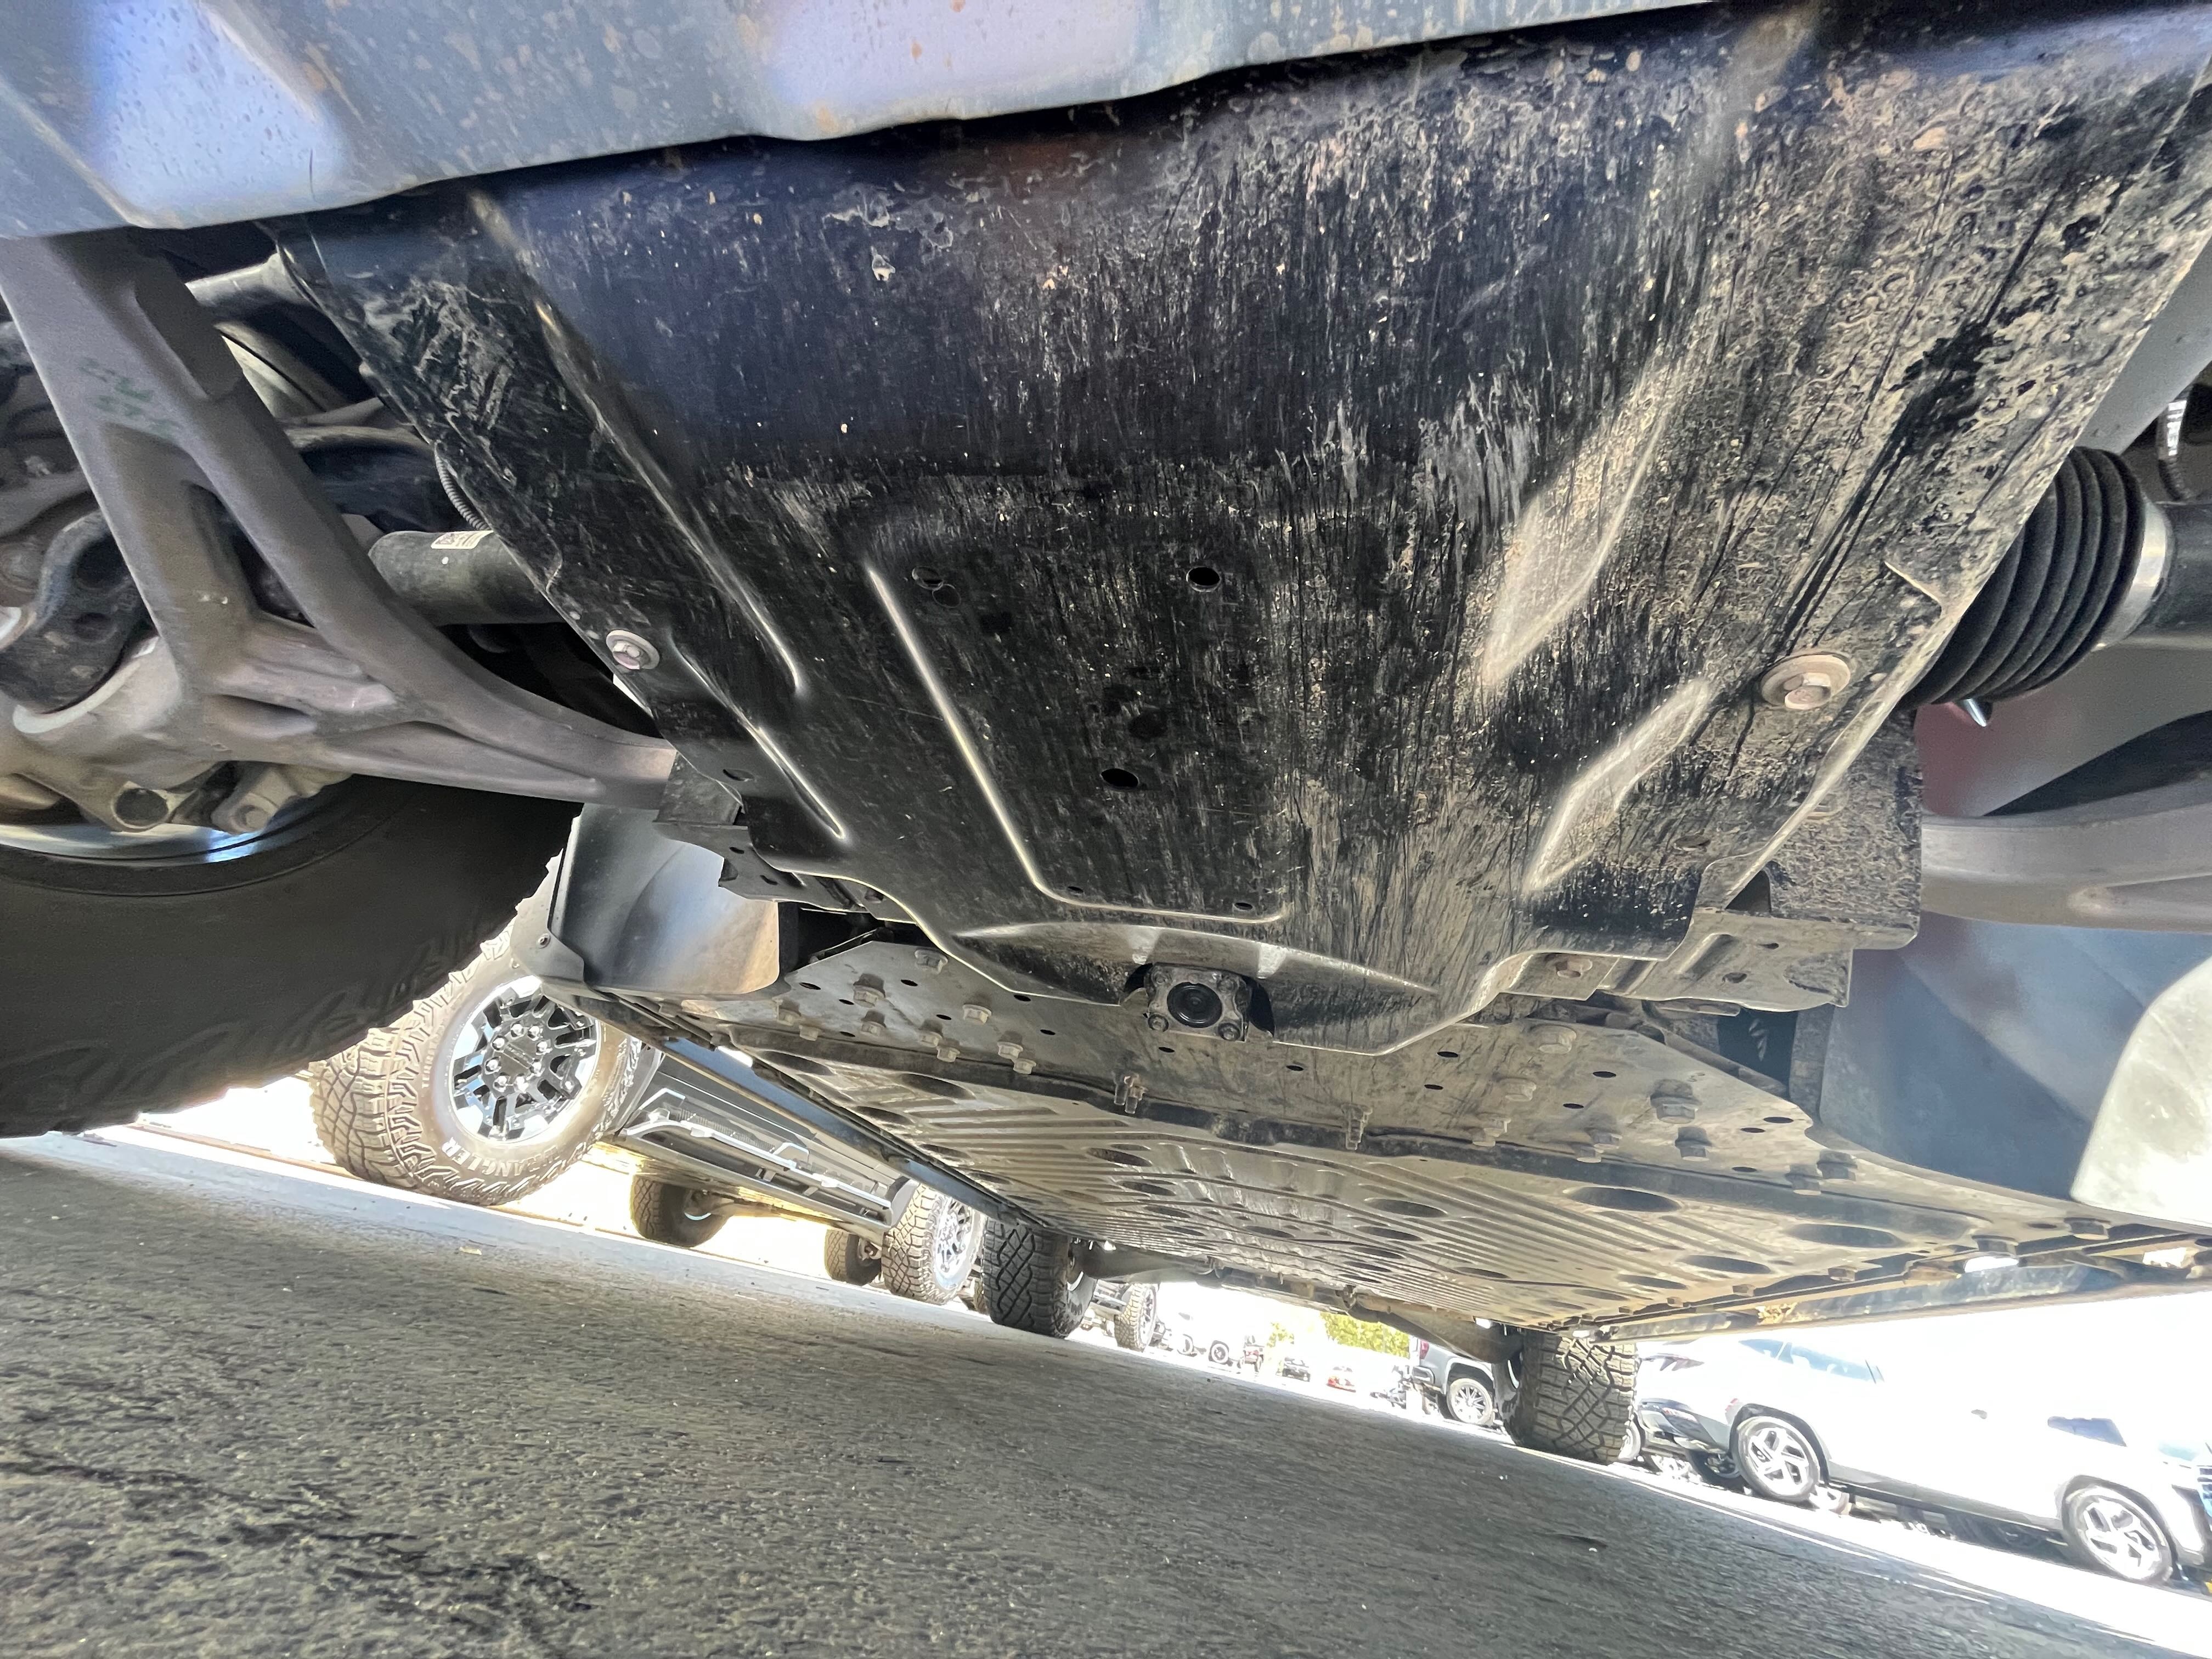
The underside of the vehicle seemed somewhat promising
Setup Overview
The Importance of Adjustability
This shoot happened over 3 days. Day 1 we were all in one location doing a mix of mainly car rigs and a little lighting close to where we were rigging. This is important because I was able to stay in one place and supervise the car rigging most of the time but also hop over into lighting mode. Being able to supervise a bunch of vehicle rigs is always a good thing even with a stellar crew.
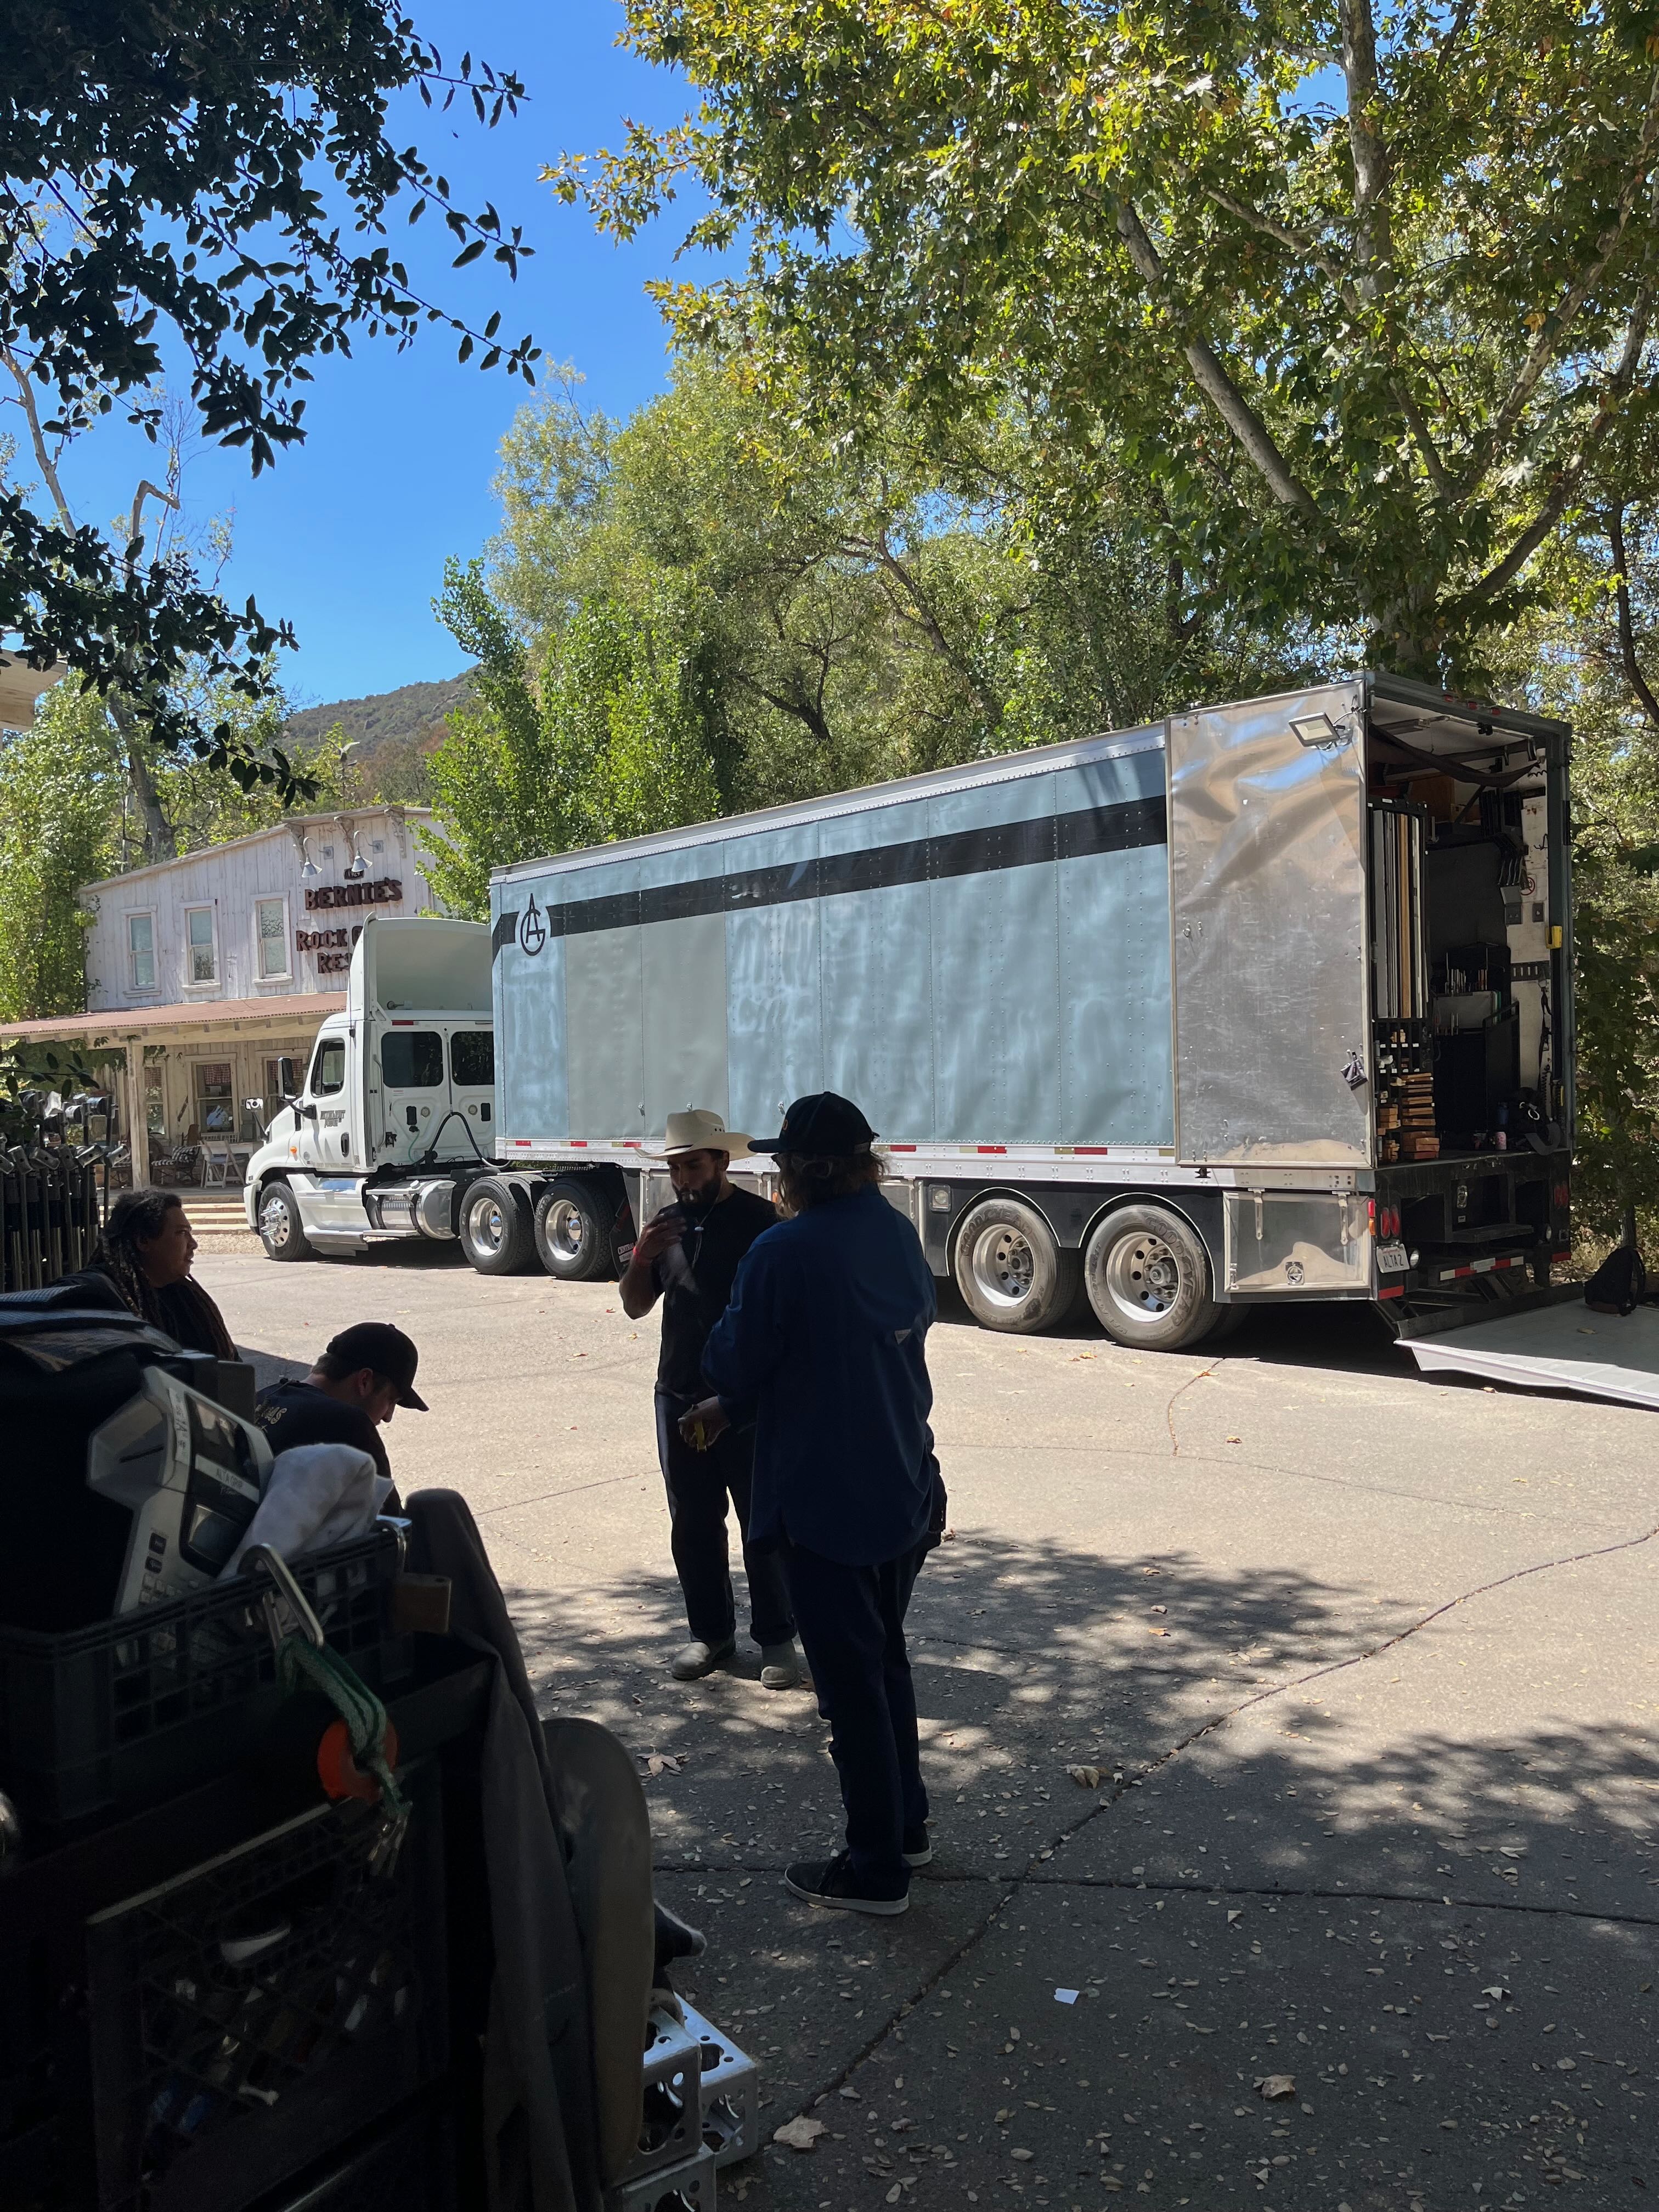
Day 2 we were at one location but it was a massive exterior property. We were shooting half way up a hill and vehicle rigging happened at the bottom of the hill next to the grip trailer. I was on set managing the lighting needs with our small stakebed package and finalizing camera placement when the rigged cars got up to us. This is a case where you need to work with a crew you really trust. A few key things come to mind:
Make sure you have someone you trust leading the rigging. Someone you’ve worked with plenty of times before. Someone who knows car rigging inside and out
Before you split off from them and head to set go over all the rig placements and take measurements. Make sure they have an idea of camera positioning and rigging possibilities.
Prep work in this case is super important. I like to go over all the rigged camera frames with the DP before the shoot. We’ll Artemis all the frames and I’ll take some rough measurements. Share the frames and measurements with your rigging lead (in the commercial world this is usually just another grip you really trust. Don’t usually have the luxury of a Key Rigging Grip)
Create rigs with built in adjustability. We all know how it goes. DP signs off on an Artemis frame shot on their iPhone. The rigged vehicle gets to set and the shot would be so much better if the camera was 2” to the left and a 1/2” higher. We can try and plan for these scenarios by building rig structures that allow for this kind of adjustability. More on this below.
With all that being said, know that anything can also change on the day.
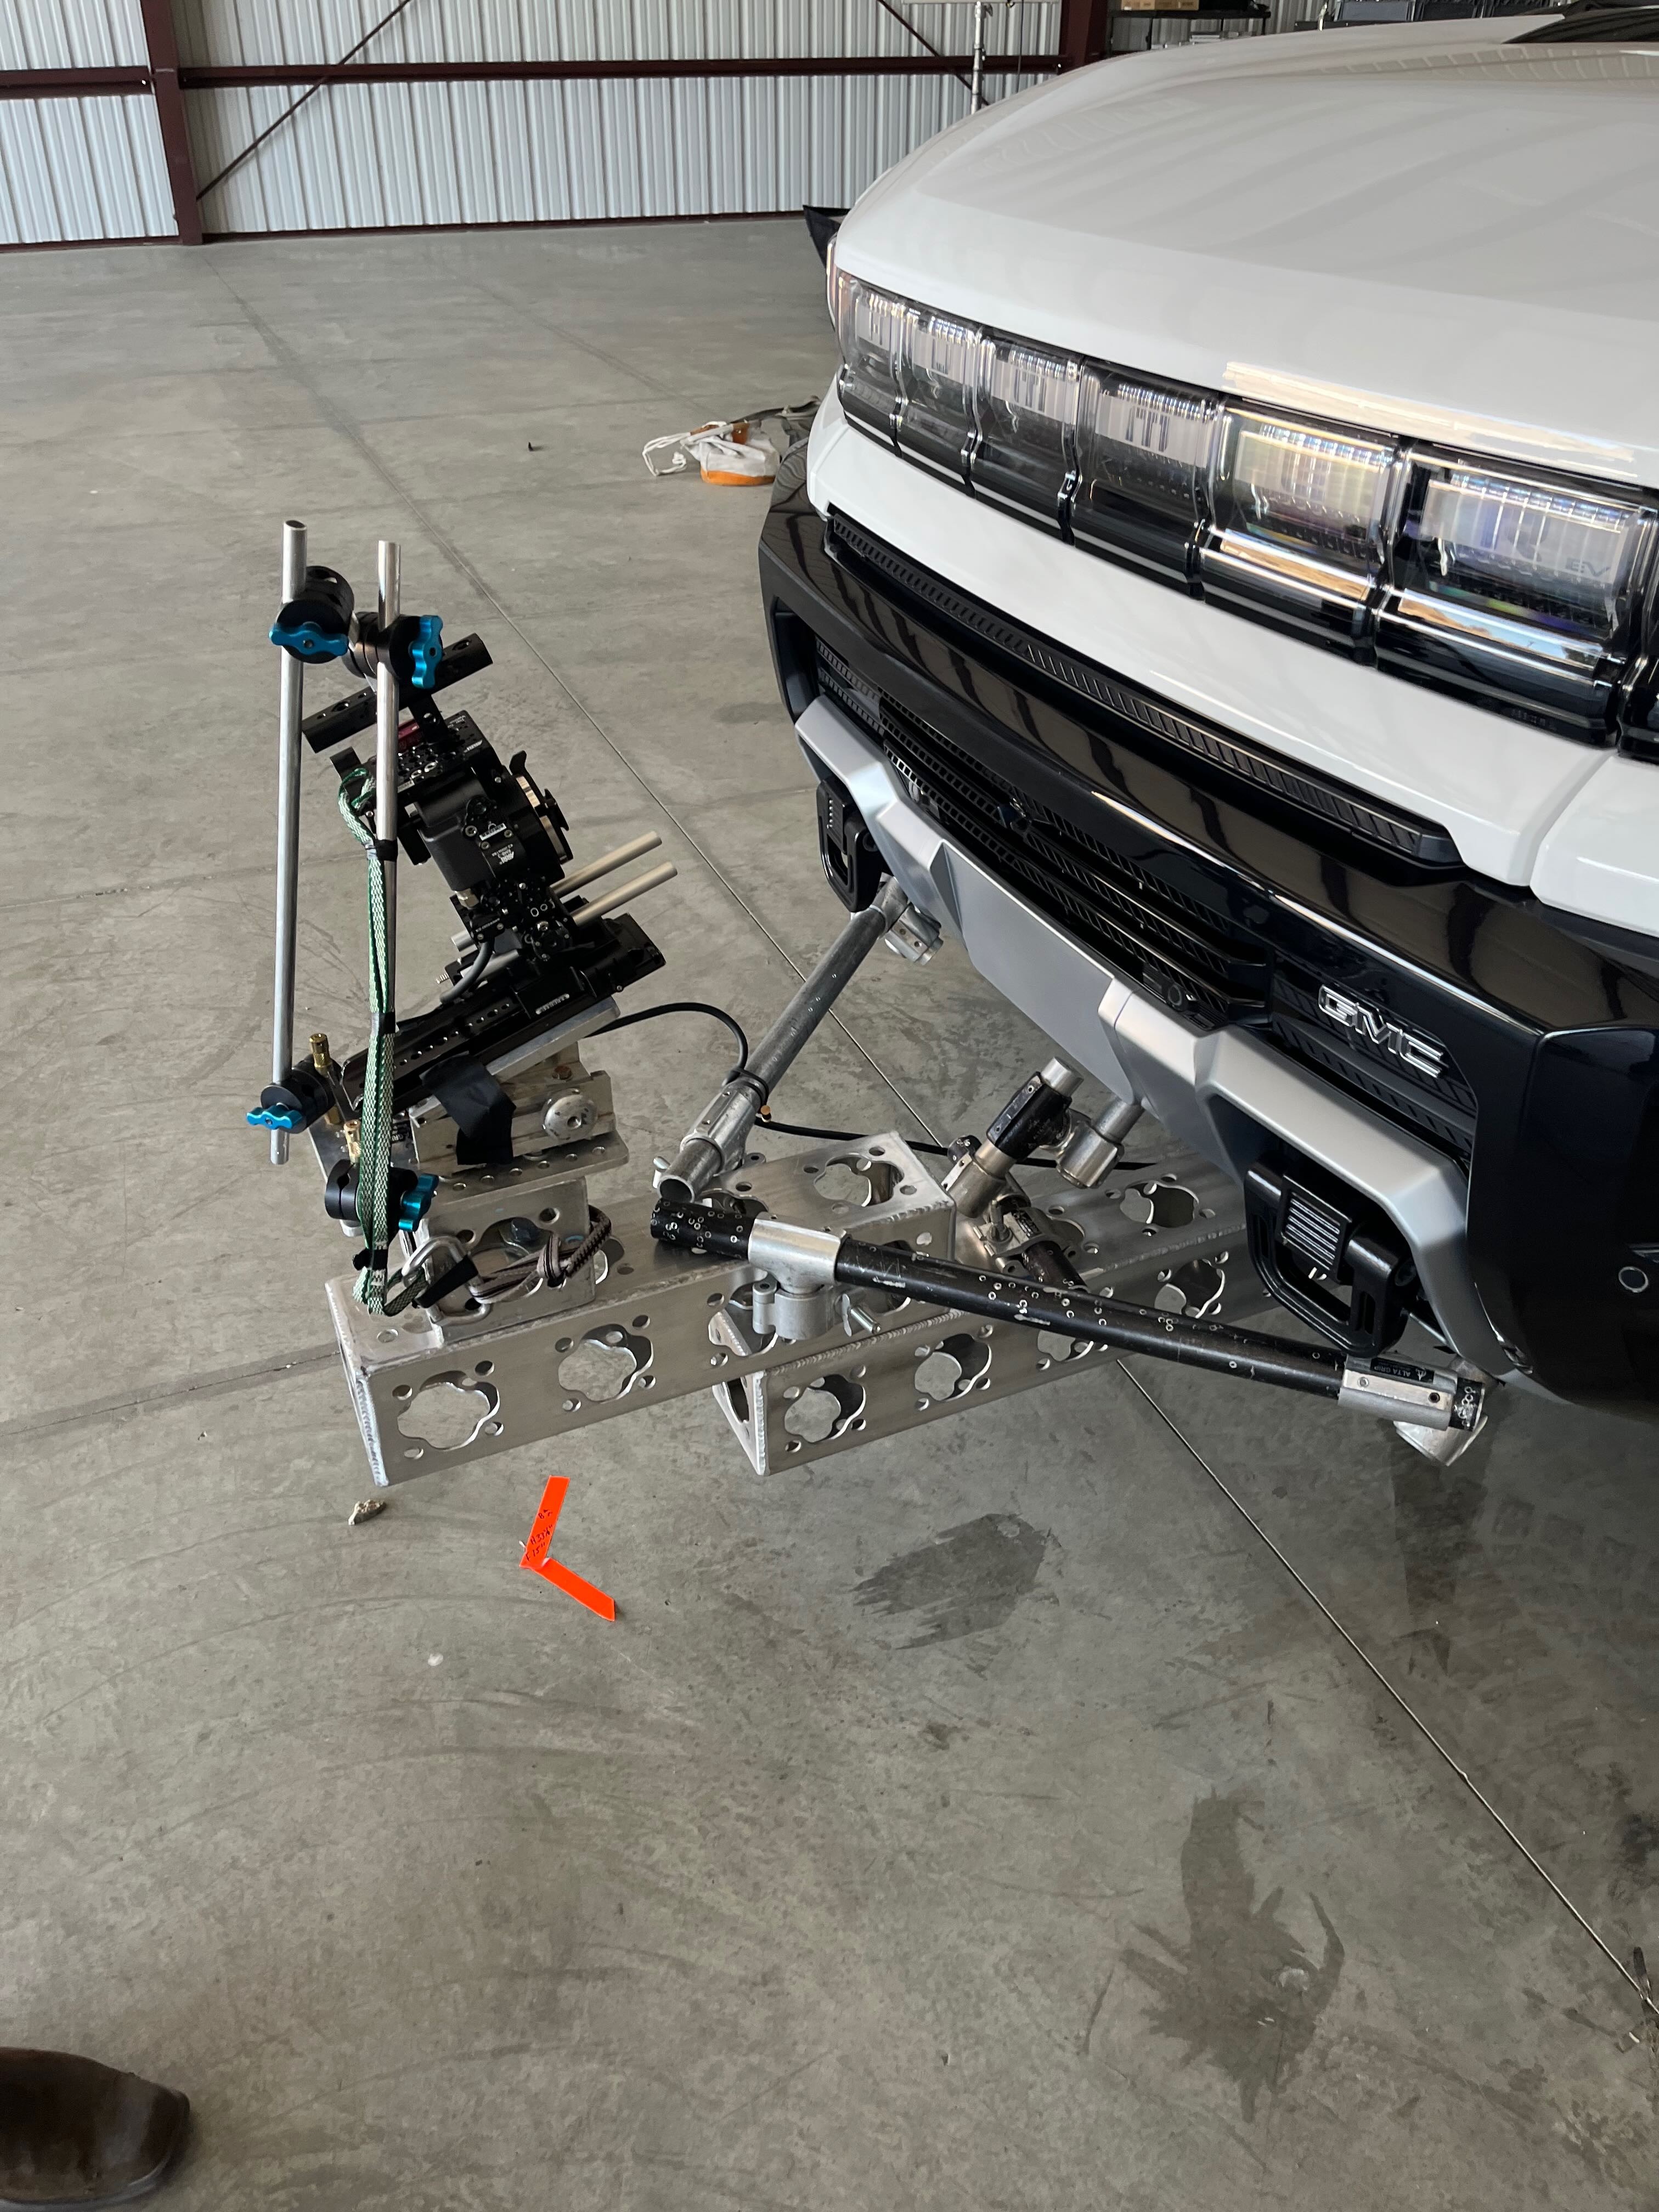
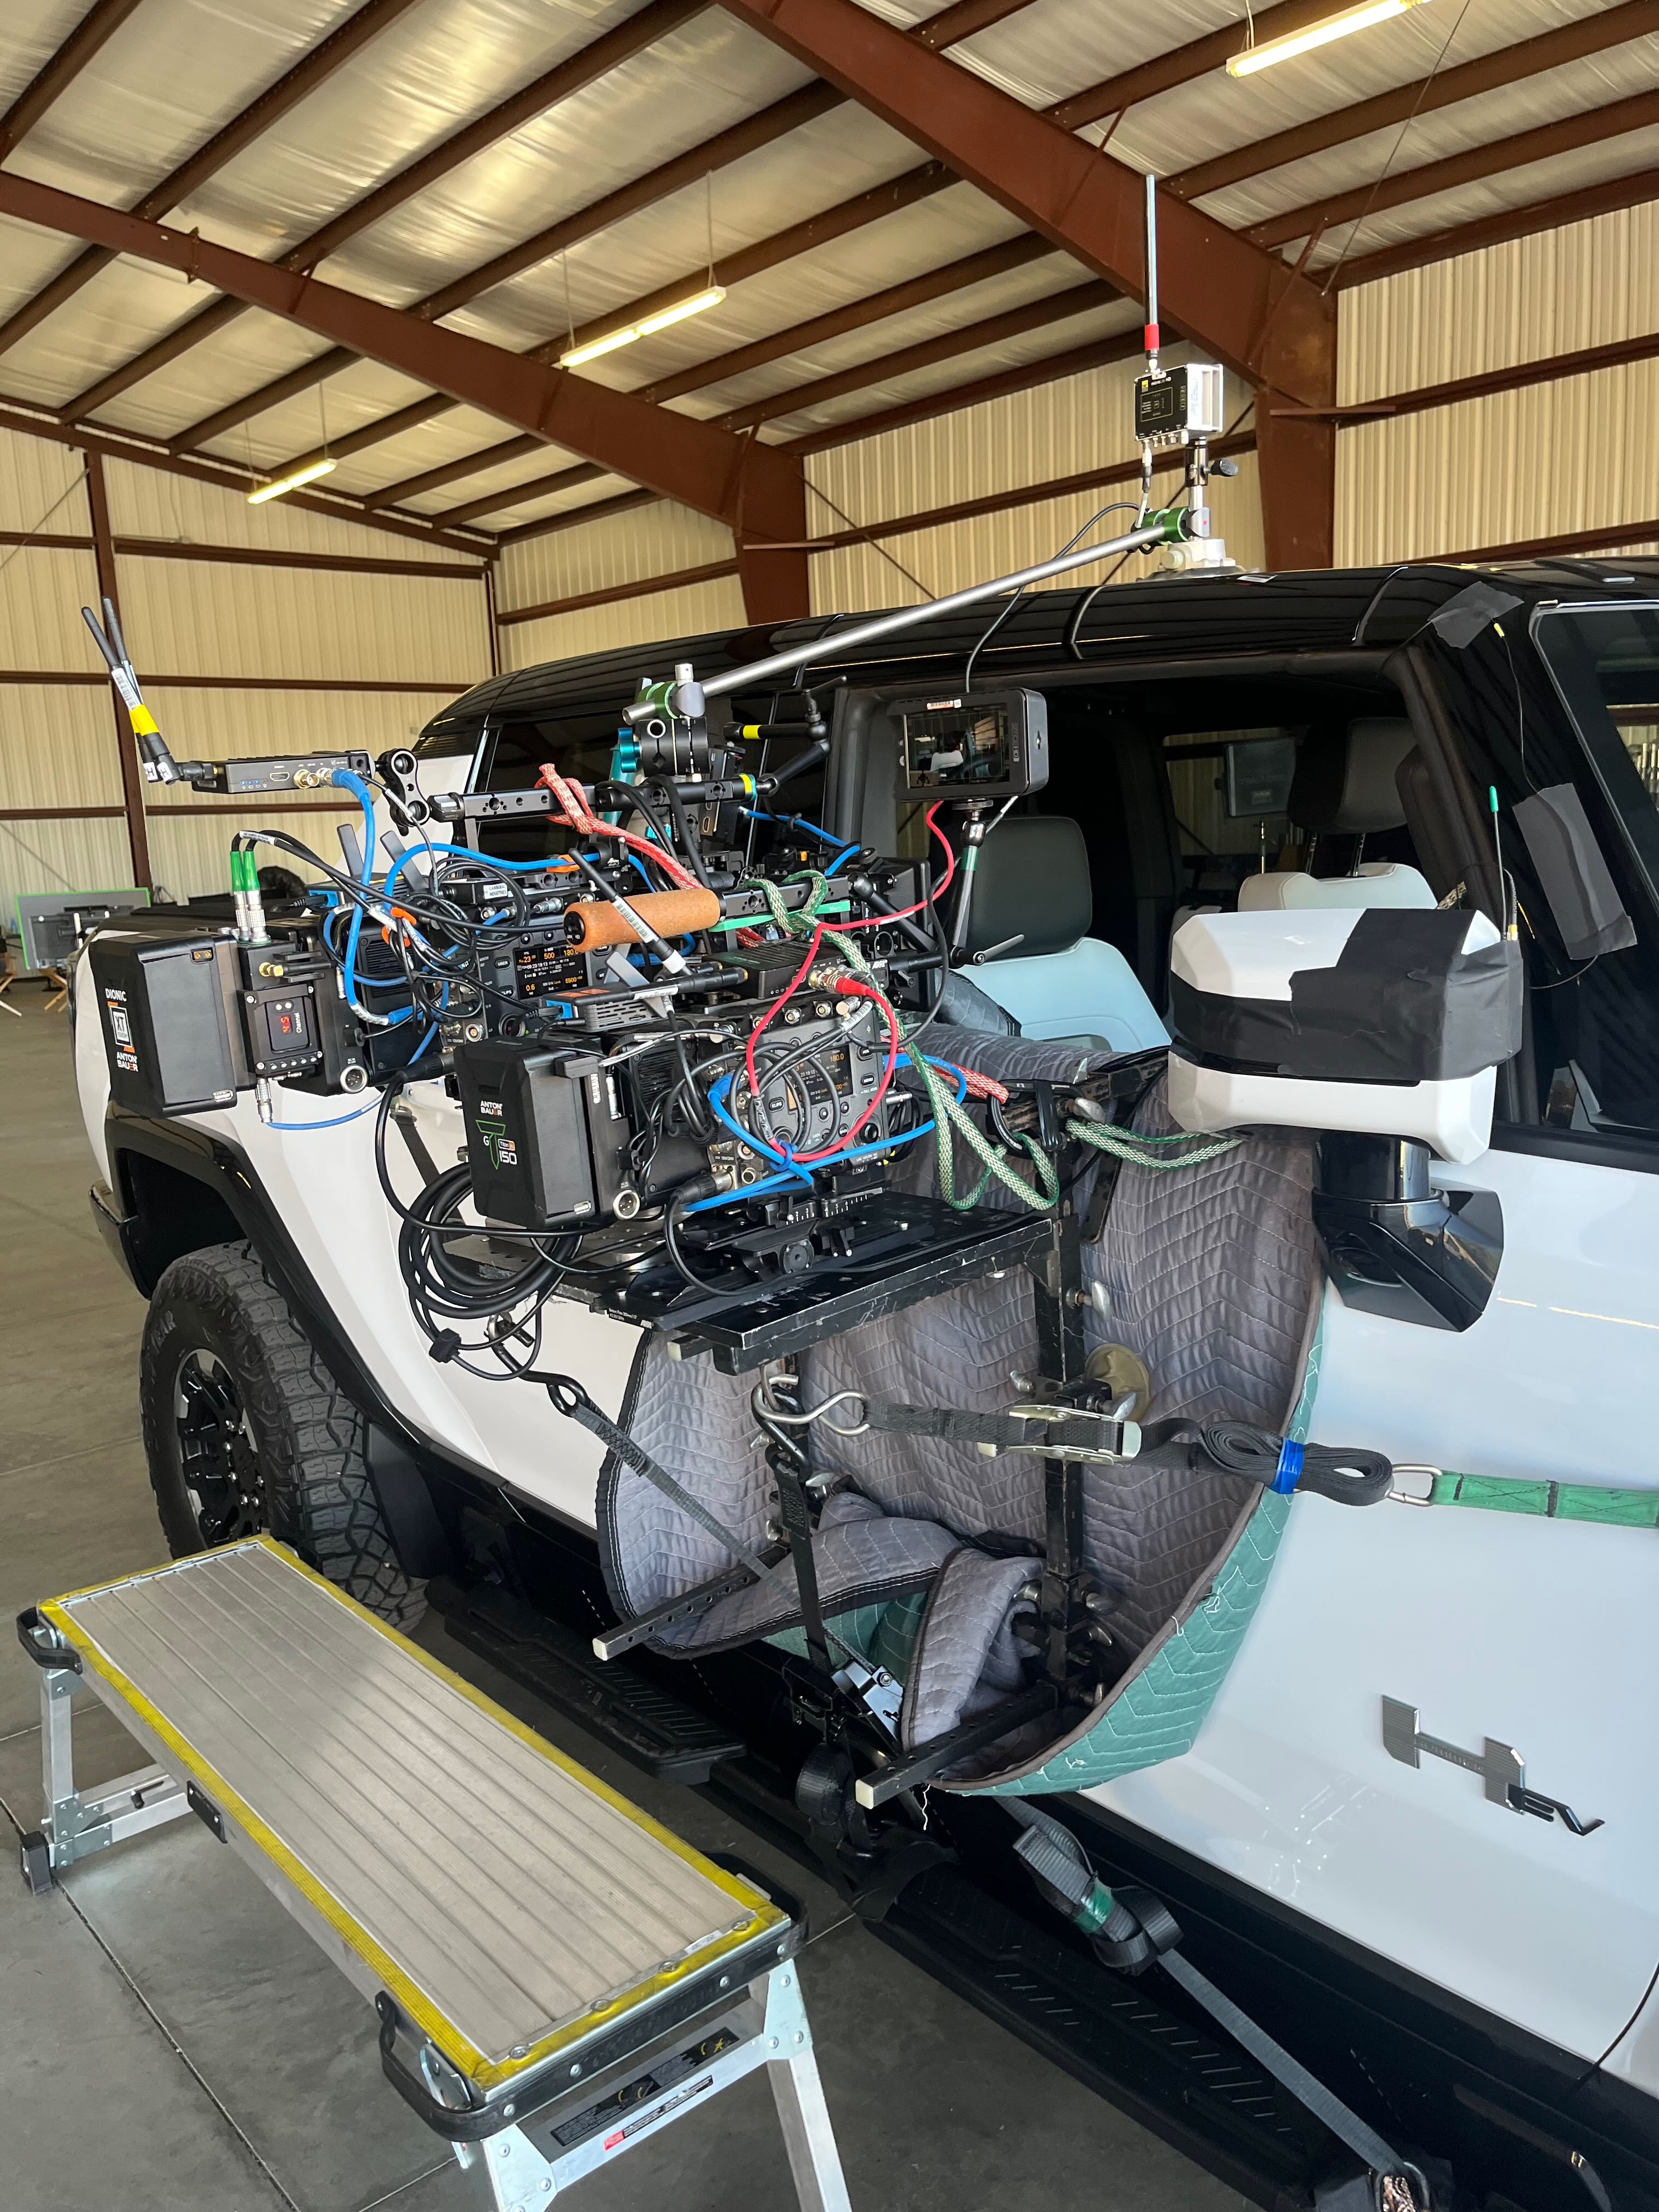
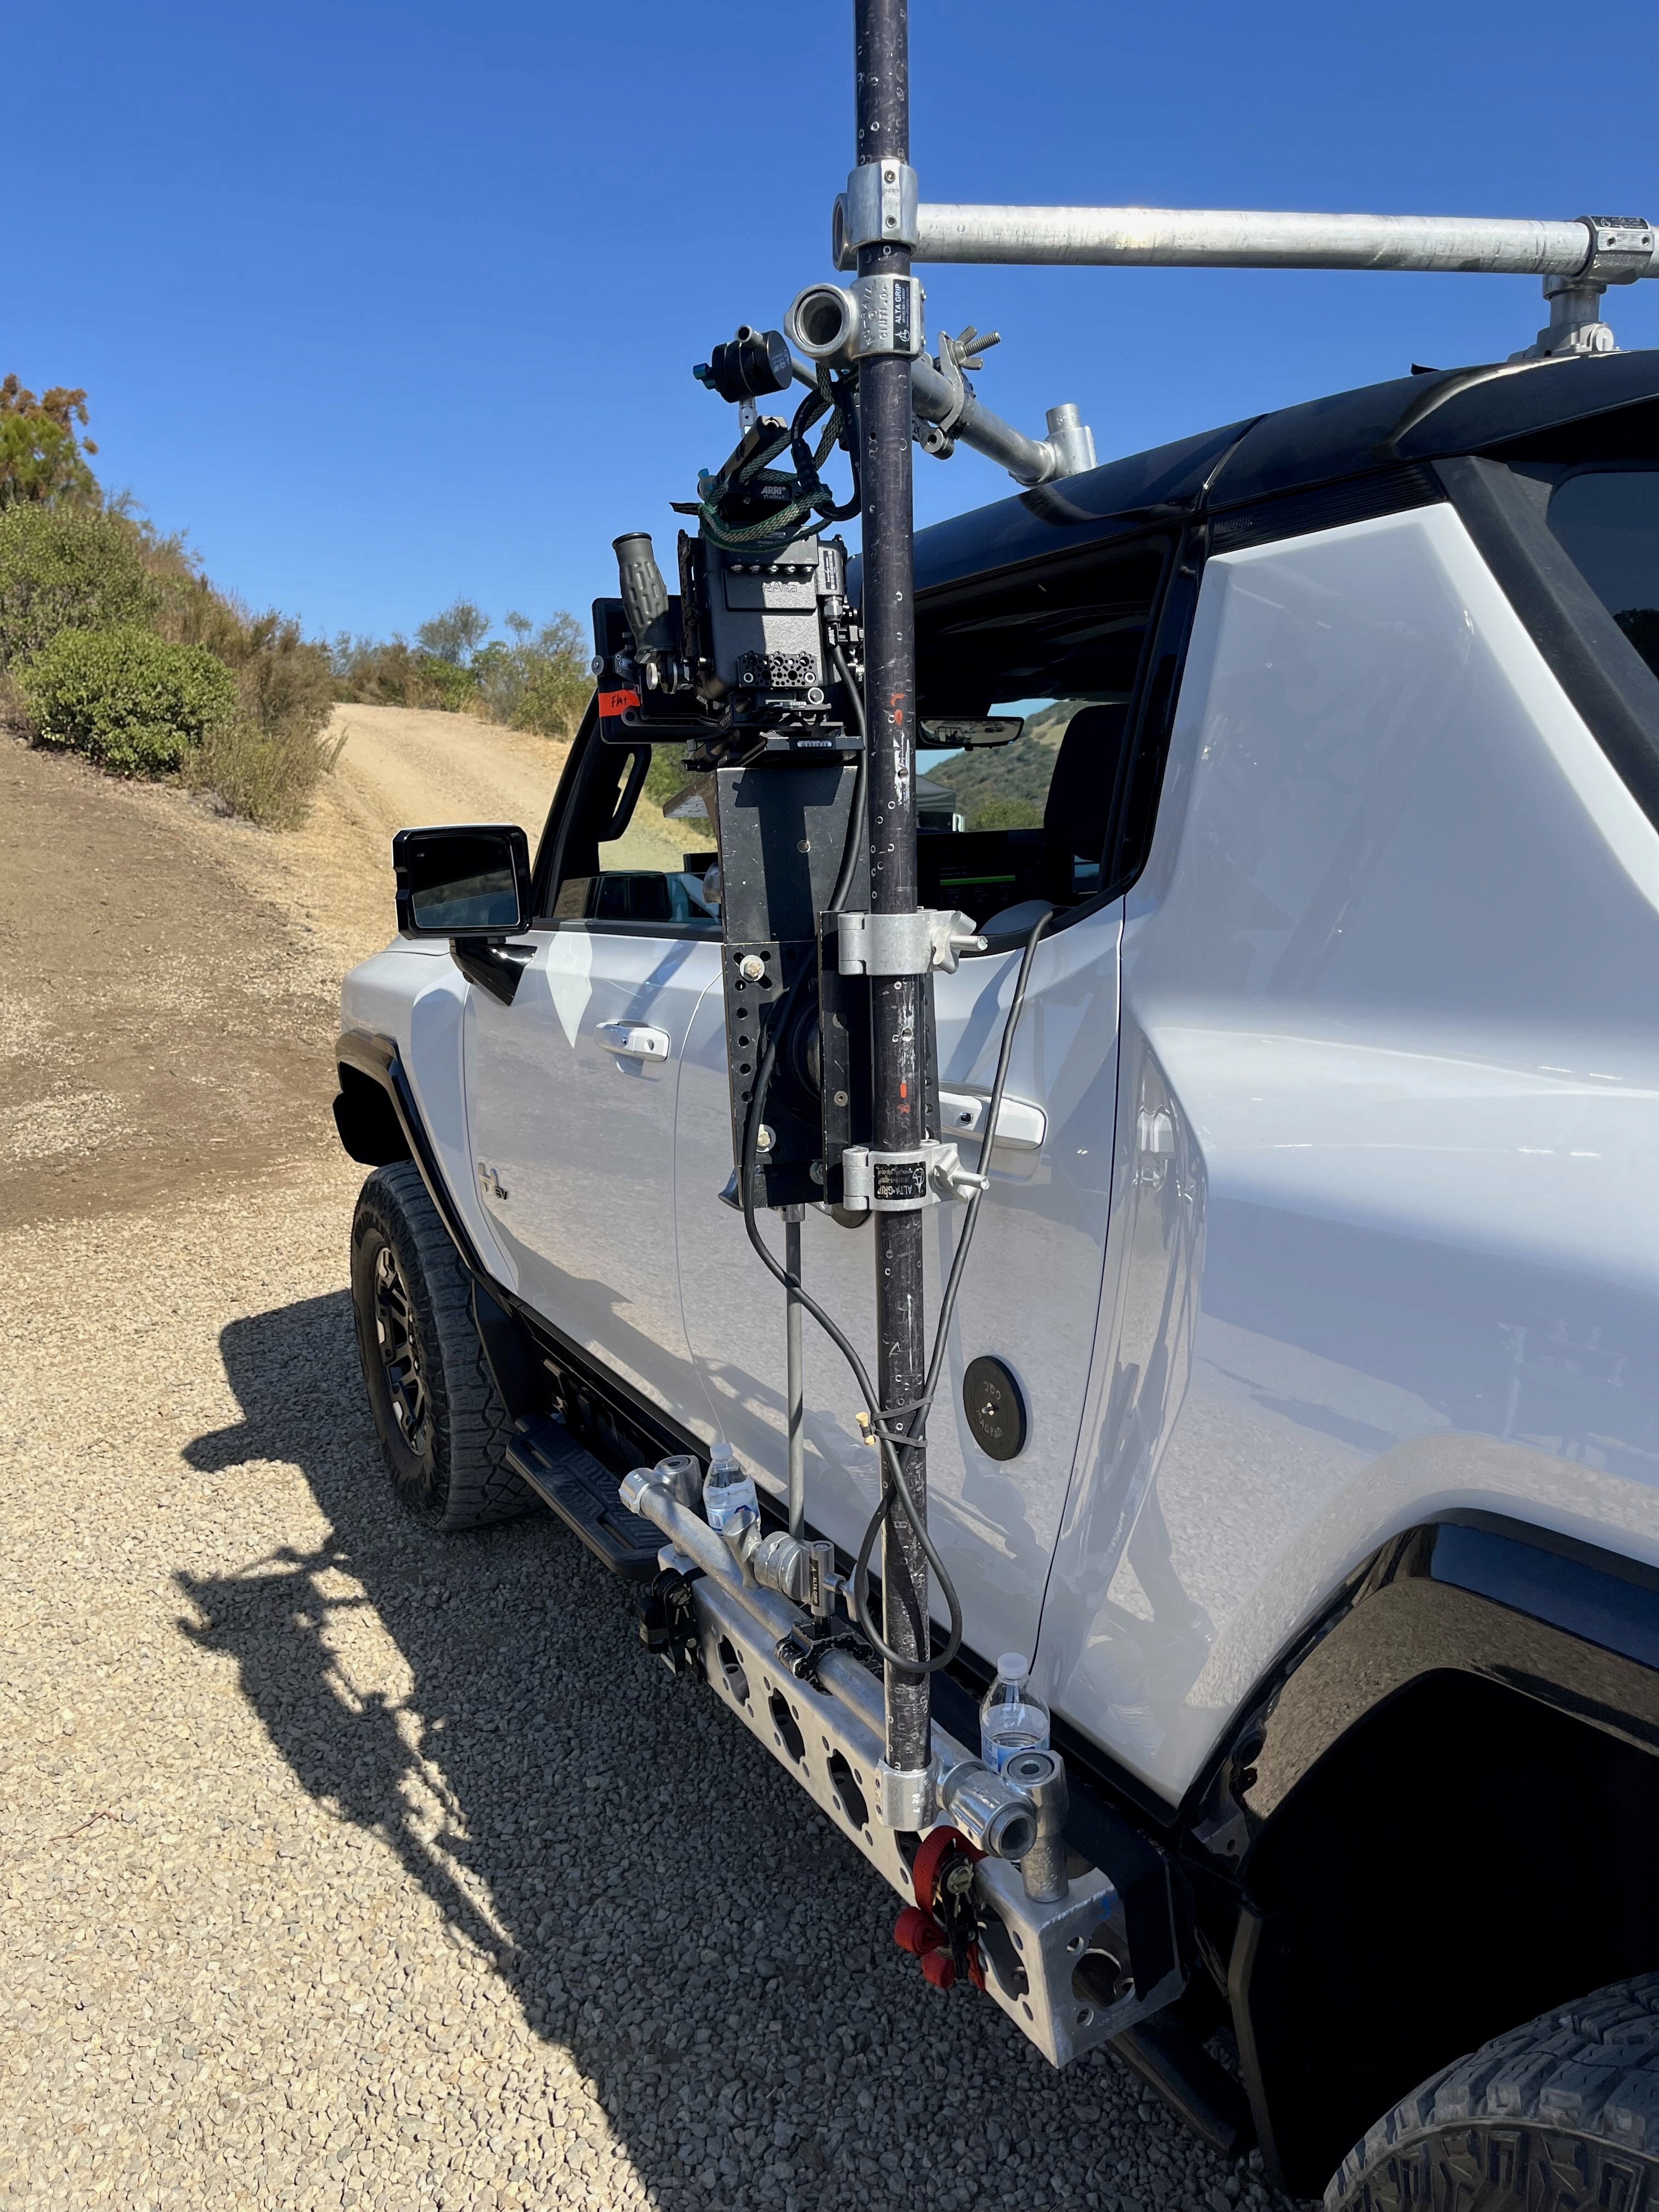
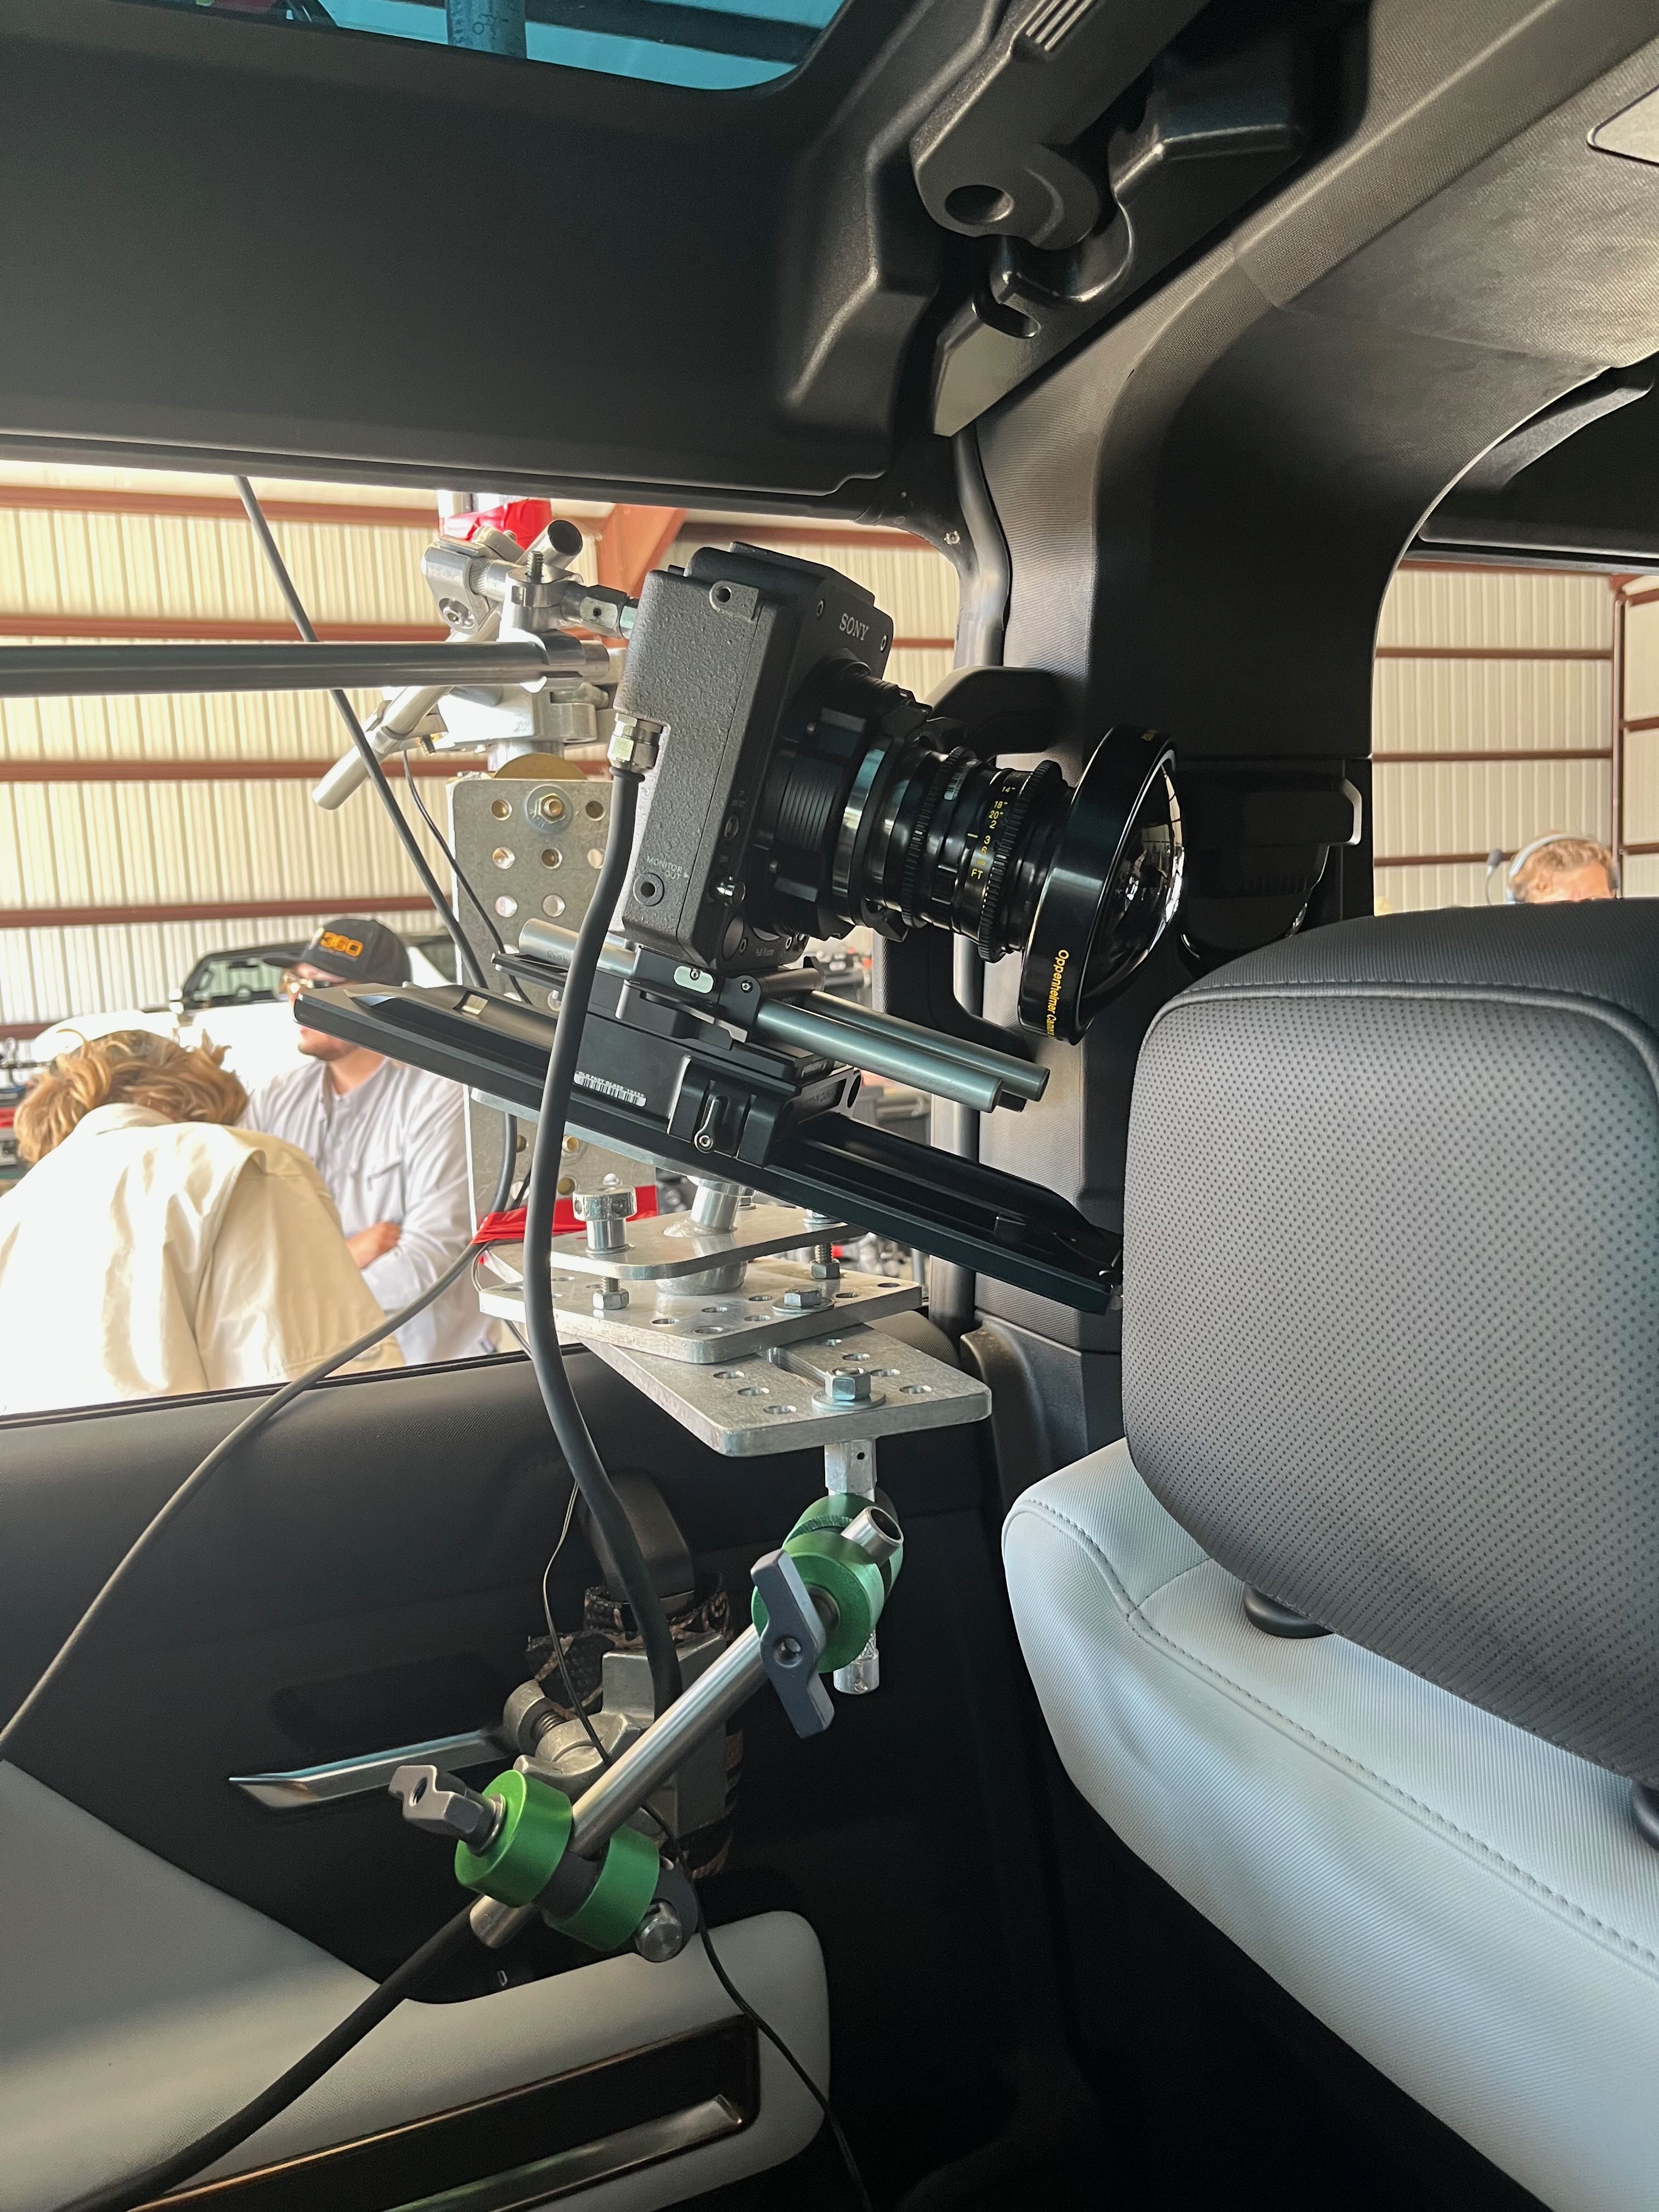
We built for adjustability on this job with Mod Truss. If you imagine, for a second, that you hold a camera in 3D space close to a vehicle and then triangulate off the camera to the vehicle with points, you’re pretty much locked into that position. Moving positions would require you to loosen all of those points, shift the camera position, hold the camera in place, and then reattach and tighten all your points without the camera shifting. This isn’t efficient. There are easier ways to make a number of things in that scenario work so much better. What I like to do, if I can, is build a system that allows for left and right, up and down, and swing adjustability. In many instances on this job I instructed my car riggers to build me a runner along the bottom side of the vehicle made out of Mod Truss with pipe that ran the length. This allowed us to slide the camera position up and down the vehicle. We’d then attach a vertical pipe to the pipe that runs horizontally along the Mod Truss. This vertical pipe could run up and down the entire length of the truss. This vertical pipe acted as our camera mounting structure. L bracket off that, a little triangulation, and you’re good to go. Even for reframing! All you needed to do was triangulate the top of that vertical pipe rigged off the Mod Truss to the roof of the vehicle.
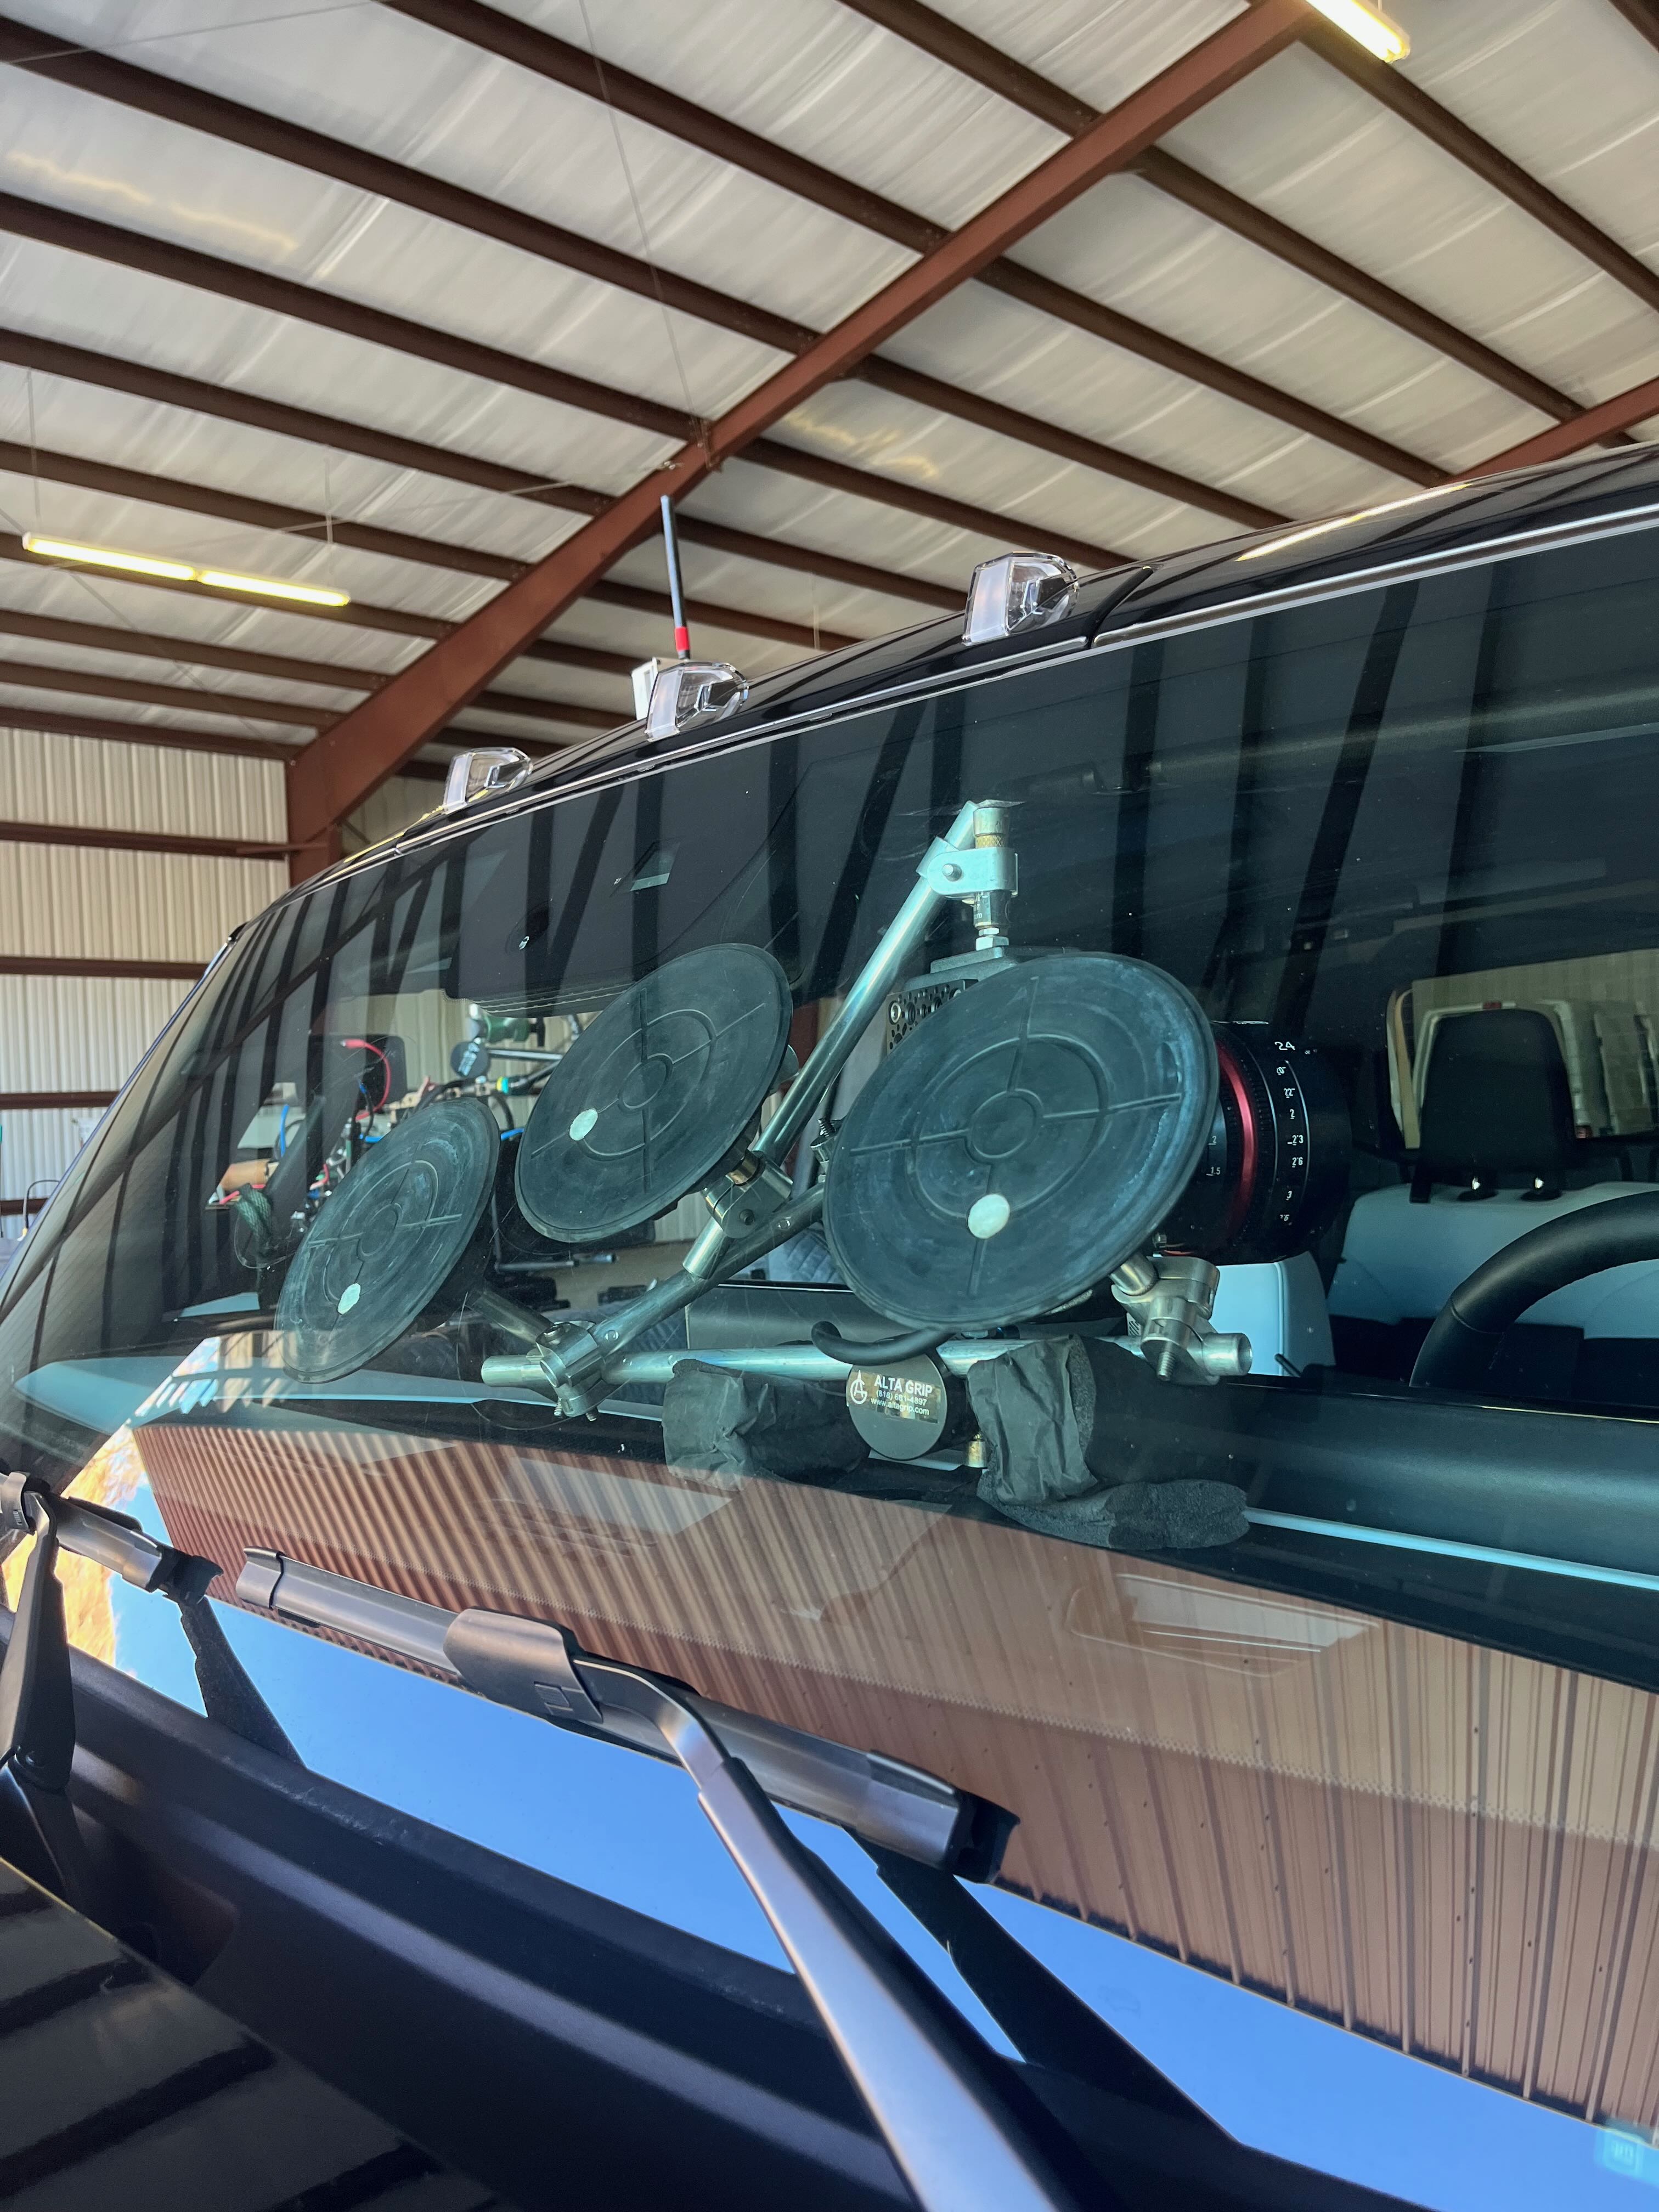
When the vehicle arrived on set and the camera was 2” too far to the rear of the car it was really easy to pop the suctions on the roof for the vertical triangulation, loosed the hollander at the bottom of that vertical, and slide it down the truss. This doesn’t work with only truss either. You can implement this same sort of idea with just pipe. Photos below to visualize what I’m describing with the truss runner and vertical pipe.
We ended up keeping 4 grips down in the car rigging station and I had 4 grips up on set with me. Worked beautifully and no large changes were needed in terms of rig placement. Huge shout out to the crew for holding down the fort and really knowing what they were doing. Had an S tier team and they made me look good.
Gear Used
the Most
Mod Truss
Suction Cups
Speedrail
5/8" Rods
Specialty
gear
Body Starters, Grenades, Unibody Pinch Clamps, Gutter Hooks, Metric to SAE Bolts
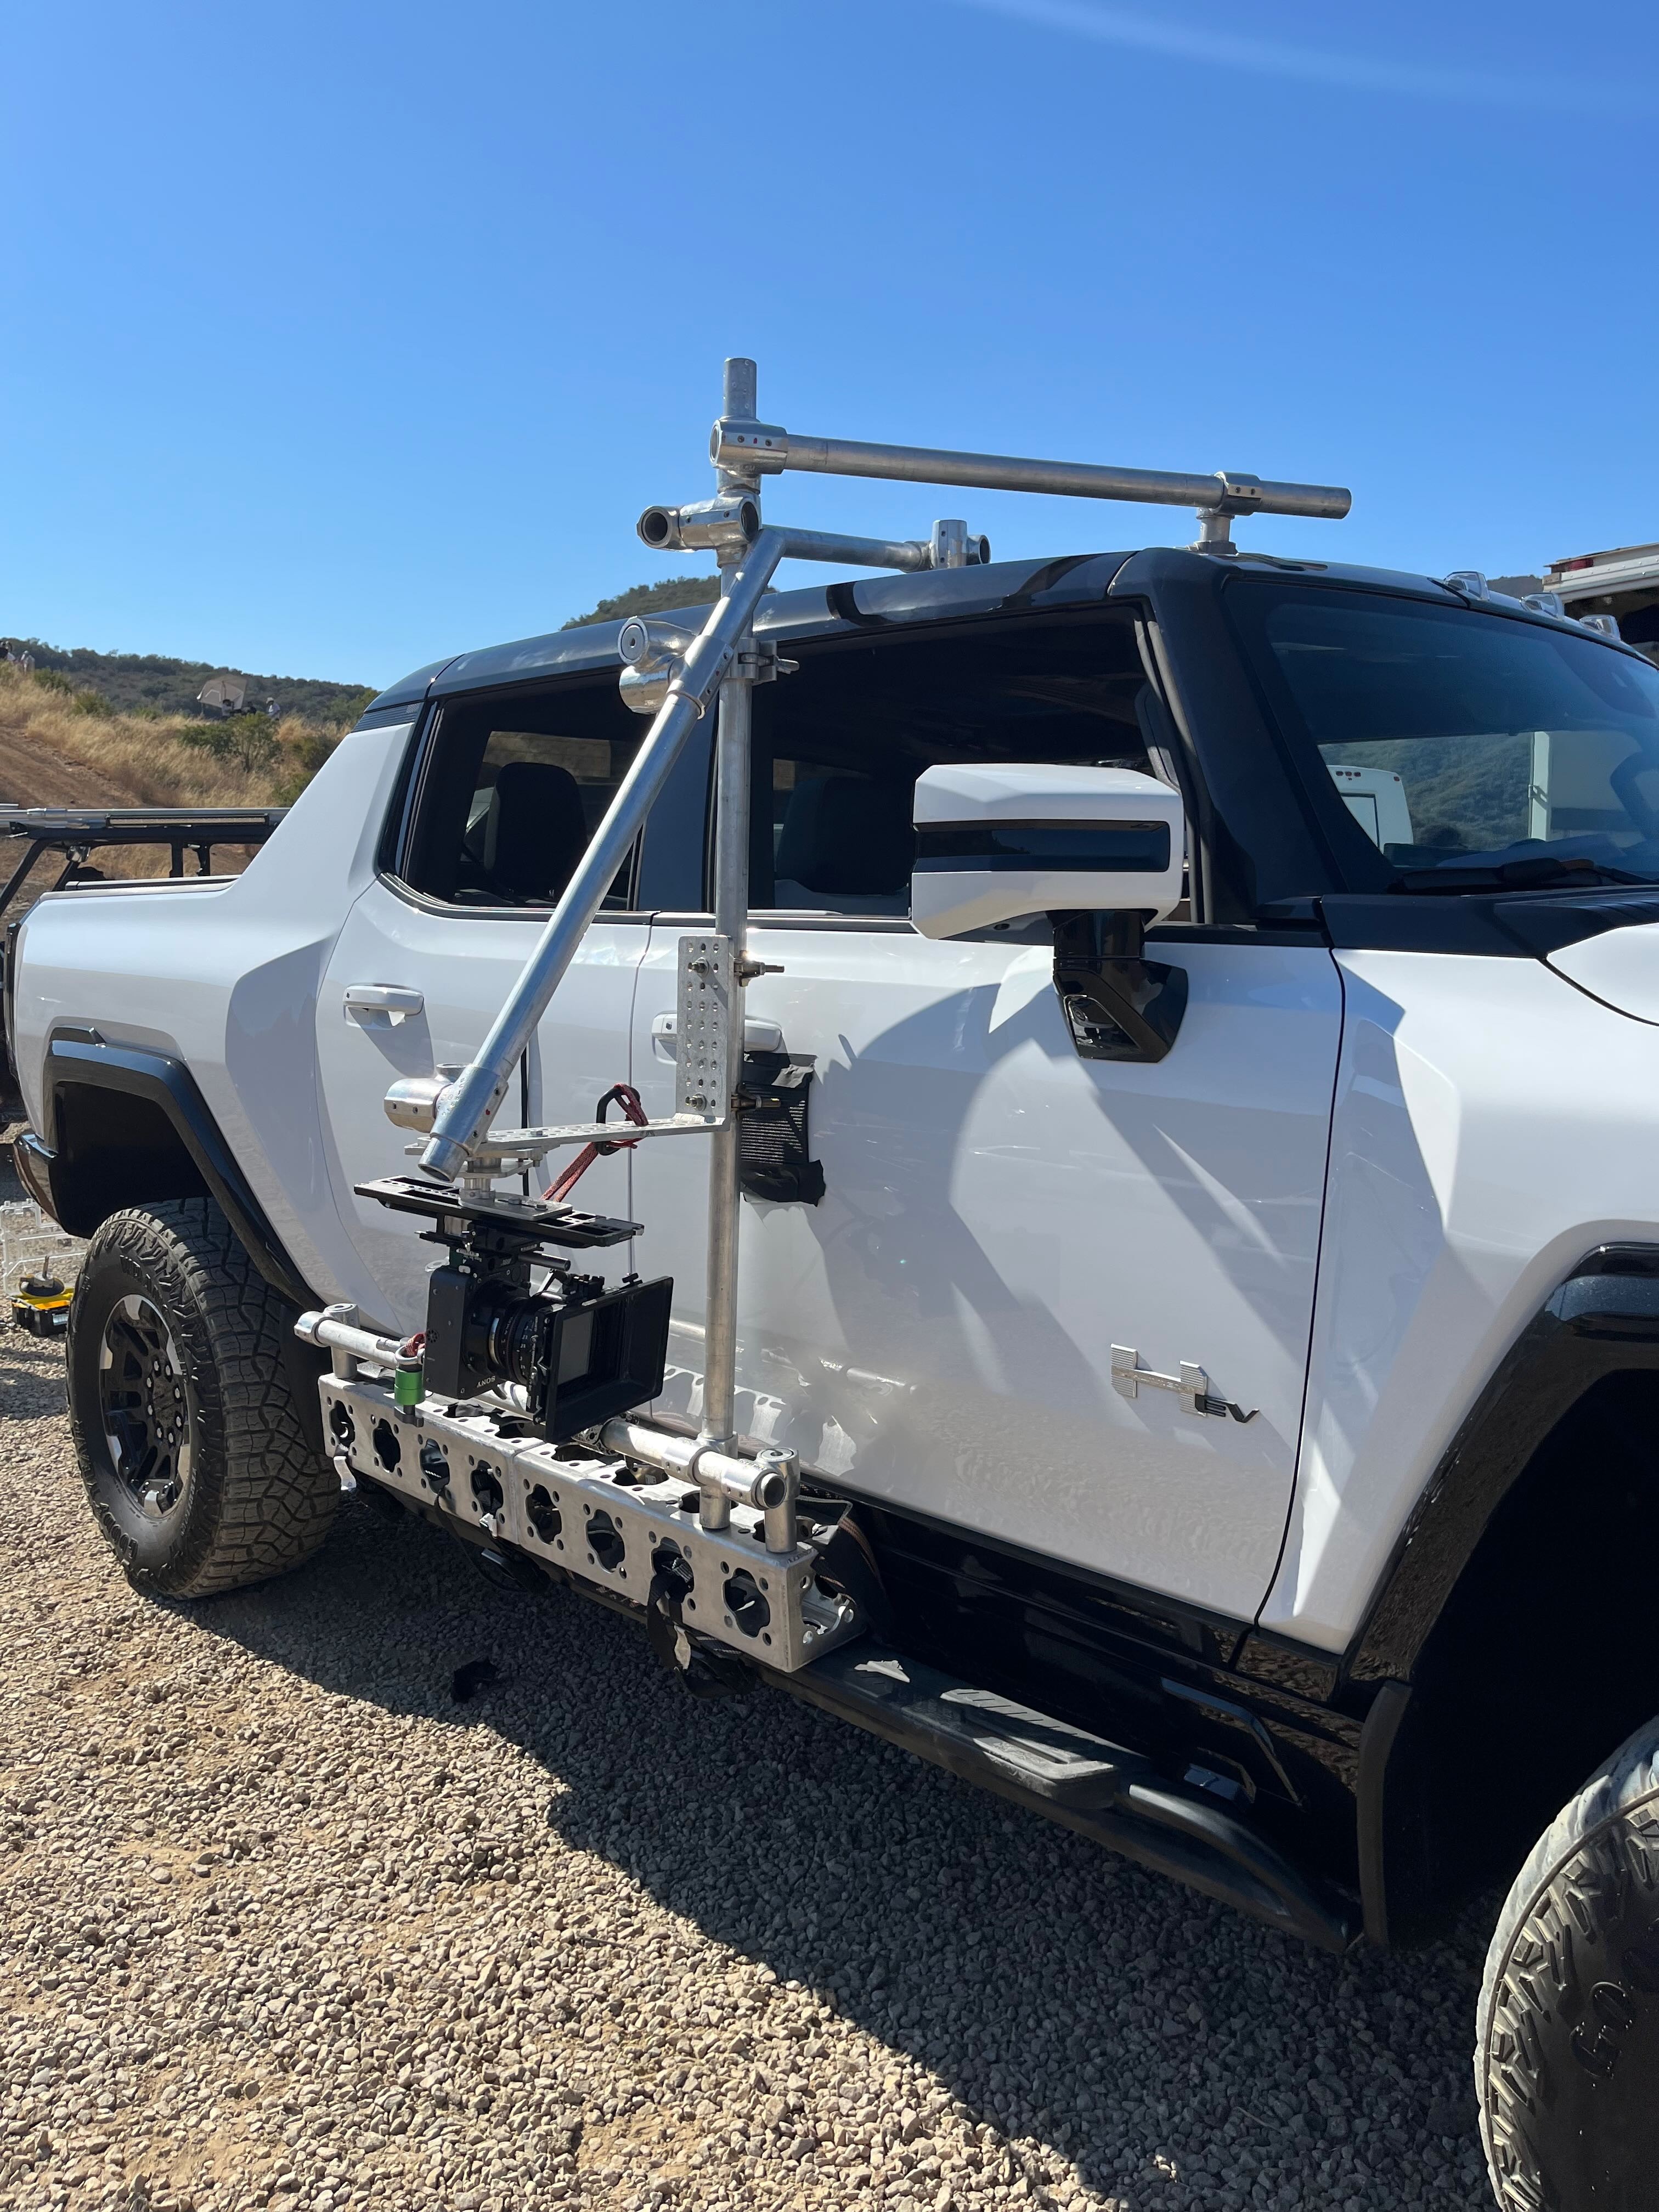
Truss runner with the horizontal pipe provides excellent adjustability options
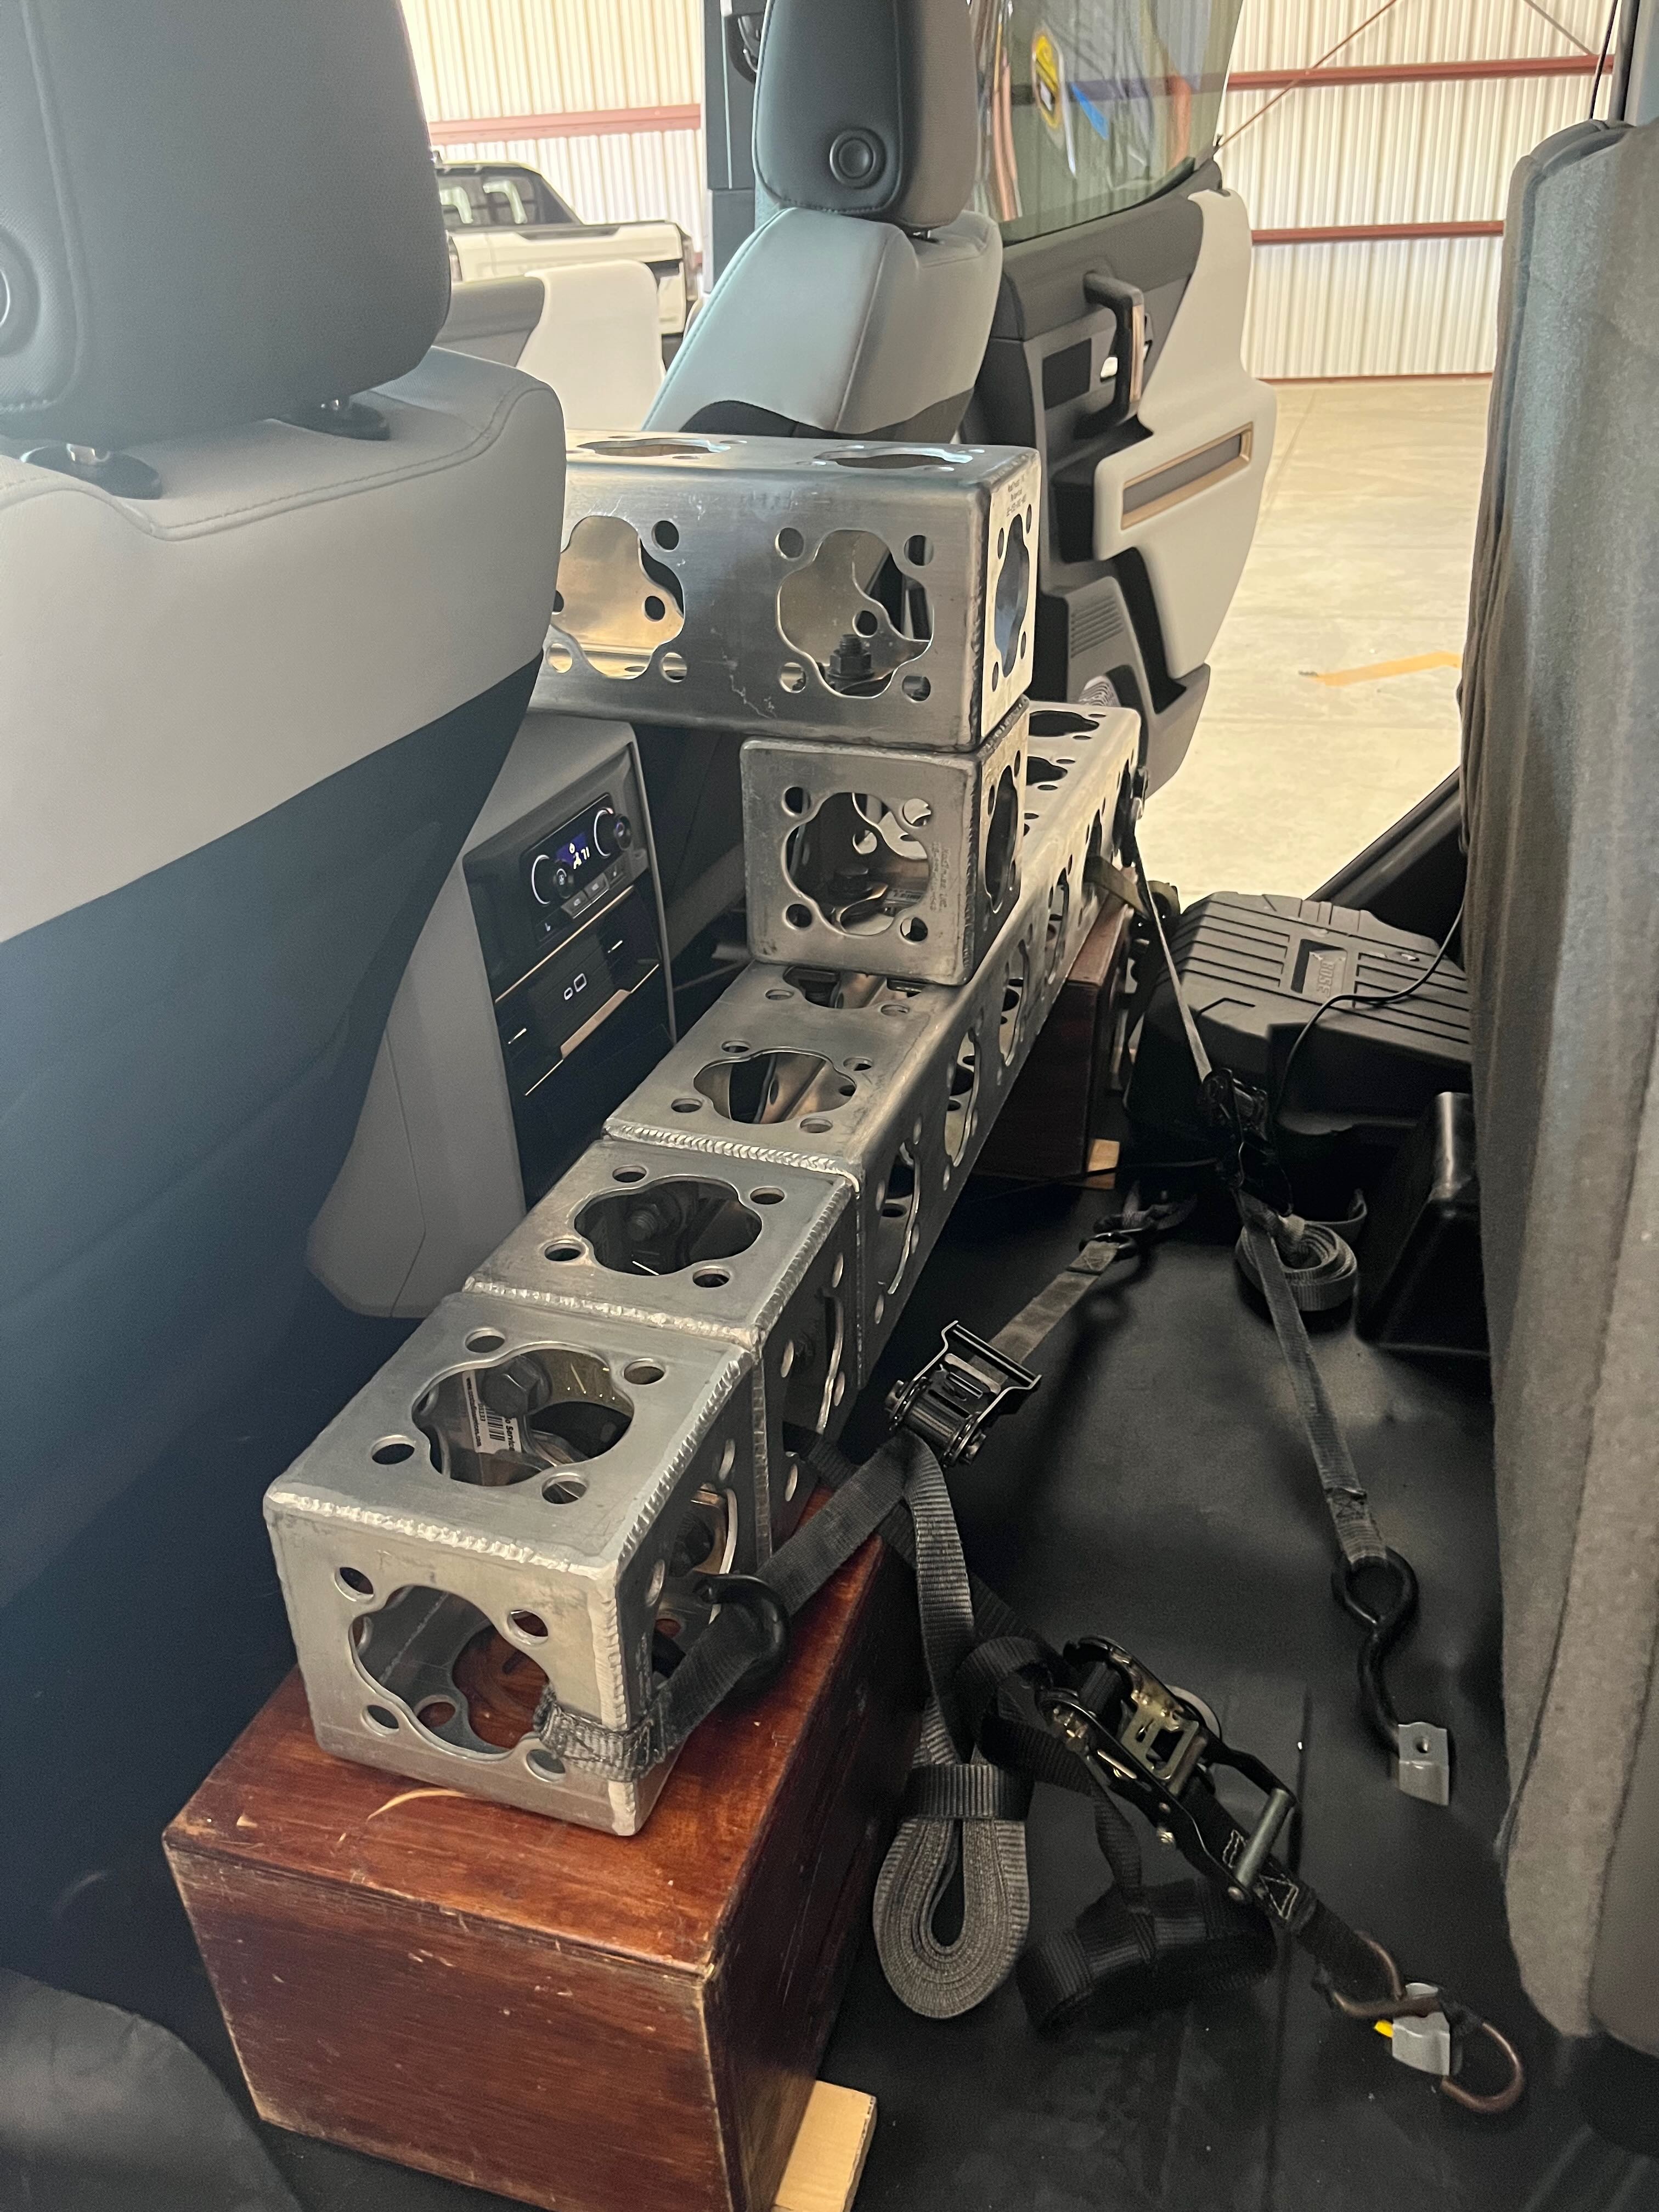
The truss provided a great rigid structure for camera positioning
The chassis height gave us ample clearance to stick truss underneath the vehicle
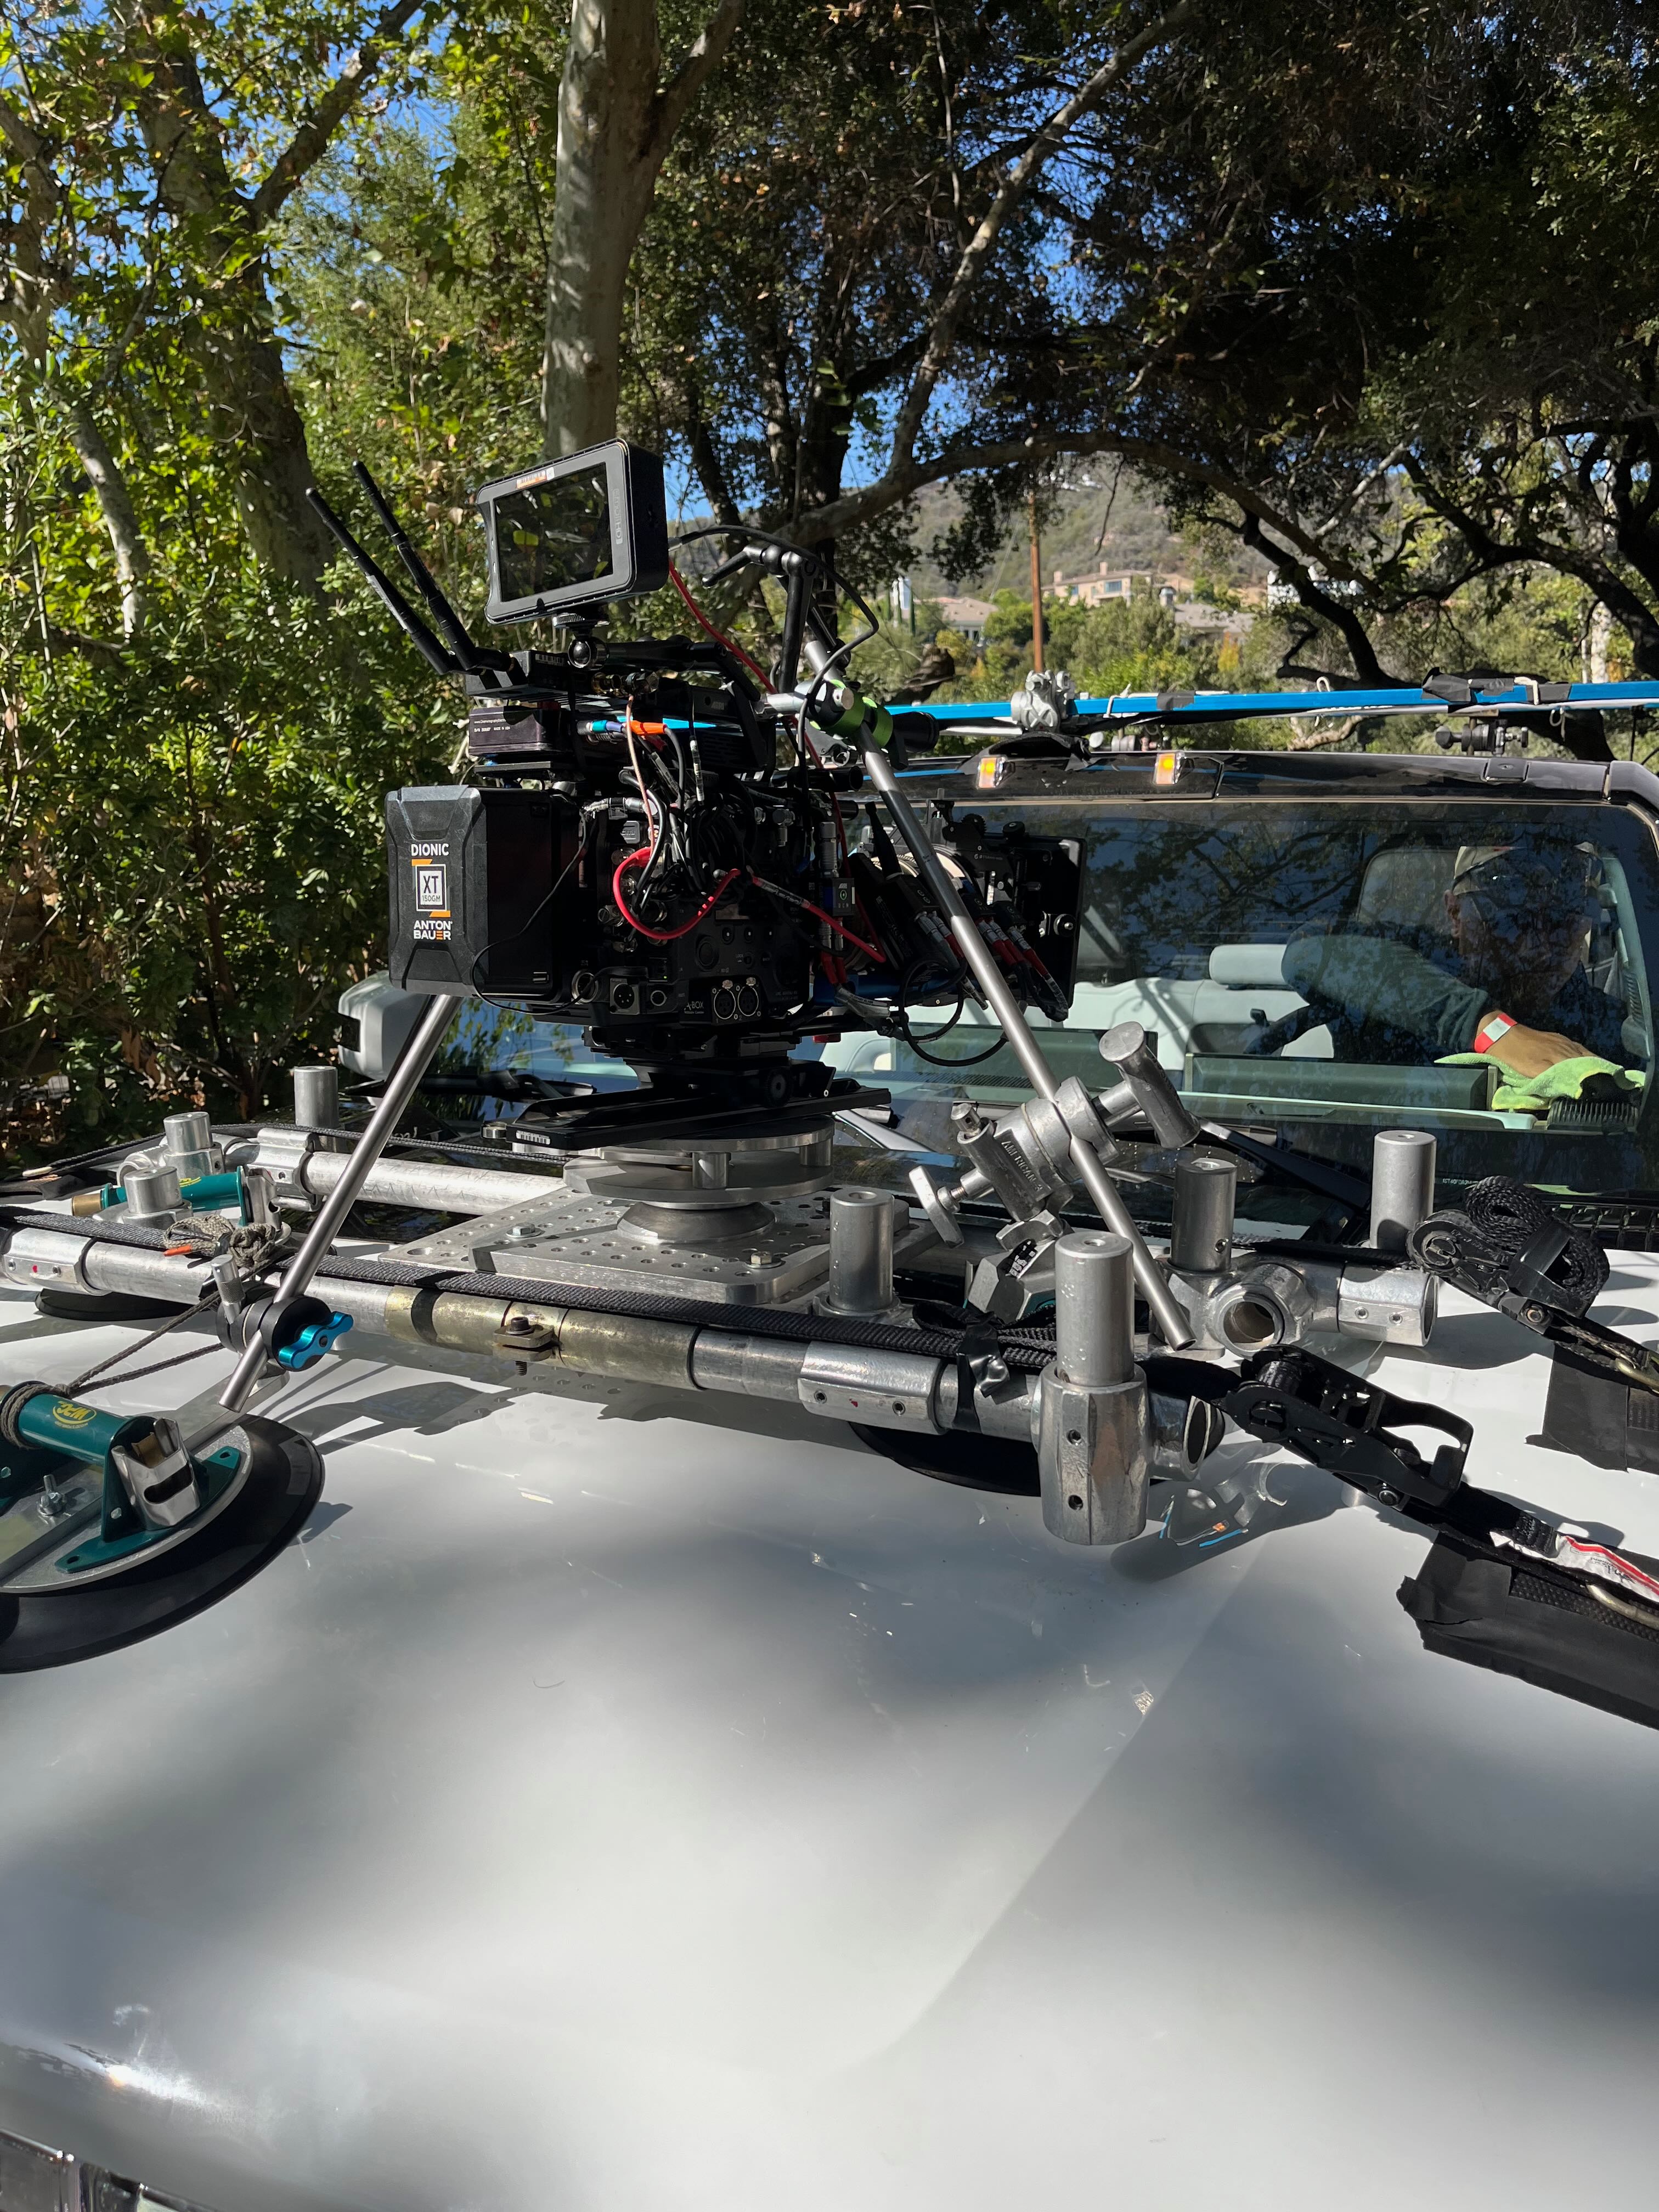
No truss here just a good old fashioned suction cup hood mount strapped in with ratchets
Built With
Mod Truss
Woods Powr-Grip Suctions
Modern Studio Equipment
Speedrail
On set mvp
Scott Hollander rocked this one out. Guy is an industry veteran and needed little to no direction when asked to set a camera position. Scott knows all the tricks of the trade and comes up with solutions to make things work. He’s got great ideas and knows how to lead a crew. This is one of those guys who is an asset to any team. We were super lucky to have him. Thanks, Scott!

by:
Brendan Riel