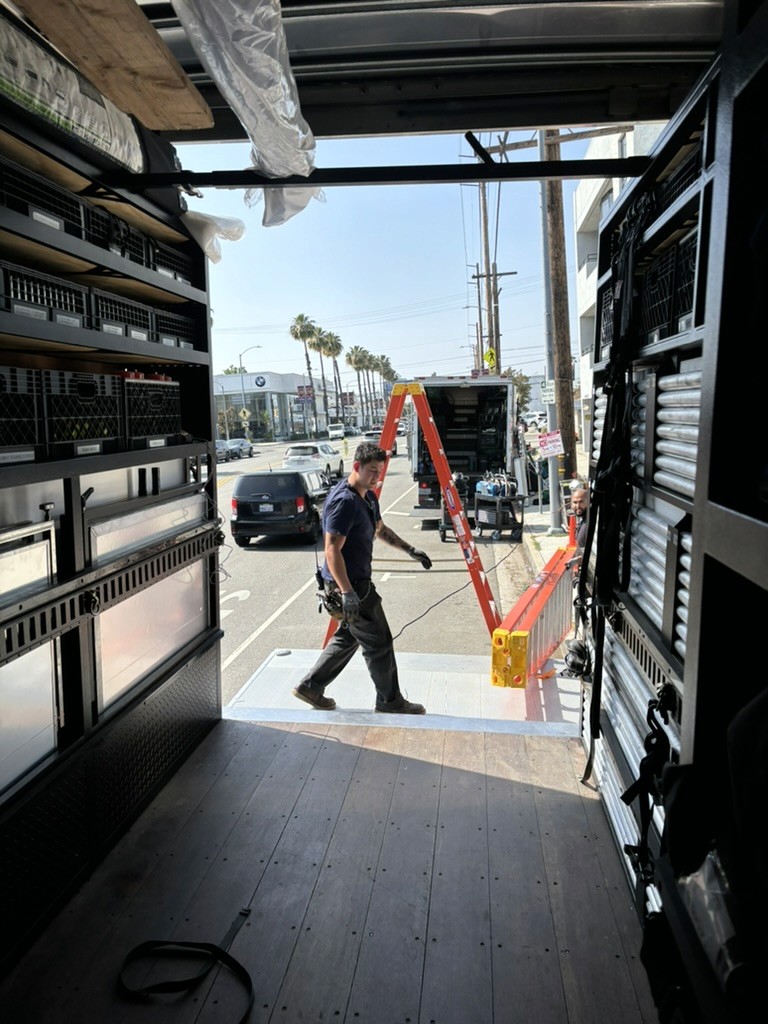
Tents & Camera Rigs
Cinematographer
Ryan Spacone
Lighting
Camera Rigging
On Set
KEY GRIP
Brendan Riel
Overview
Industry:
Live Event
Location:
Los Angeles
Grip Package:
Legacy Grip 5 Ton
Shoot Days:
2
the crew
Gaffer:
Thomas Sigurdsson
Best Boy Grip:
Connor Colby
Grips:
Nick Zajic, Vic Roca, Jordan Hodges, DJ Meyer
Day 1
This was a 2 day spot for a live event company. We scouted a few days before the shoot and felt pretty good coming into it. We shot 3 different spots in 2 days.
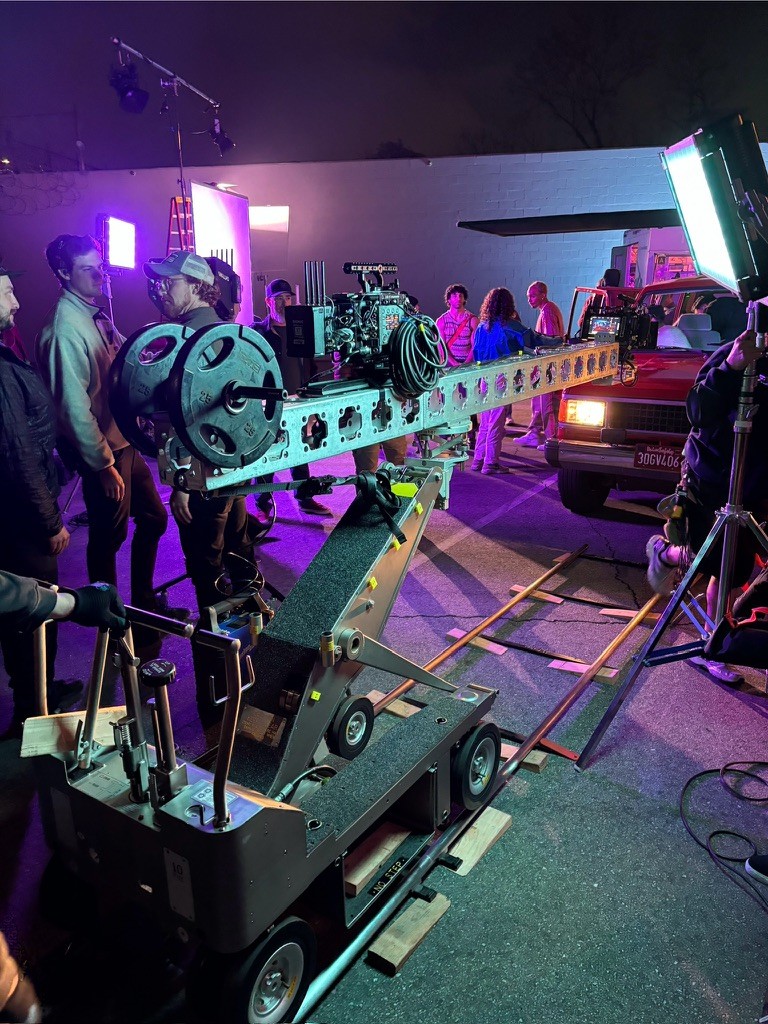
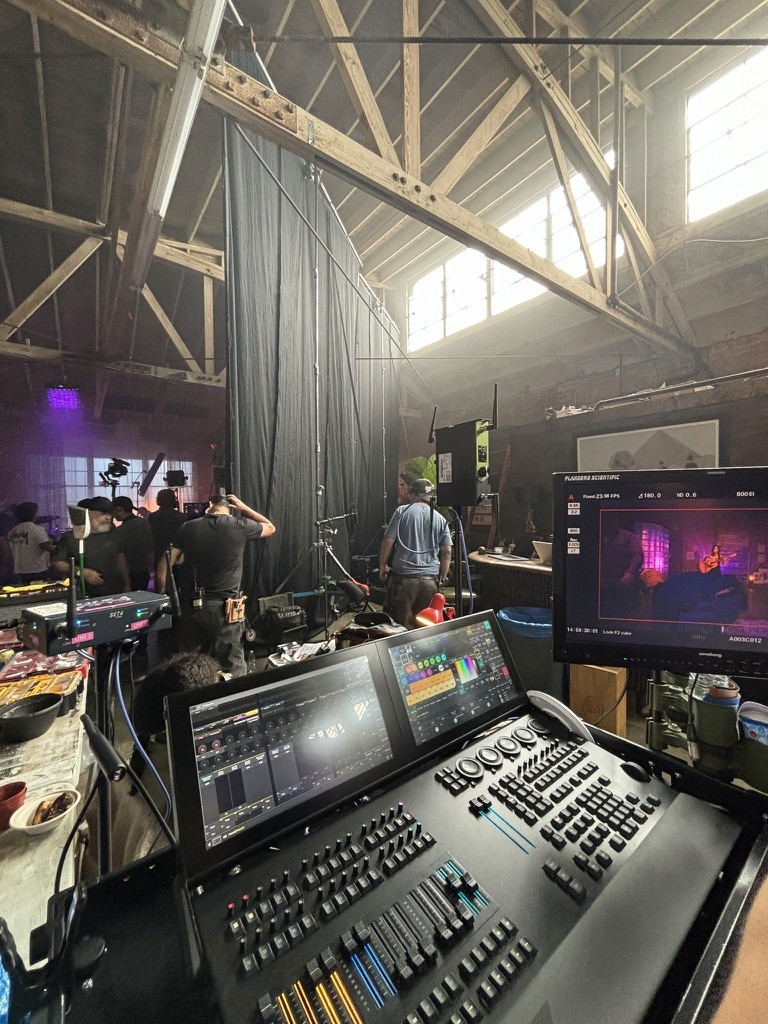
Day 1 we shot in a restaurant. Our main artist talent for the day was only going to be with us for 45 minutes max when she showed up. We had 2 hours to set up and then we shot her out. We shot with our other talent the rest of the day and wrapped after 10 hours. Since we were shooting in an active restaurant we kept all our lighting on the ground. For our key light we employed the use of a Matthew max menace arm. We went for a stage lighting look and rigged some movers to 2x 10' sticks of black 12" box truss on base plates. Electricians brought in 2 more par trees with some additional small moving lights. All 4 of those blended into the background nicely. The rest of the day involved moving around the max menace arm and employing some ground units with 4x diffusion.

Restaurant BTS
Setup Overview
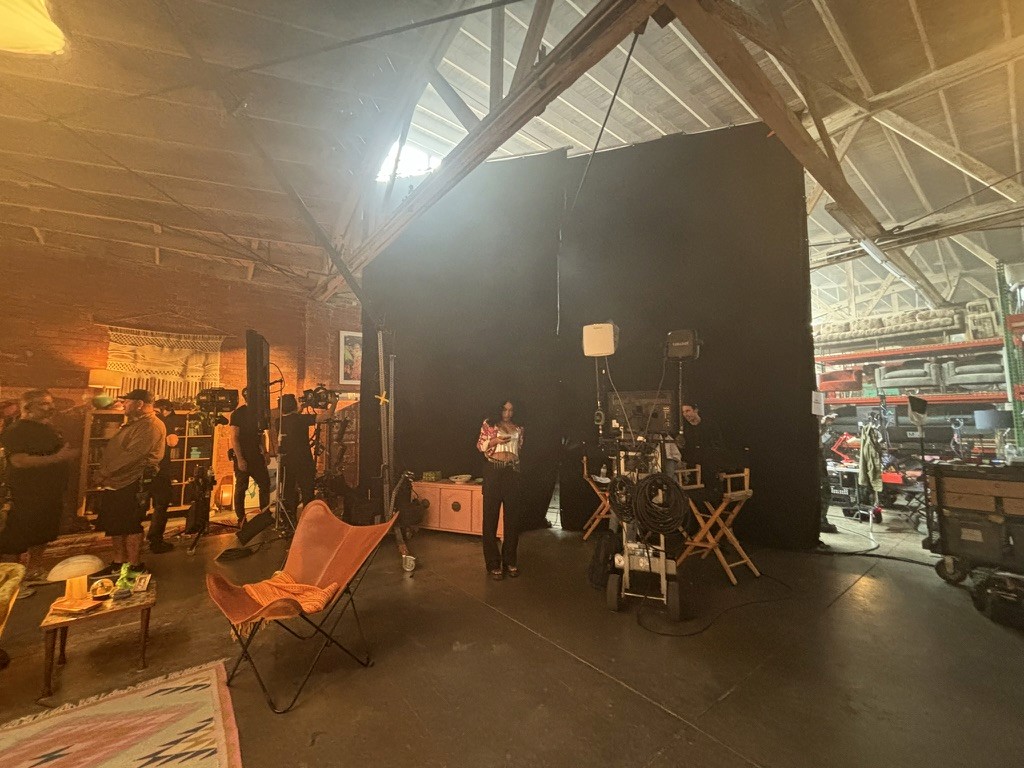
Day 2
Day 2 we shot in the showroom area of a prop house and an empty parking lot.
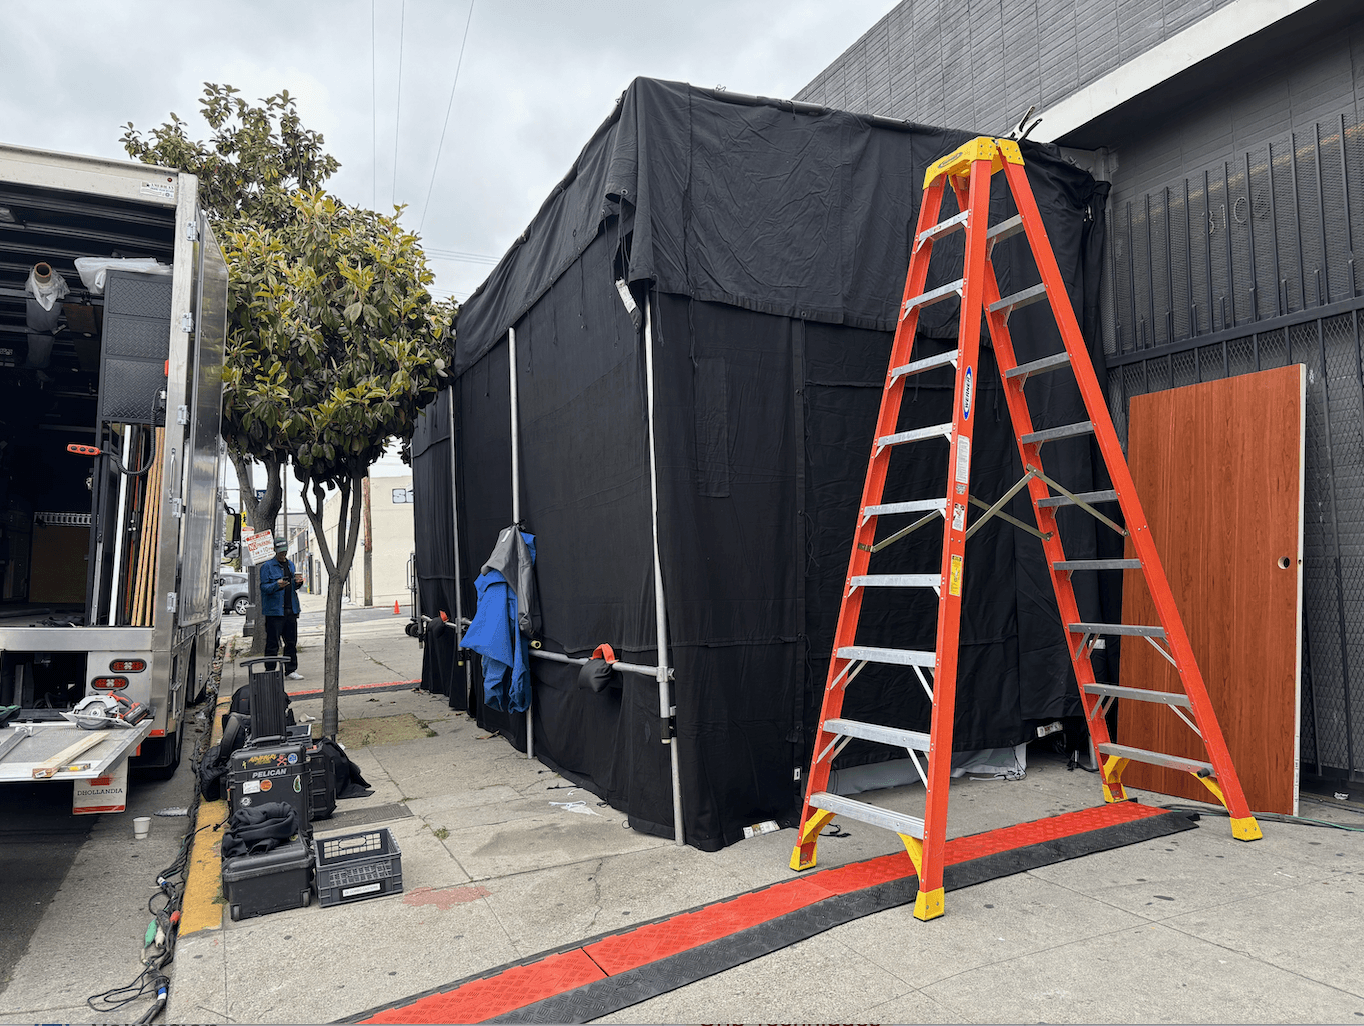
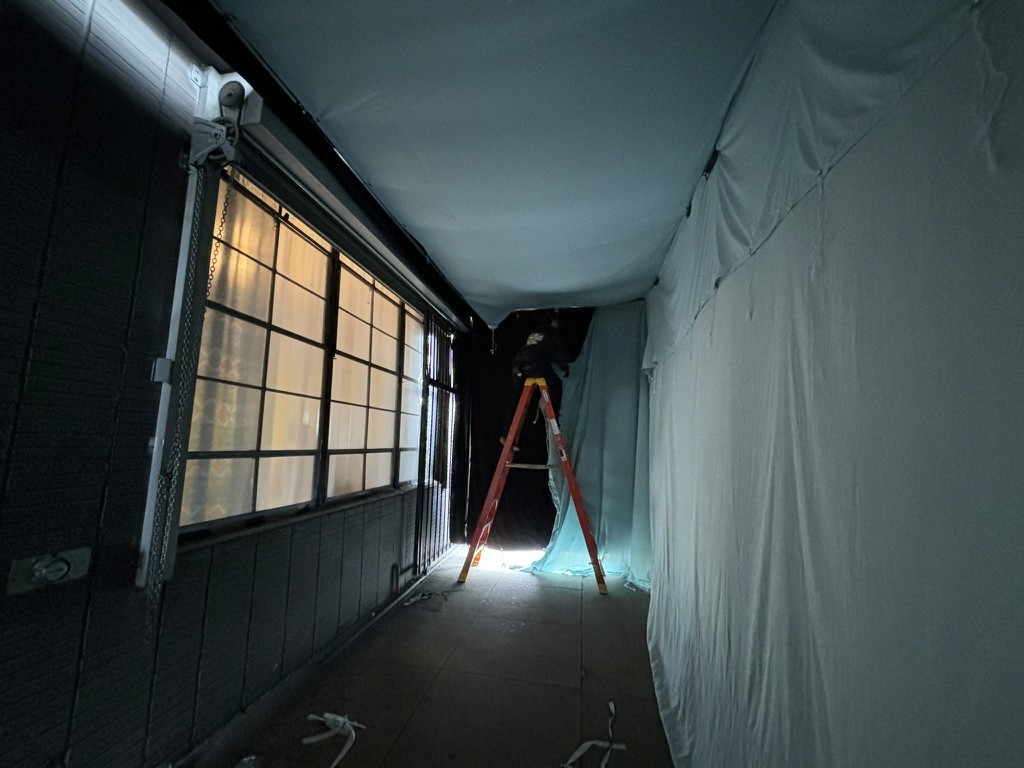
We had a lot more flexibility with talent on this day. Our bedroom set was constructed in the showroom area. We looked in 3 different directions. Art set up a flat on one end to hide a roll up door and to shrink the size of the room. The back wall of the set was the real building wall and was covered with large windows that looked out to the street. We ended up tenting the whole wall from the outside to maintain consistency with our daylight look and provide control for our in camera change from daylight to party mode.
The exterior tent was 27' wide, 8' deep and 11' tall. We constructed the skeleton out of speedrail. On the feet I like to use over unders so we can adjust the height of various verticals. This is helpful when your area isn't perfectly flat. It also helps to achieve heights that vary from our standard speedrail lengths of 8', 10', 12', 14', etc.
Our methodology for tenting is to usually build the skeleton, then tie our wall solids on all the way around. If we are worried about seeing the speedrail up top then we'll speed clip the rag to hide the pipe. After the sides are on all the way around we will drape the top solid over the top and speed clip that on as well.
In this specific instance we lined the interior with day blue muslin so we would get a sky-like ambiance from the inside. We frosted the windows from the outside with hampshire and curtains helped blend the outside muslin.
Our interior lighting consisted of a few overhead lights rigged to the warehouse beams, a max menace with a litemat and some floor units that floated around. We brought in a couple of 12x20 solids rigged in the vertical orientation to kill some daylight spill from window lights behind camera. This spot was all about controlling the environment.
After we shot out the warehouse we moved to the parking lot. Electricians set up some area lights to light the space. We set up a 12x12 bounce and shaped it with a bottomer and sider. We had some additional ground units some of which we diffused with some 4x frames and shaped them up with flags.
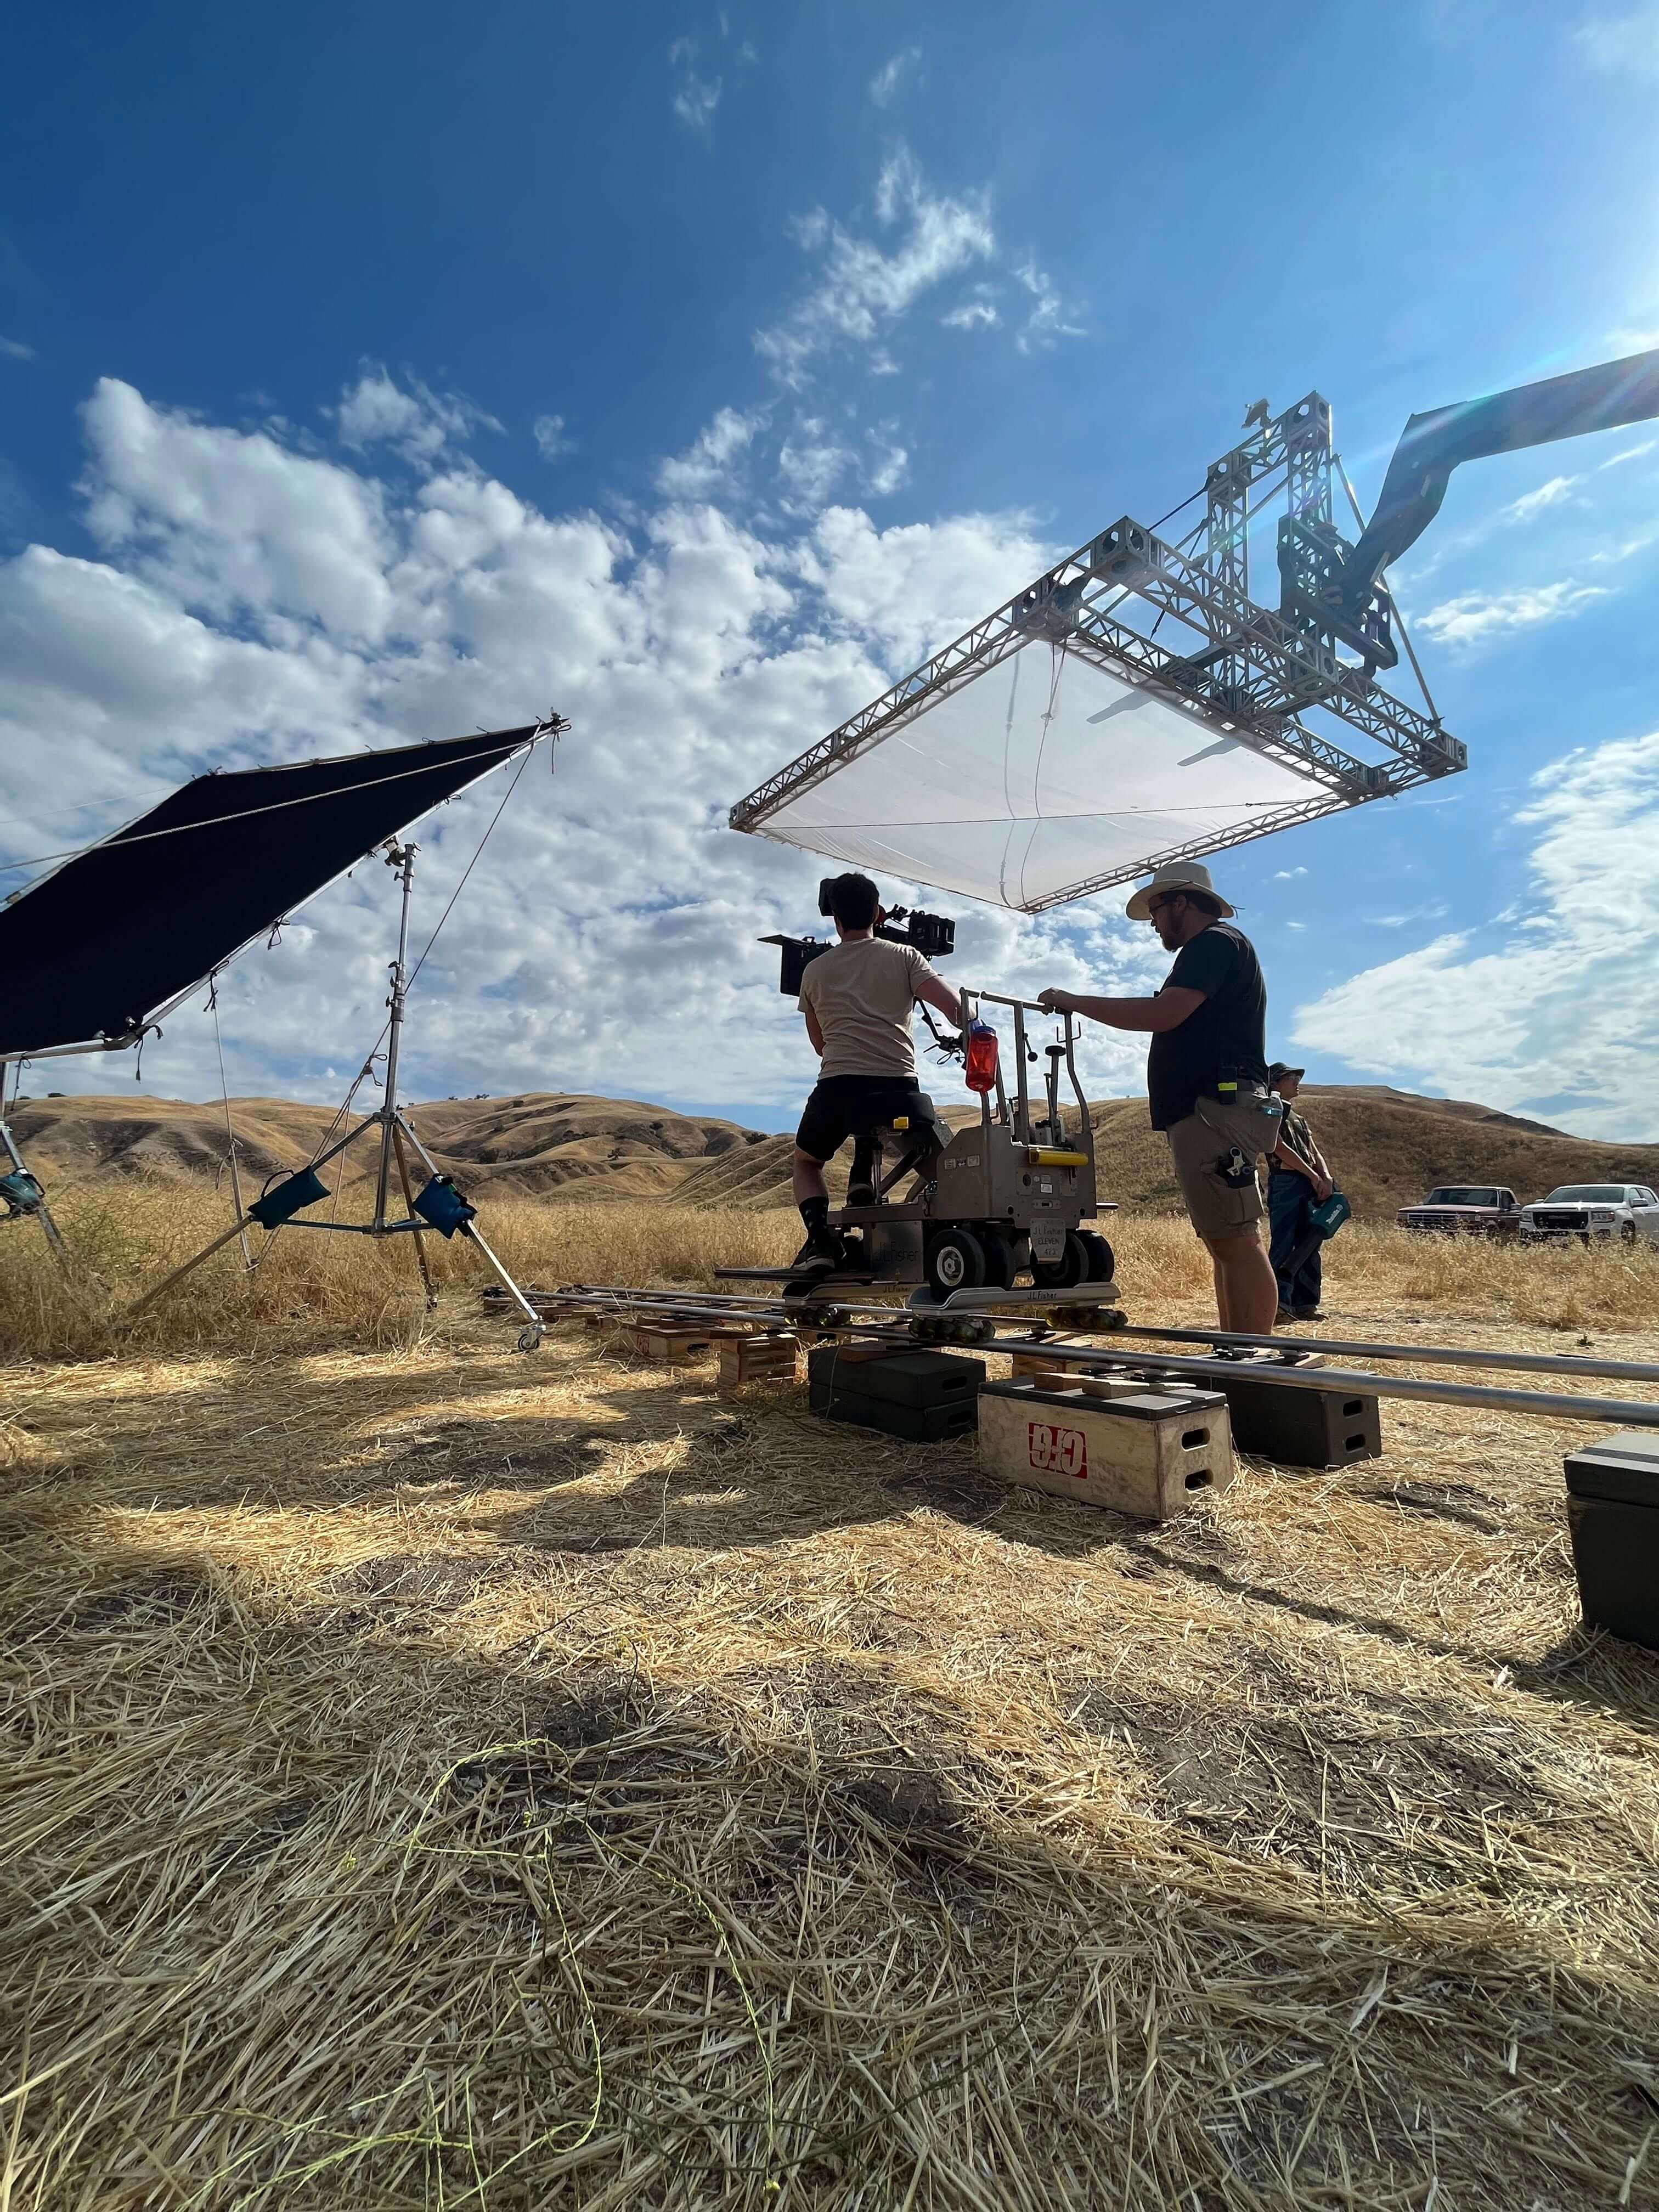
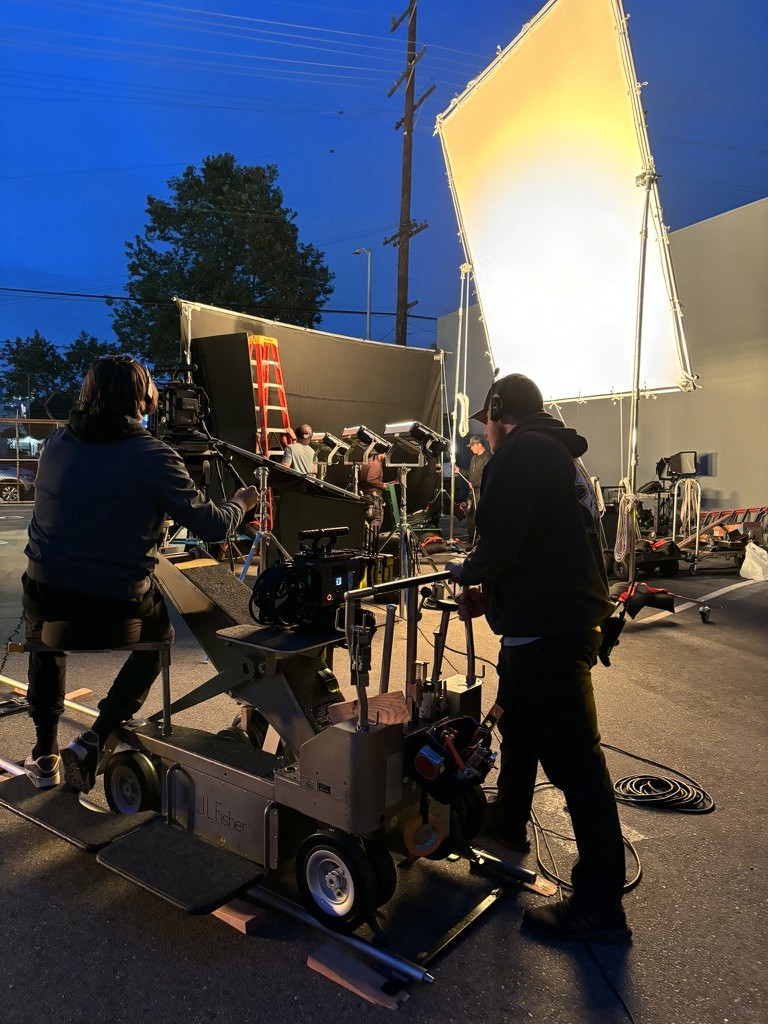
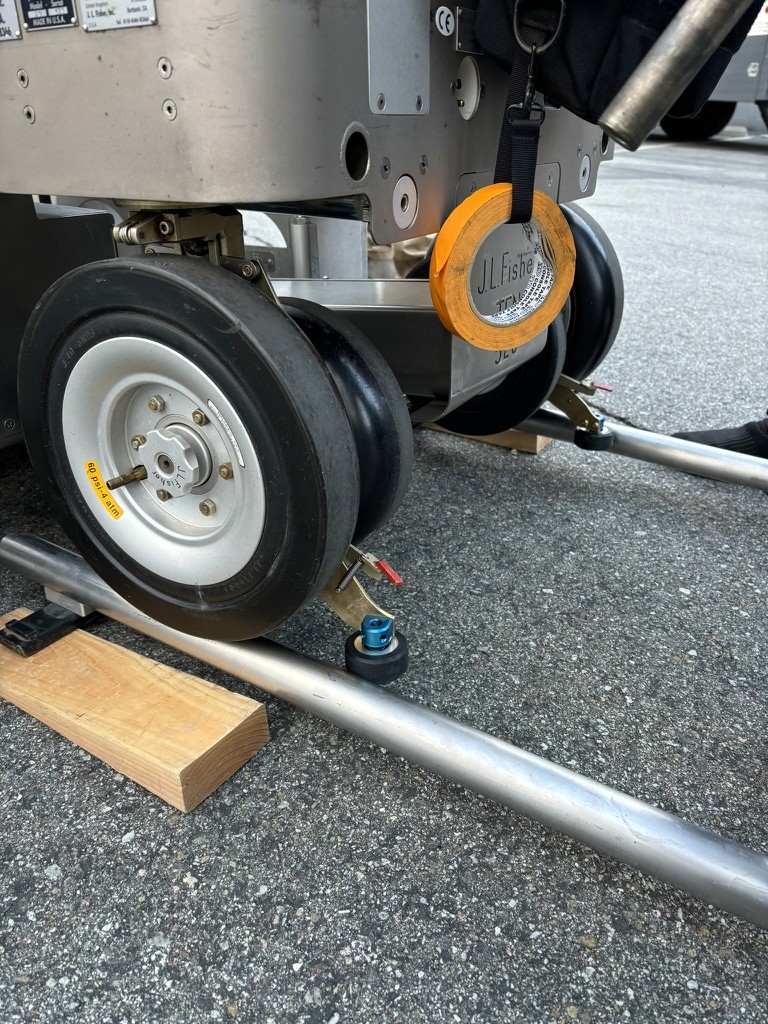
We rocked the fisher model 10 with an underslung 4' slider which provided the platform for a lot of our camera movement. For our specialty shot we employed the use of Modulus-X truss to create a dolly offset. This allowed us to push up and over the hood up to the windshield. They had originally planned on removing the windshield so we could push camera into the car but this was scrapped last minute.
Gear Used
the Most
Solids
Matthews max menace
4x4 diffusion frames
American stands
Specialty
gear
We used Modulus-X Mx|66| truss for our dolly offset. The truss works really well as an offset with minimal deflection. We counterweight the truss with weight plates to balance the load of the camera on the nose. Truss and Modparts provided by Division.
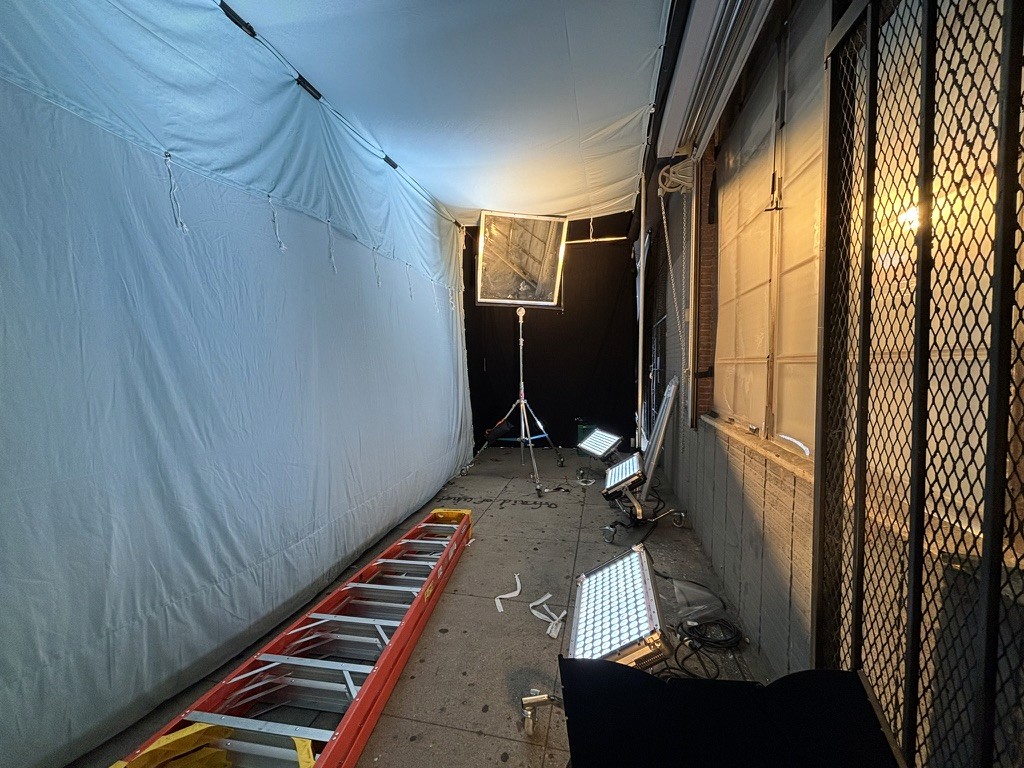
Interior tent with day blue muslin

Our interior lighting and exterior tent result
Modulus-X camera offset
12x12 bounce shaped with solids
Built With
Modulus-X
LA Rag House
American Grip
Matthews
On set mvp
Nick is a key player on any shoot he's on. He thrives behind the dolly and understands camera movement. He collaborates effortlessly with his camera operators to execute the vision with ease. Who's that creepy guy behind him though?


by:
Brendan Riel