Vertical Camera Rig & Tents

Cinematographer
Josh Saideman
Behind The Scenes
Camera Movement
Lighting
KEY GRIP
Brendan Riel
Overview
Industry:
Food
Location:
Los Angeles
Grip Package:
Legacy Grip 5 Ton
Shoot Days:
2
the crew
Gaffer:
Thomas Sigurdsson & Jacob Abrams
Best Boy Grip:
Connor Colby
Grips:
Logan Alesso, Kyle Sorvig, Vic Roca, Thorn Shaffer
The Tents
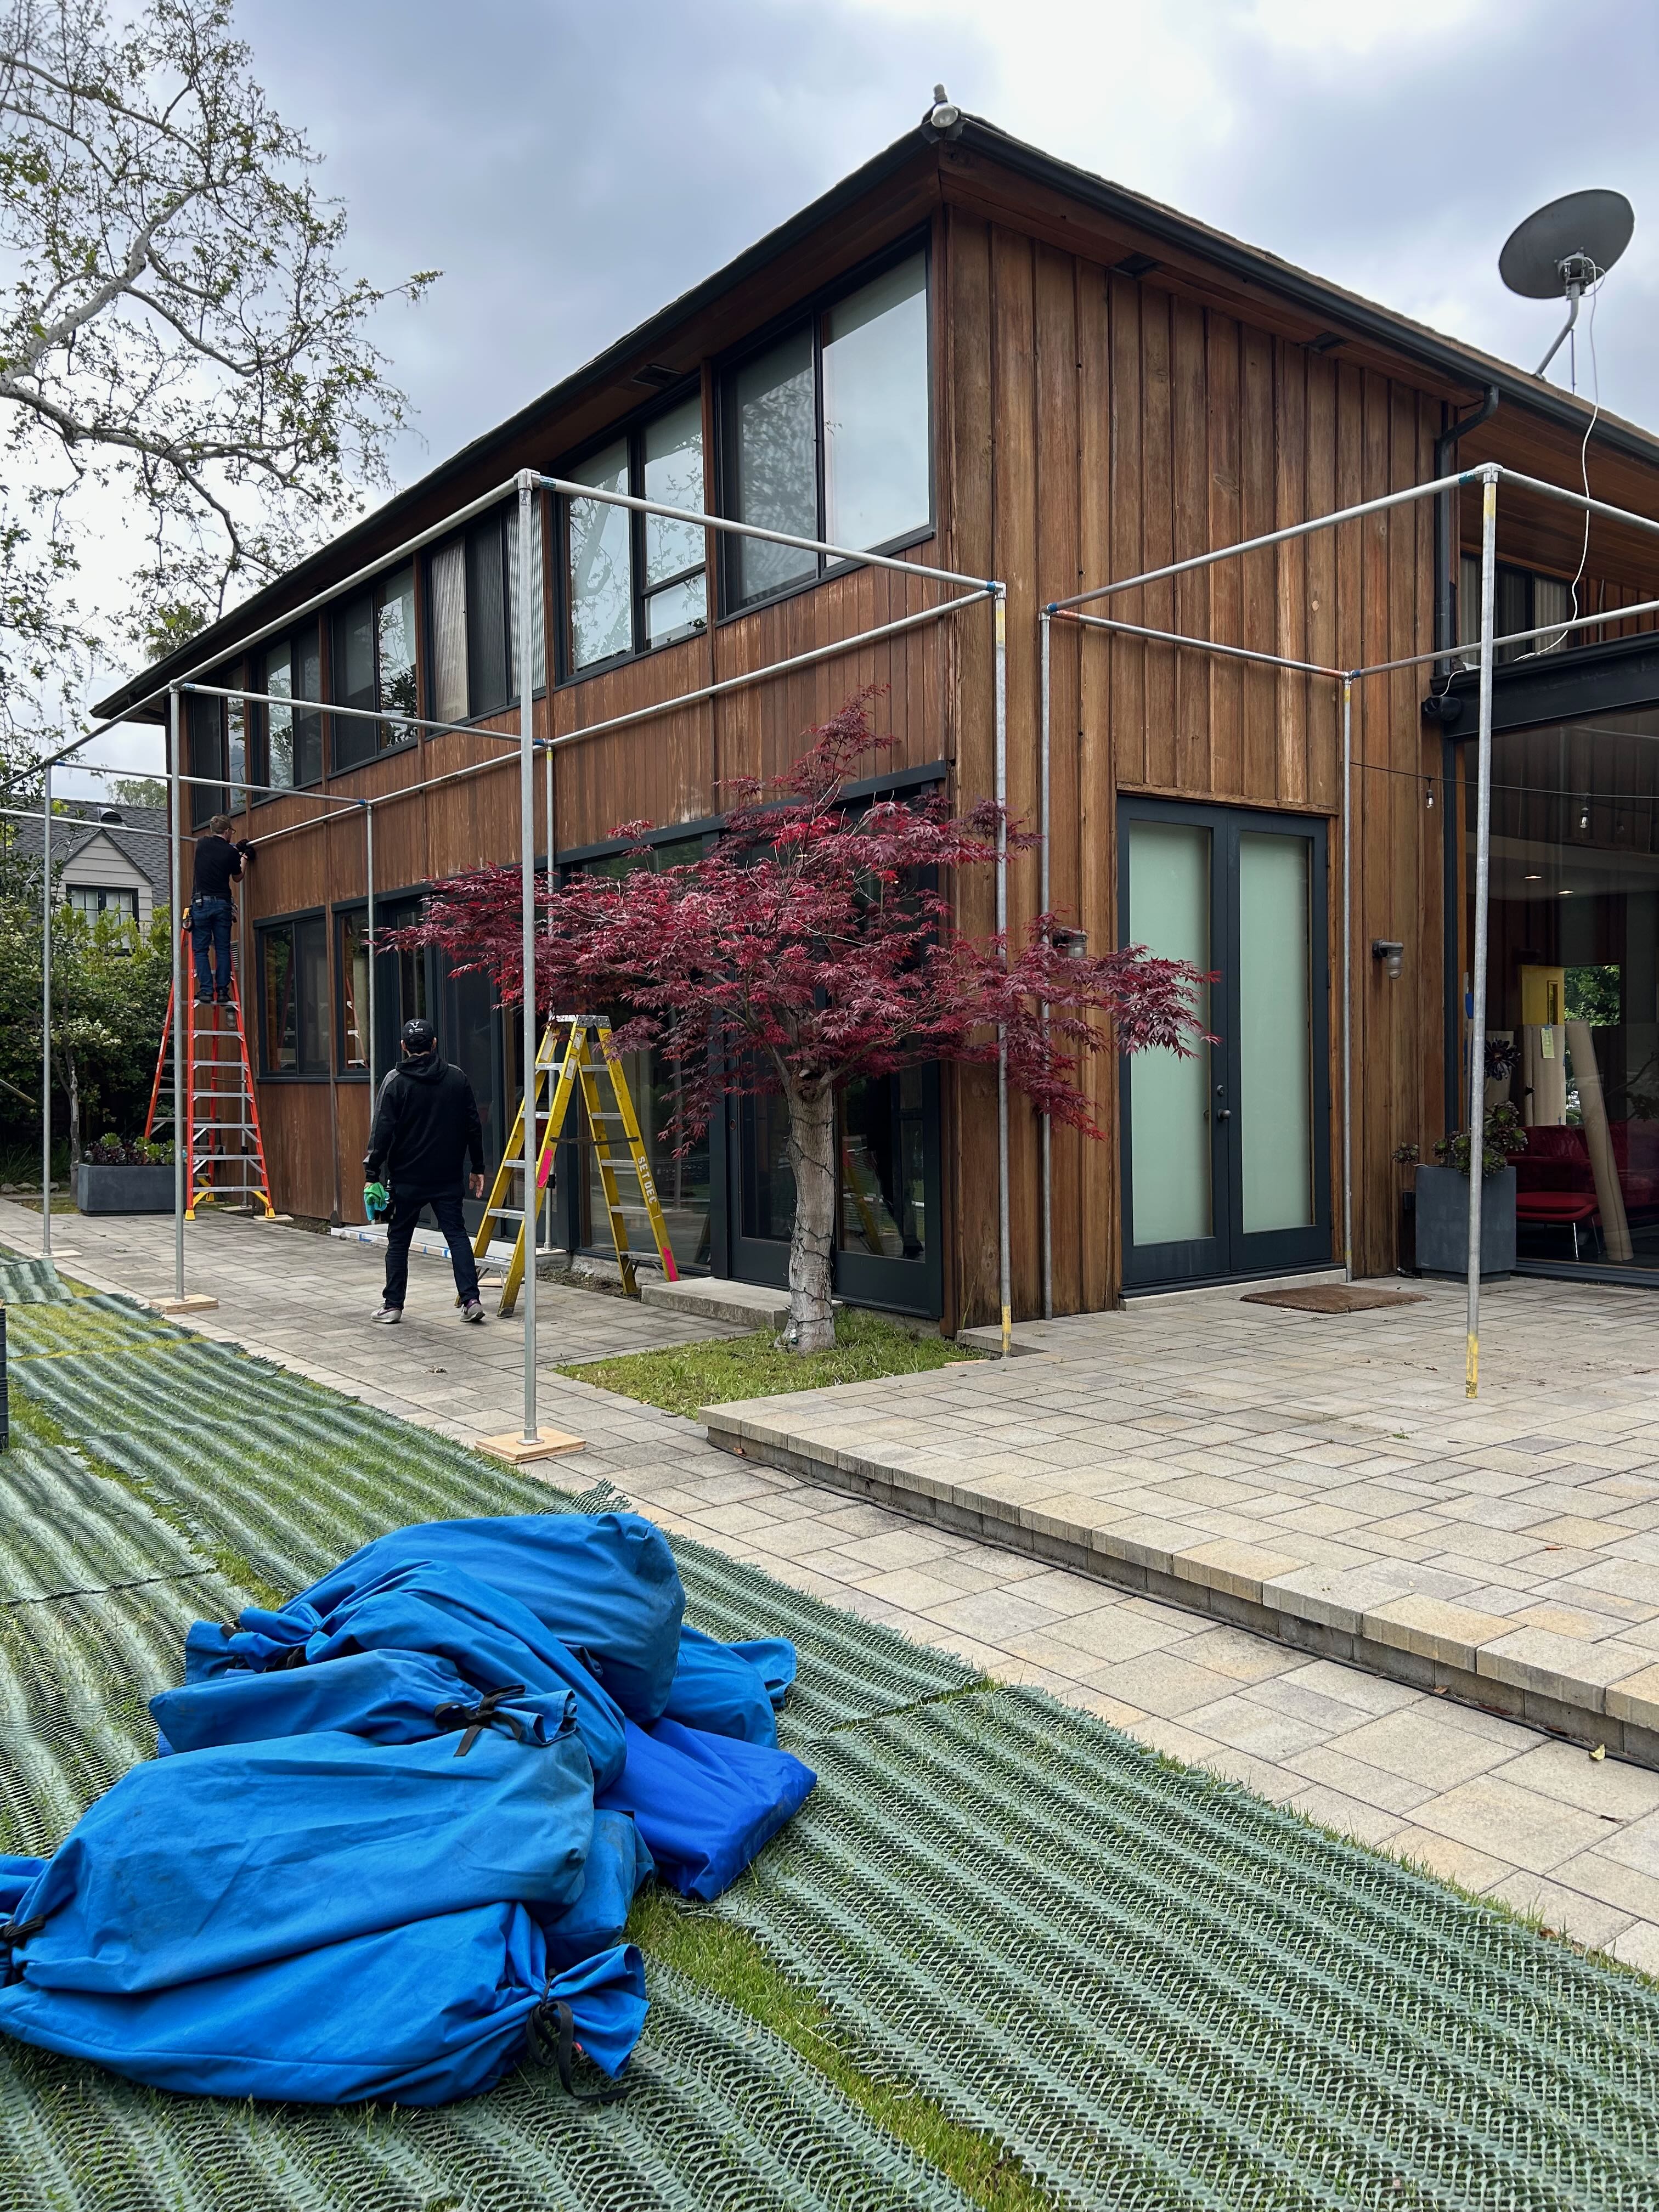
This 3 day job was all shot at a residential house. 1 day to pre rig and 2 days to shoot. One of our main objectives on the pre rig day was to tent both the front and back exteriors. We weren’t doing day for night - we were setting up for a mid-shot shift in lighting from daylight to RGB. Luckily, all of our work inside the house was on the first floor. We blacked out a few windows that were off camera but tented a large majority of all windows and doors in both the front and back of the house.
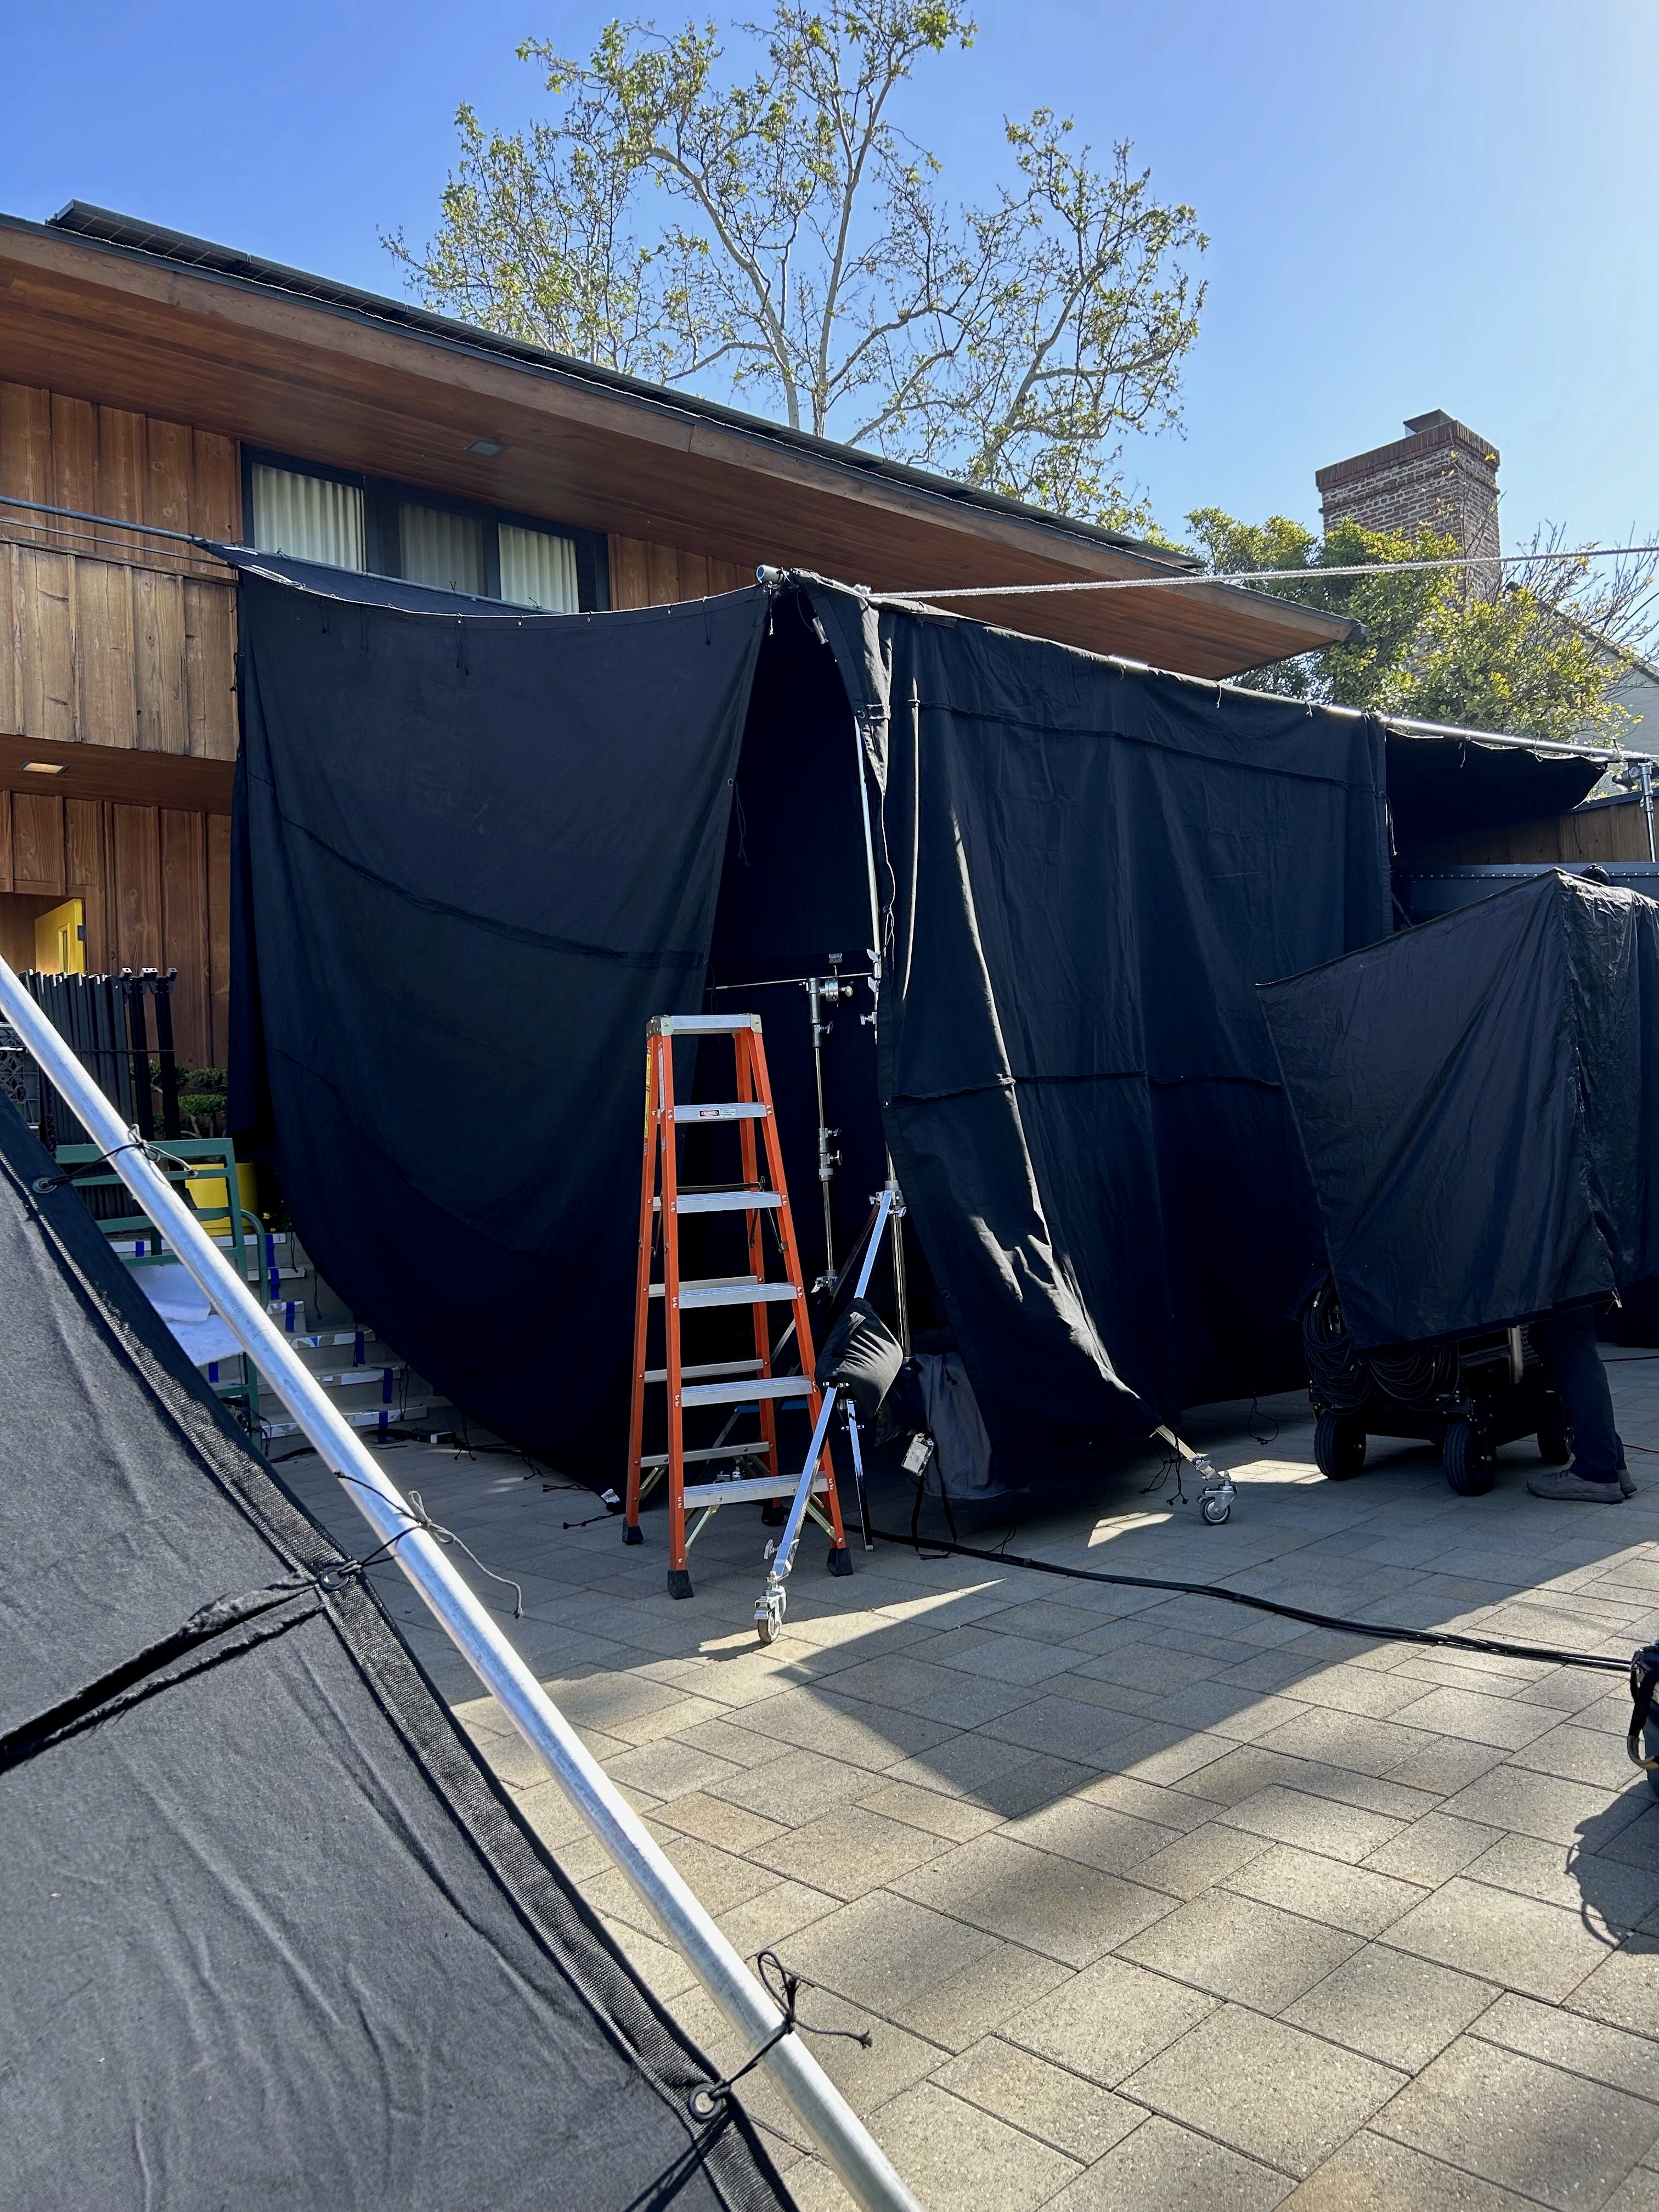
The back of the house owed 2 different tents. We built the structures out of 1-1/4” speedrail, hollaenders and over unders. Dimensions for our largest was 8’ deep x 10’ high x 40’ wide. Smallest was 8’ deep x 10’ high x 8’ wide. I like using over unders near the bottom of the verticals to adjust the heights with shorter pipe. Works well when you need the top height to be at 13’8” and you left your 13’8” speedrail back at the yard…
We threw a couple of water solids over the structures and made sure they overlapped. The house windows and doors were frosted so we weren’t worried about seeing the pipe in the interior of the tent. The solids hung off the pipe where it pressed up against the house which ensured the property didn’t take any damage. We used water solids because the tents were going to be up for a few days. Any sort of dew our moisture overnight would stain a regular solid. We sandbagged some bottom rails and tied the tents off. A large area of floor to ceiling doors got a goal posted solid on the day since it was off camera.
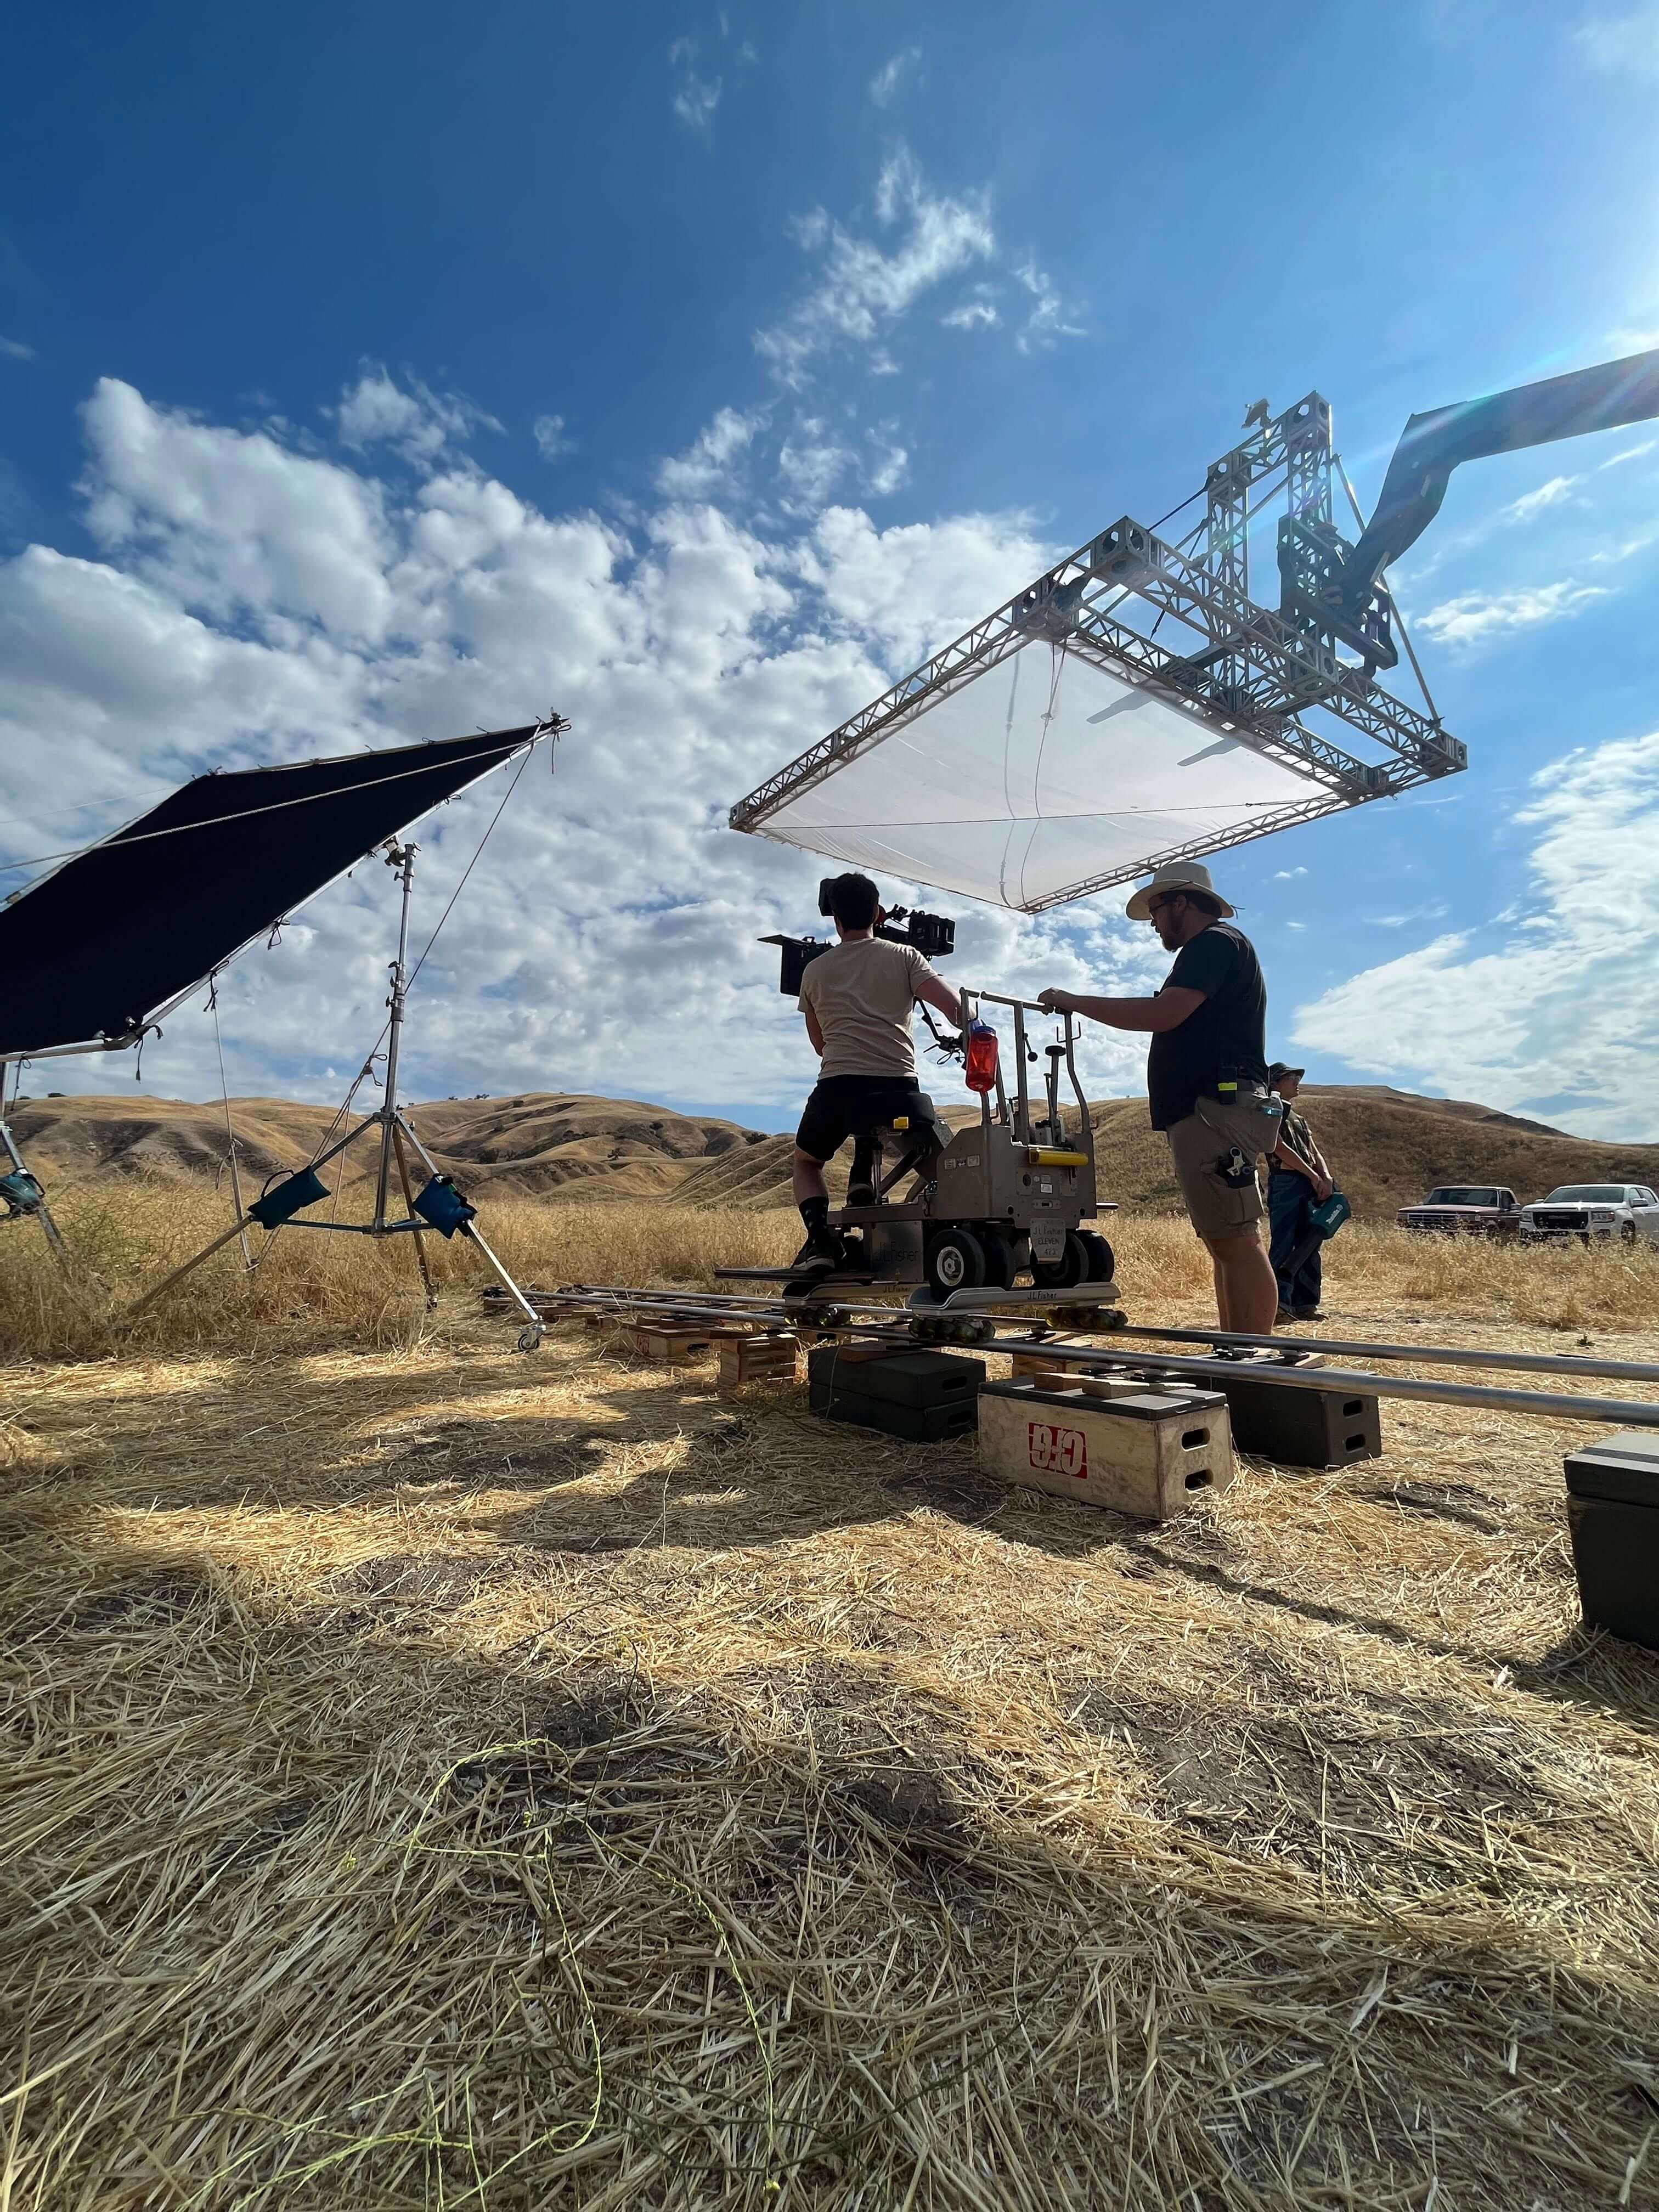
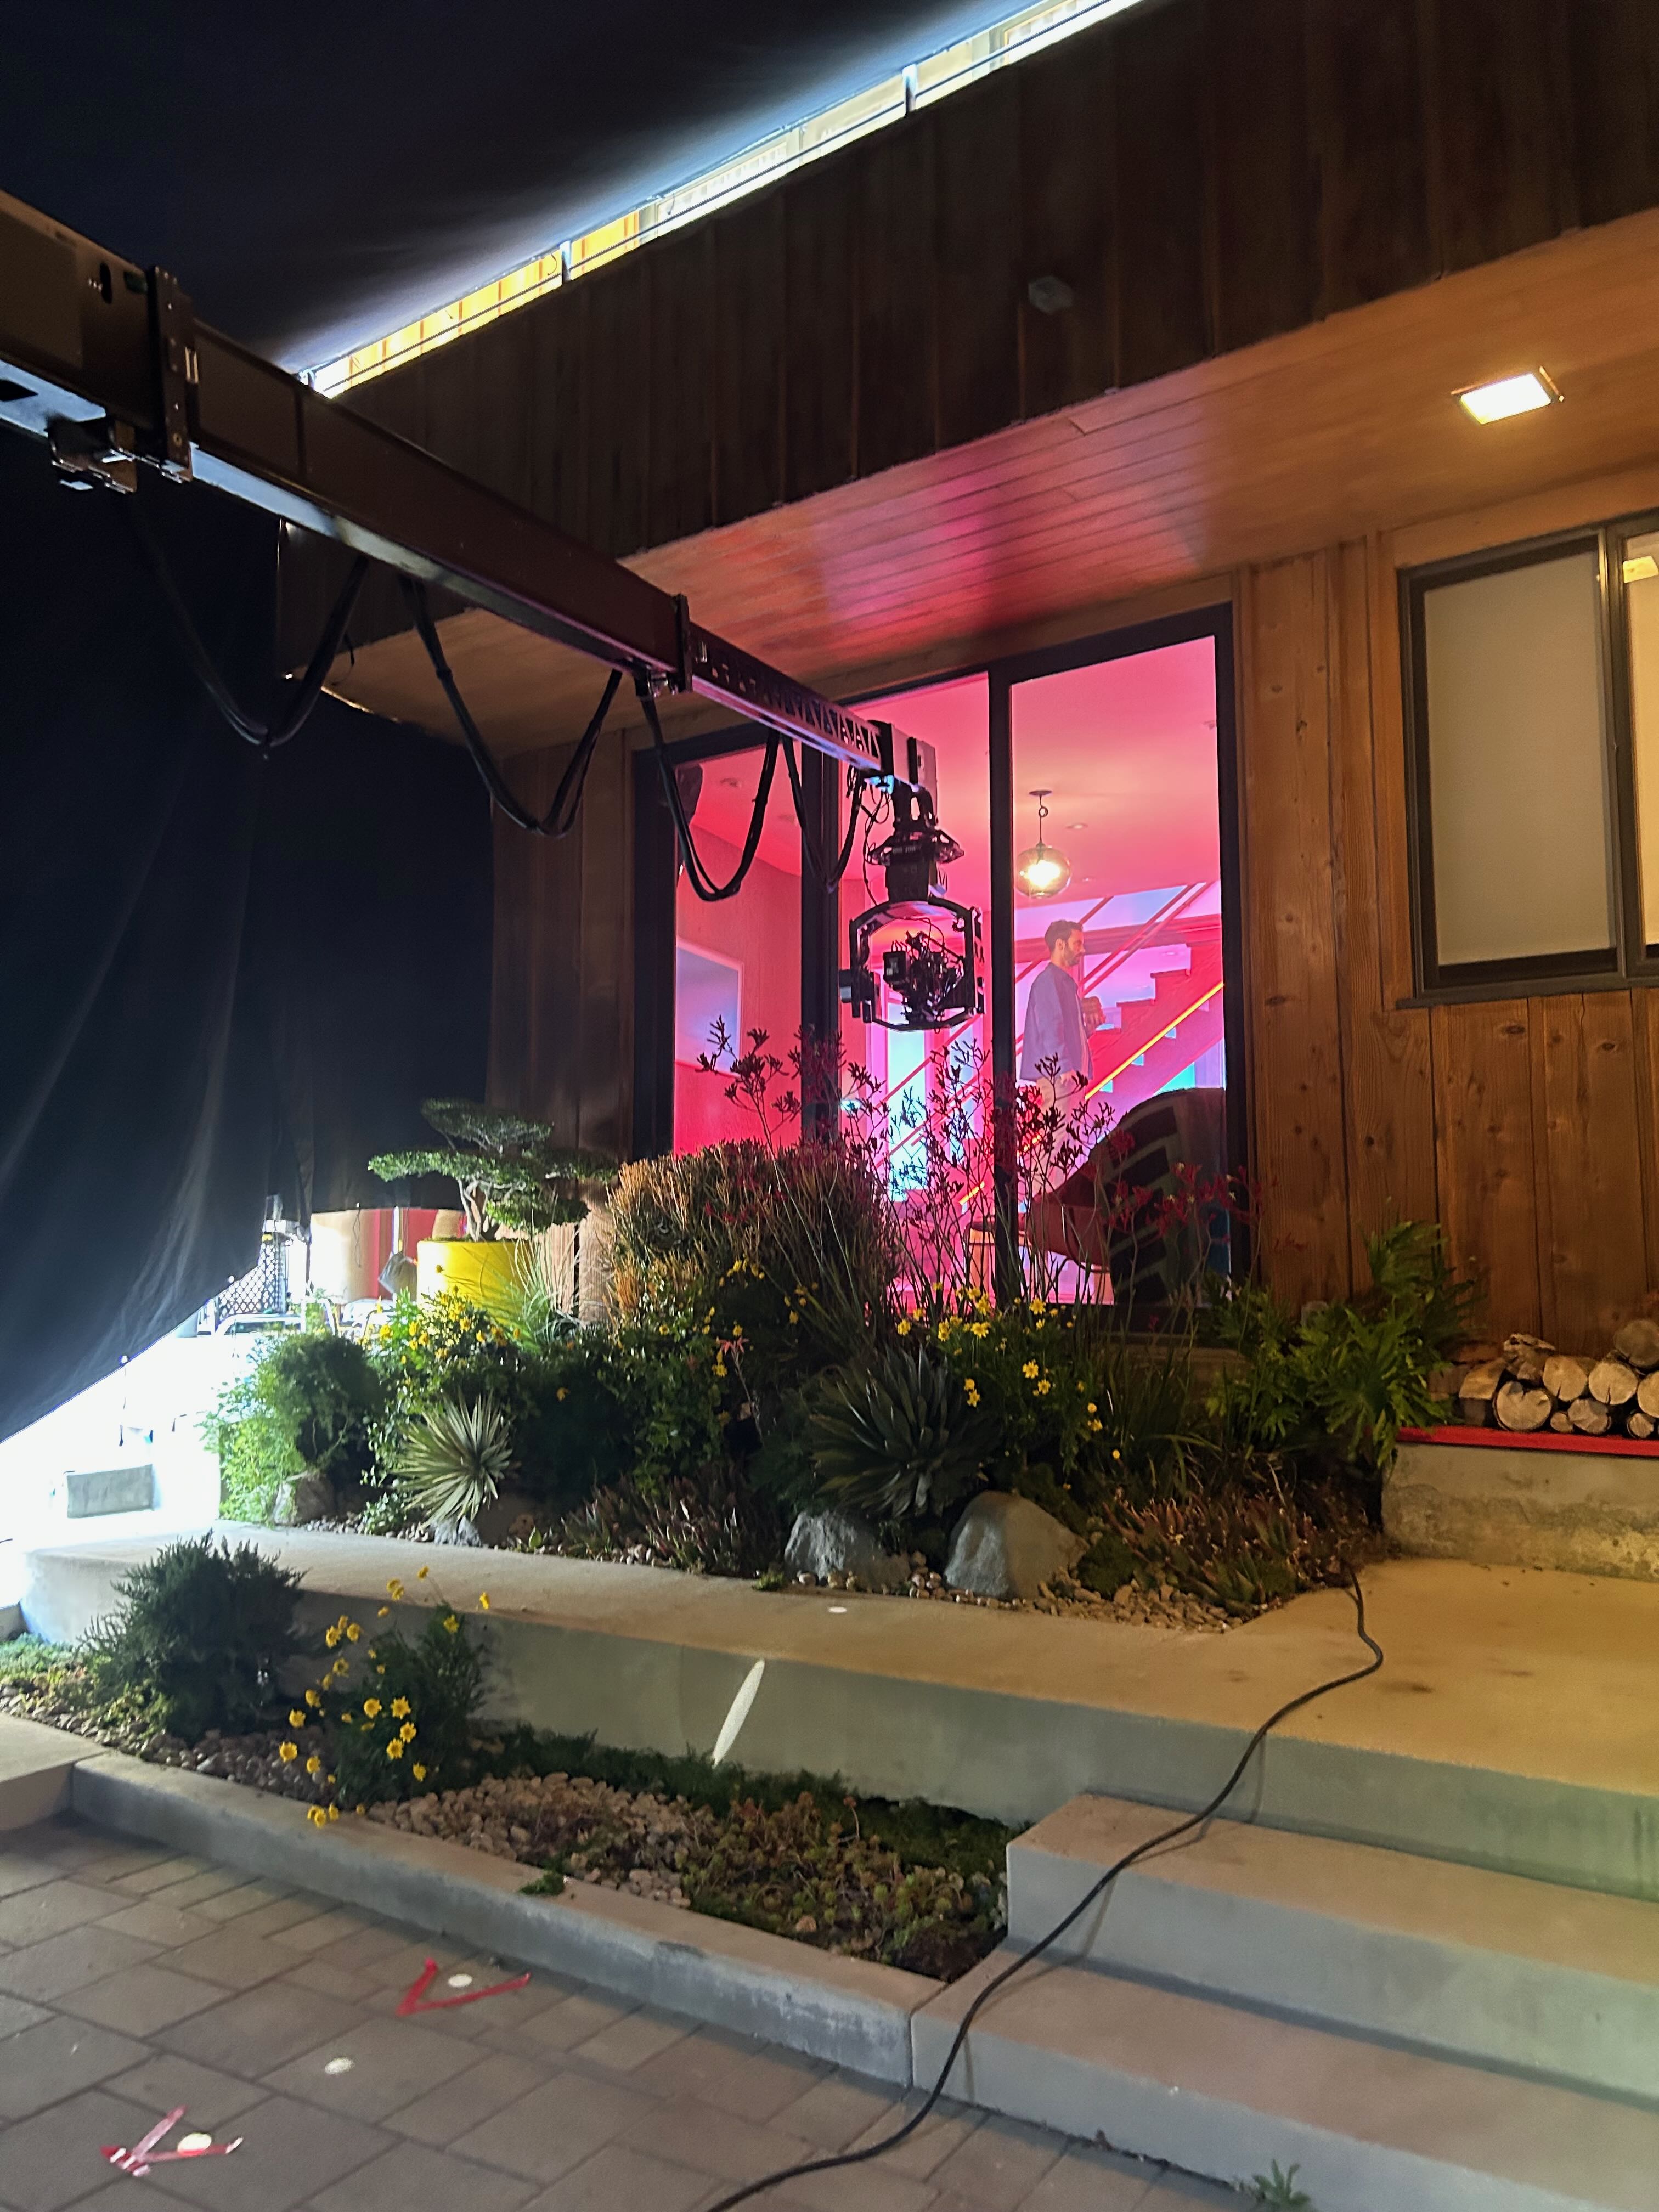
The front of the house tent was a more makeshift one we constructed on the day. We wanted to be able to read set lighting’s RBG colors on the inside of the house in broad daylight. The shot happened in 2 parts, both on techno, and they comped them in vfx. The first one we did was with the tent set up to darken exterior ambiance and read the inside color. For the second shot we pulled the tent / solids and shot the daylight exterior house plate. Same crane move for both, same speed.
We went a little down and dirty for this one and just set up a few goal posts and stretched solids across and down them. No time or need to build out a full pipe skeleton. We were just controlling ambiance - it didn’t need to be bullet proof.
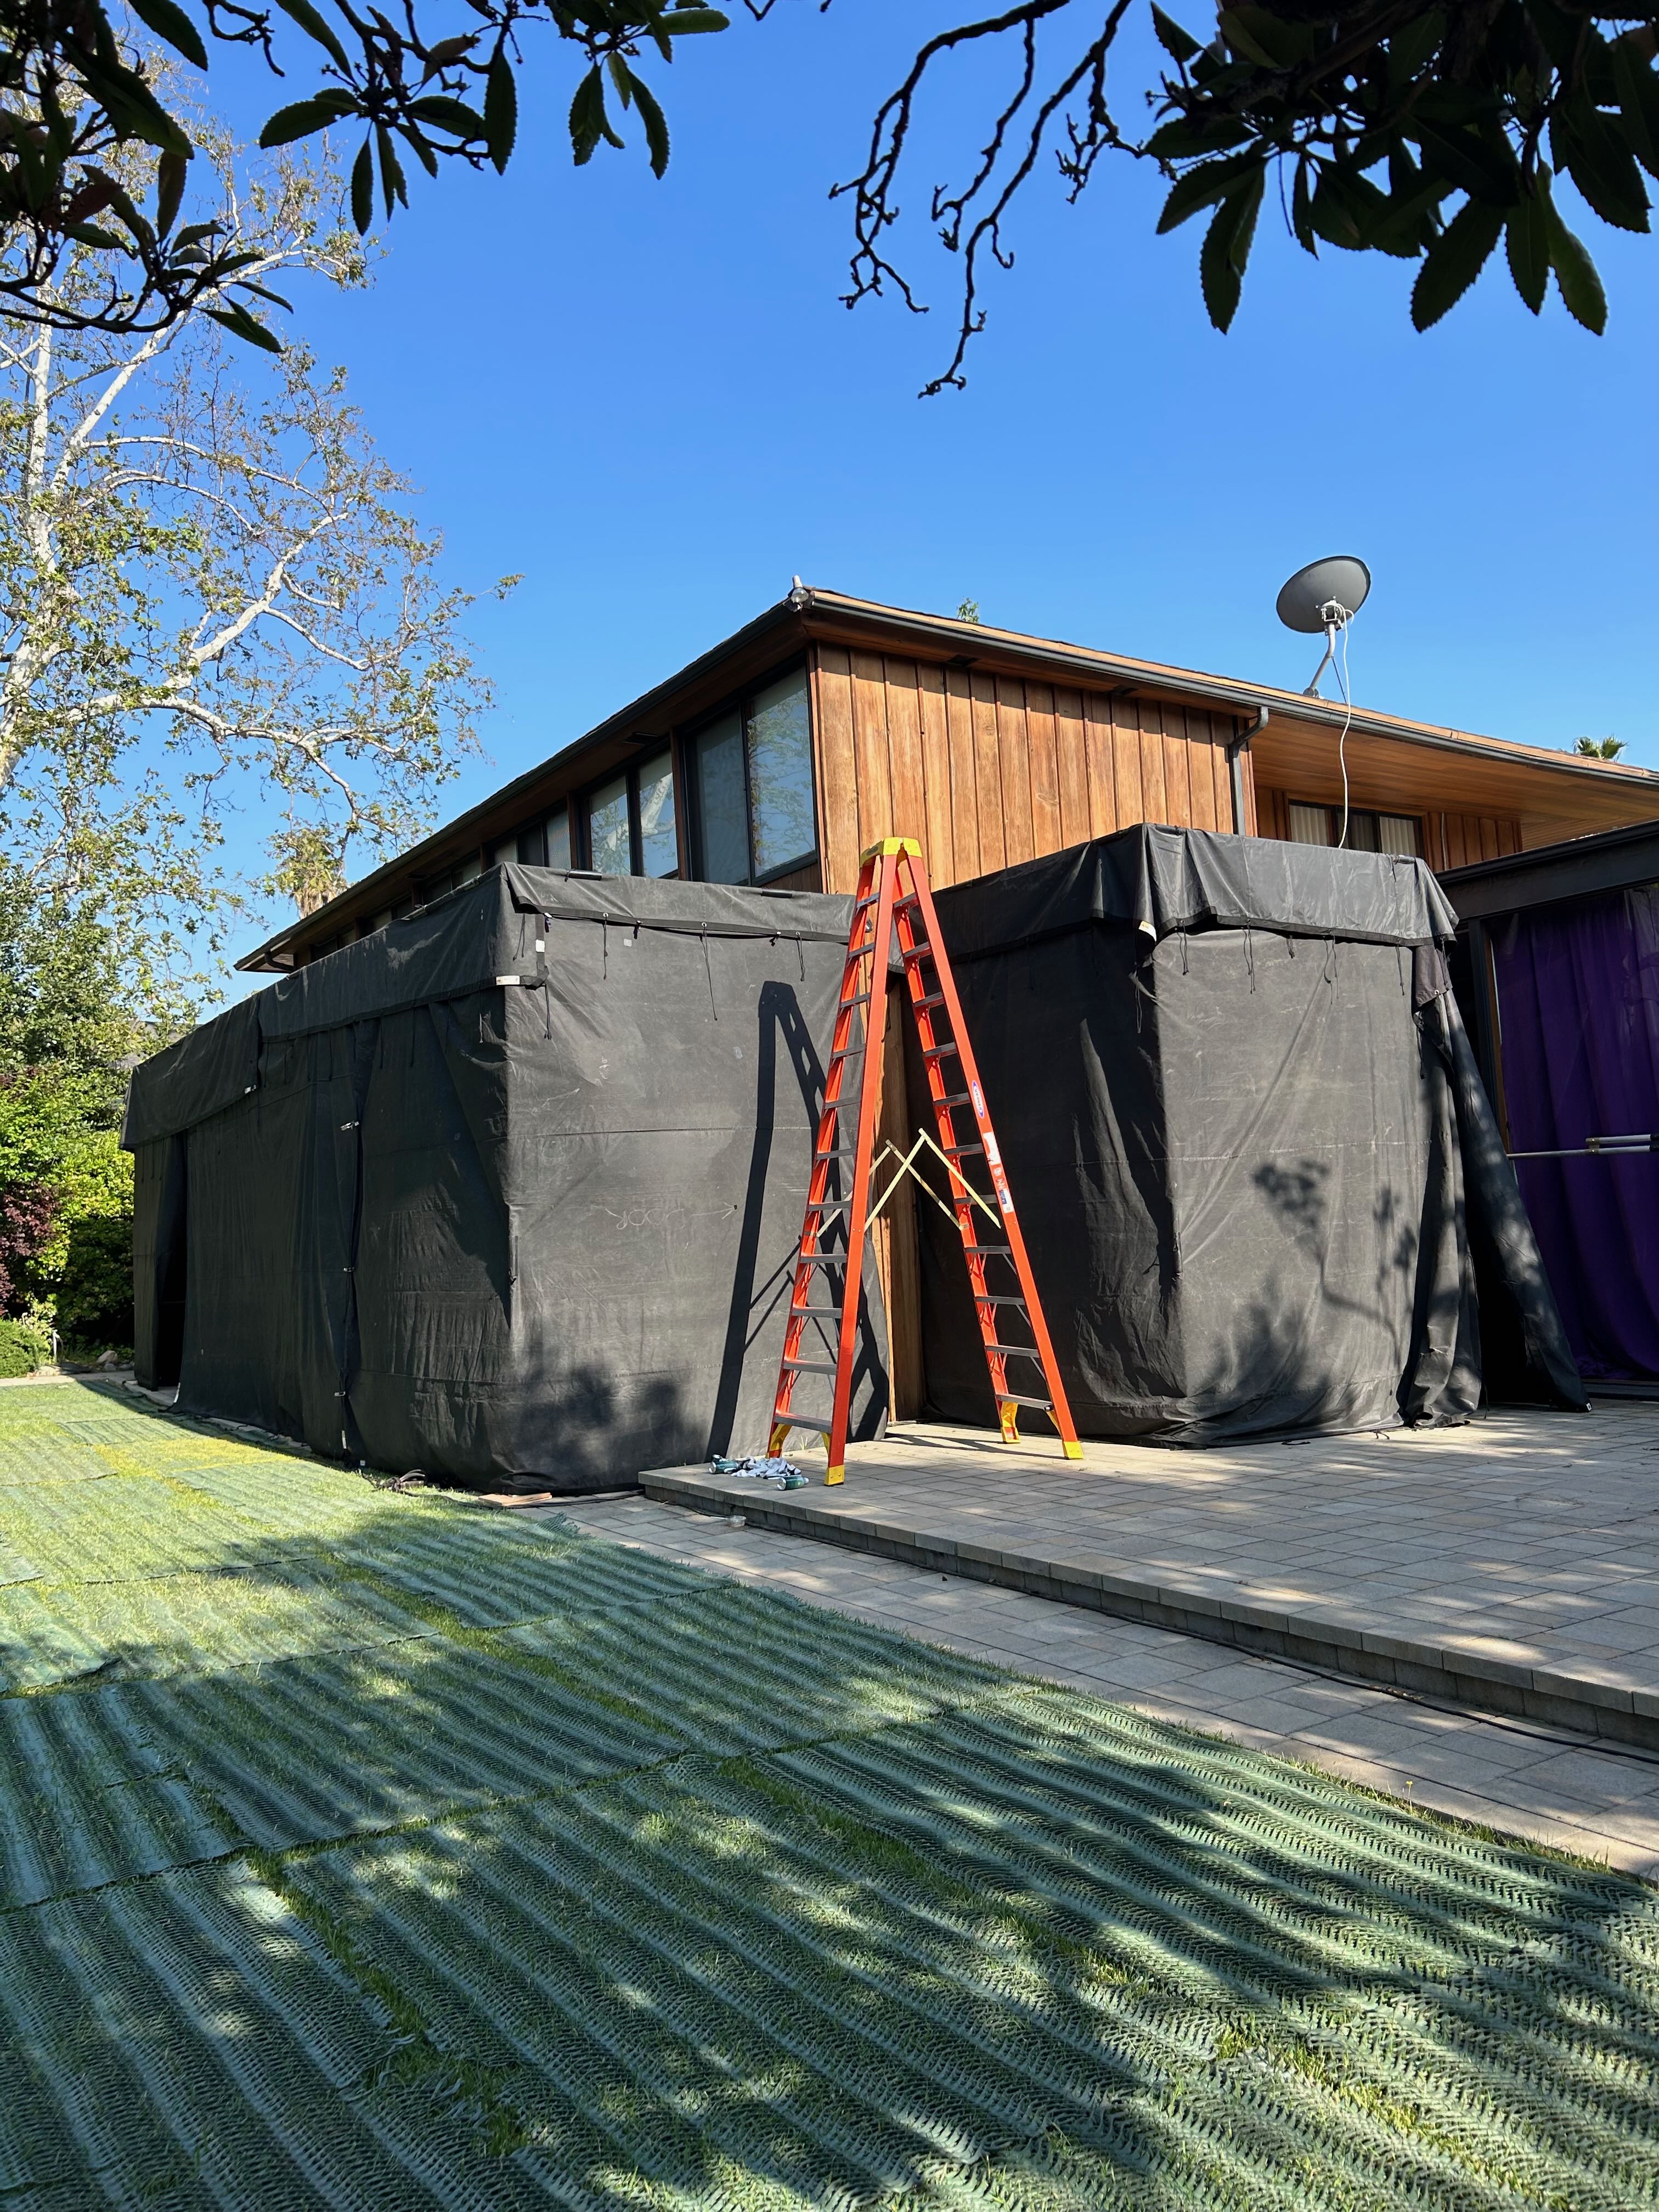
Exterior tents with water solids
Setup Overview
Camera Rigs & Lighting
We popped off 2 camera rigs during this job. For the first one we rigged a piece of toast to the camera. Not much to explain here - some 5/8 rods and a baby nail on did the job. The camera flew down some track on the dolly and simulated toast flying through the air. Shot ended up being a piece of cake. Or should I say toast.
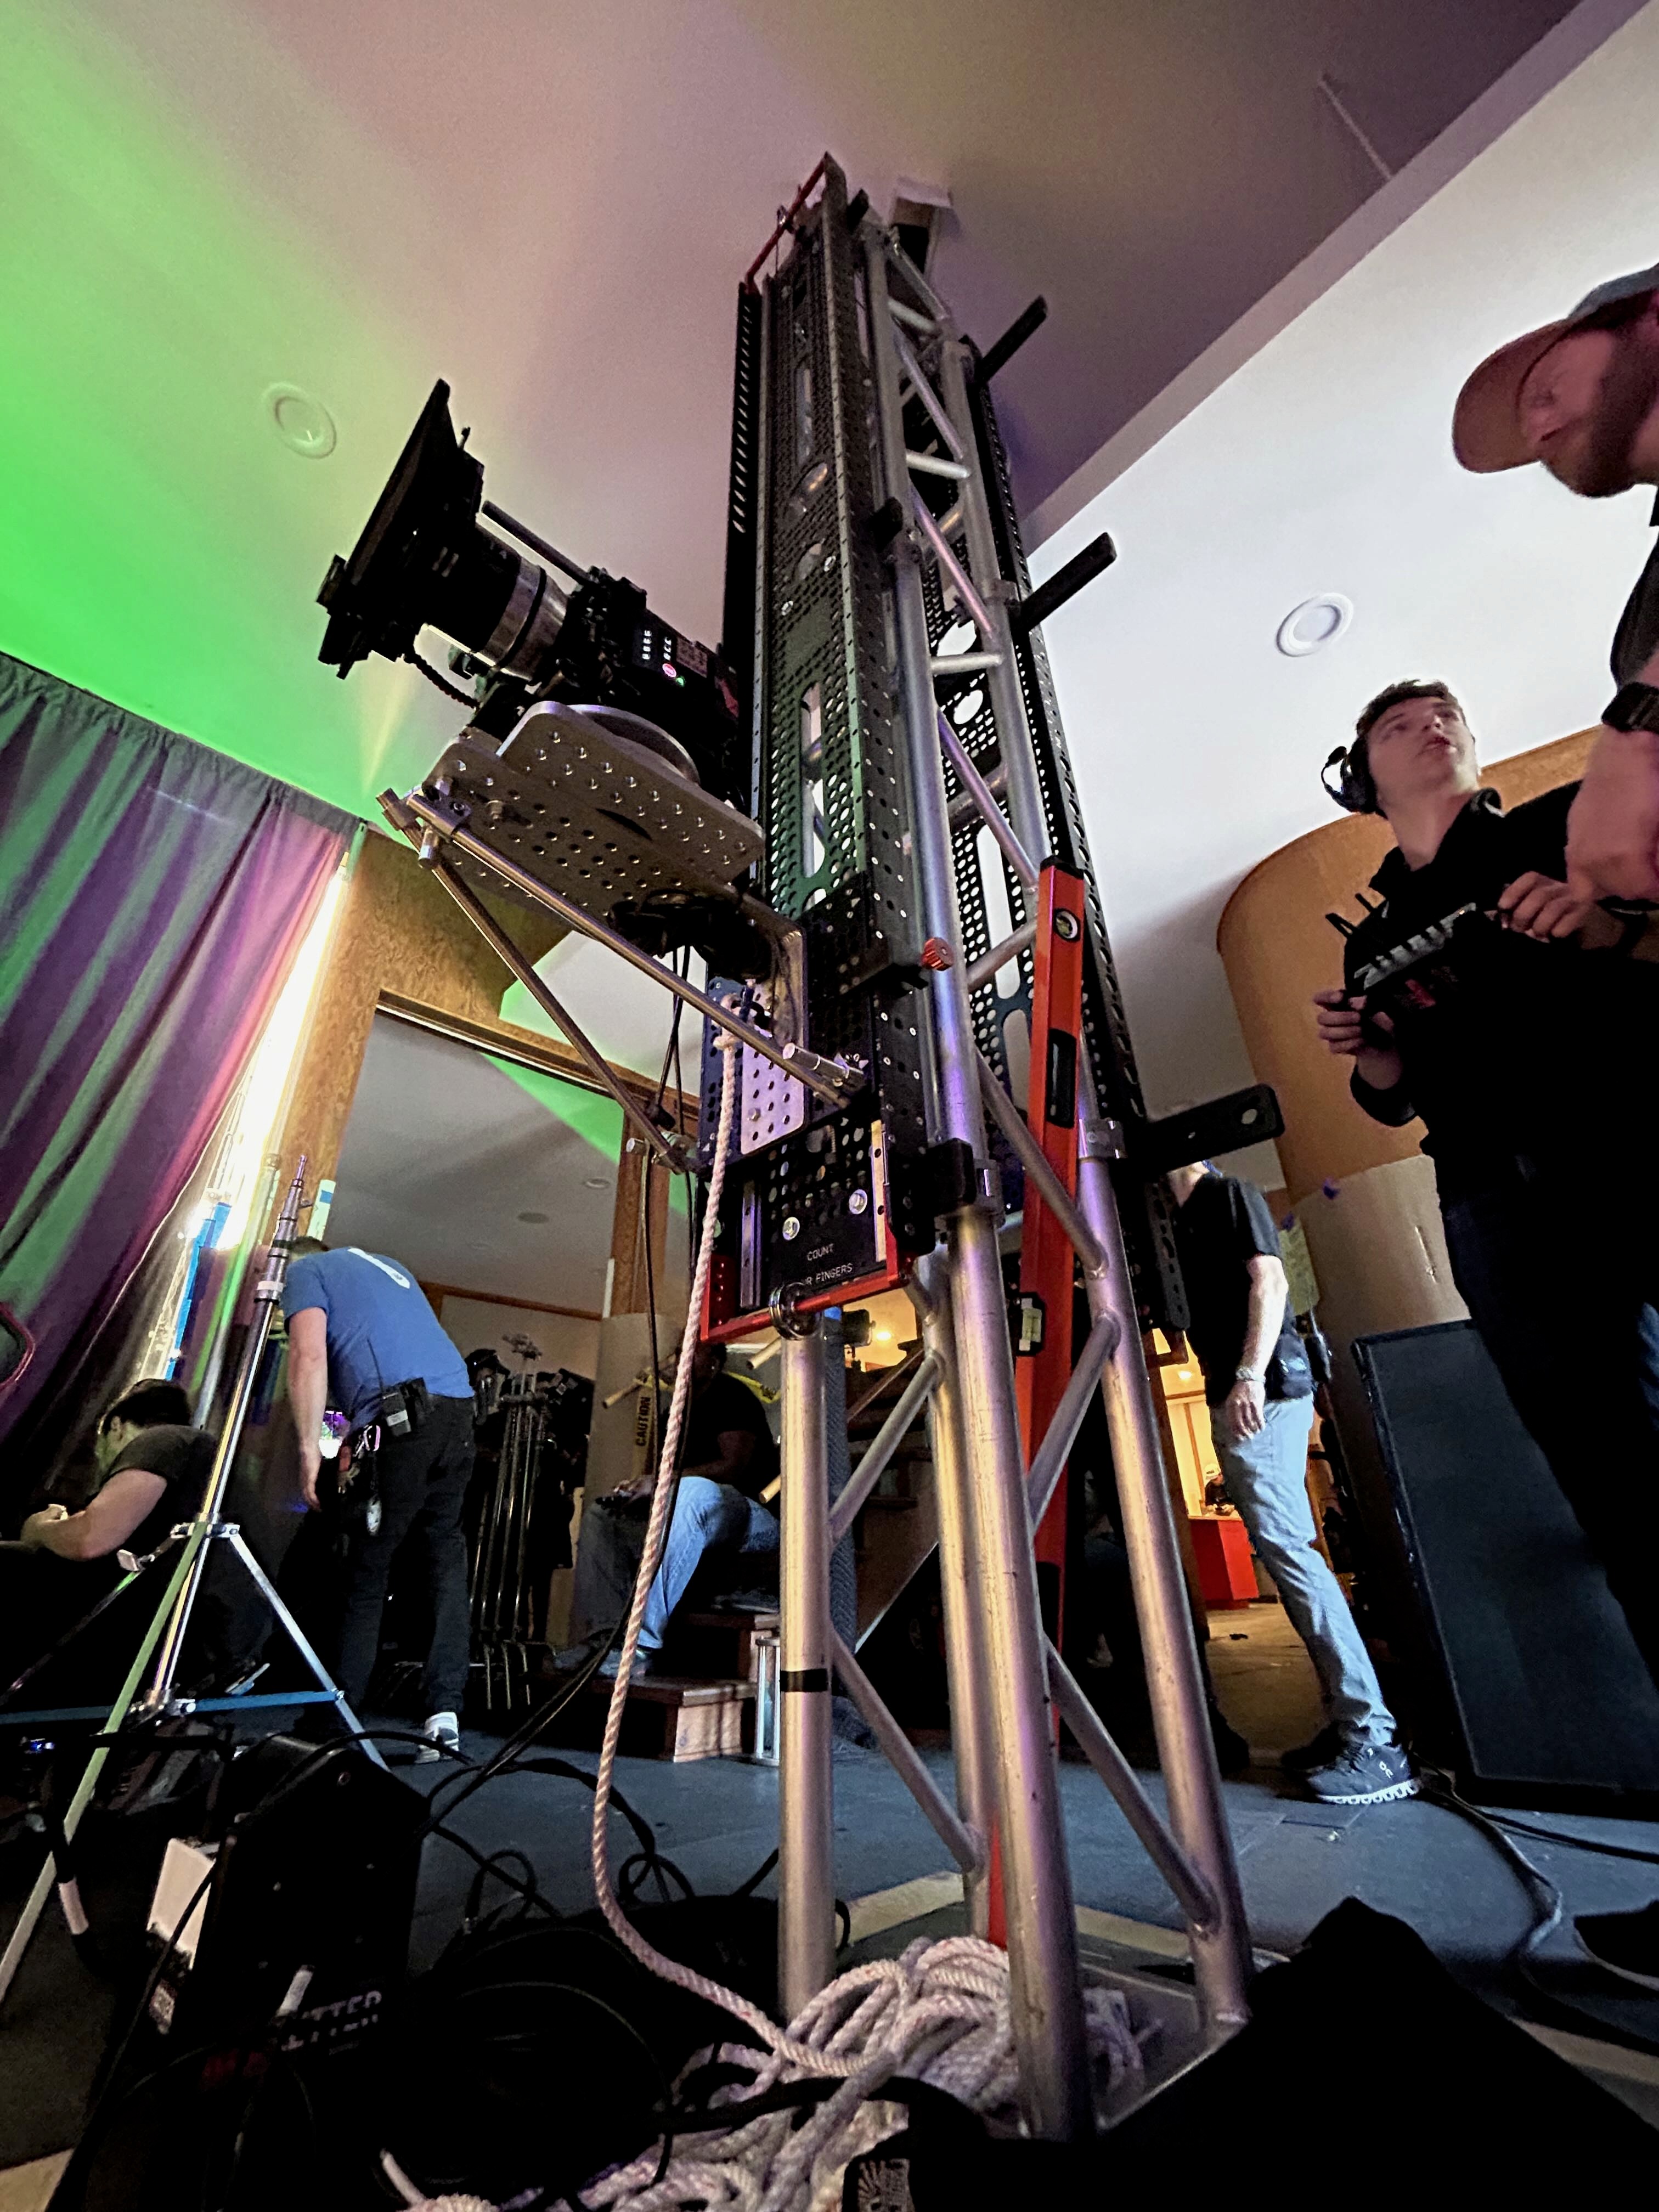
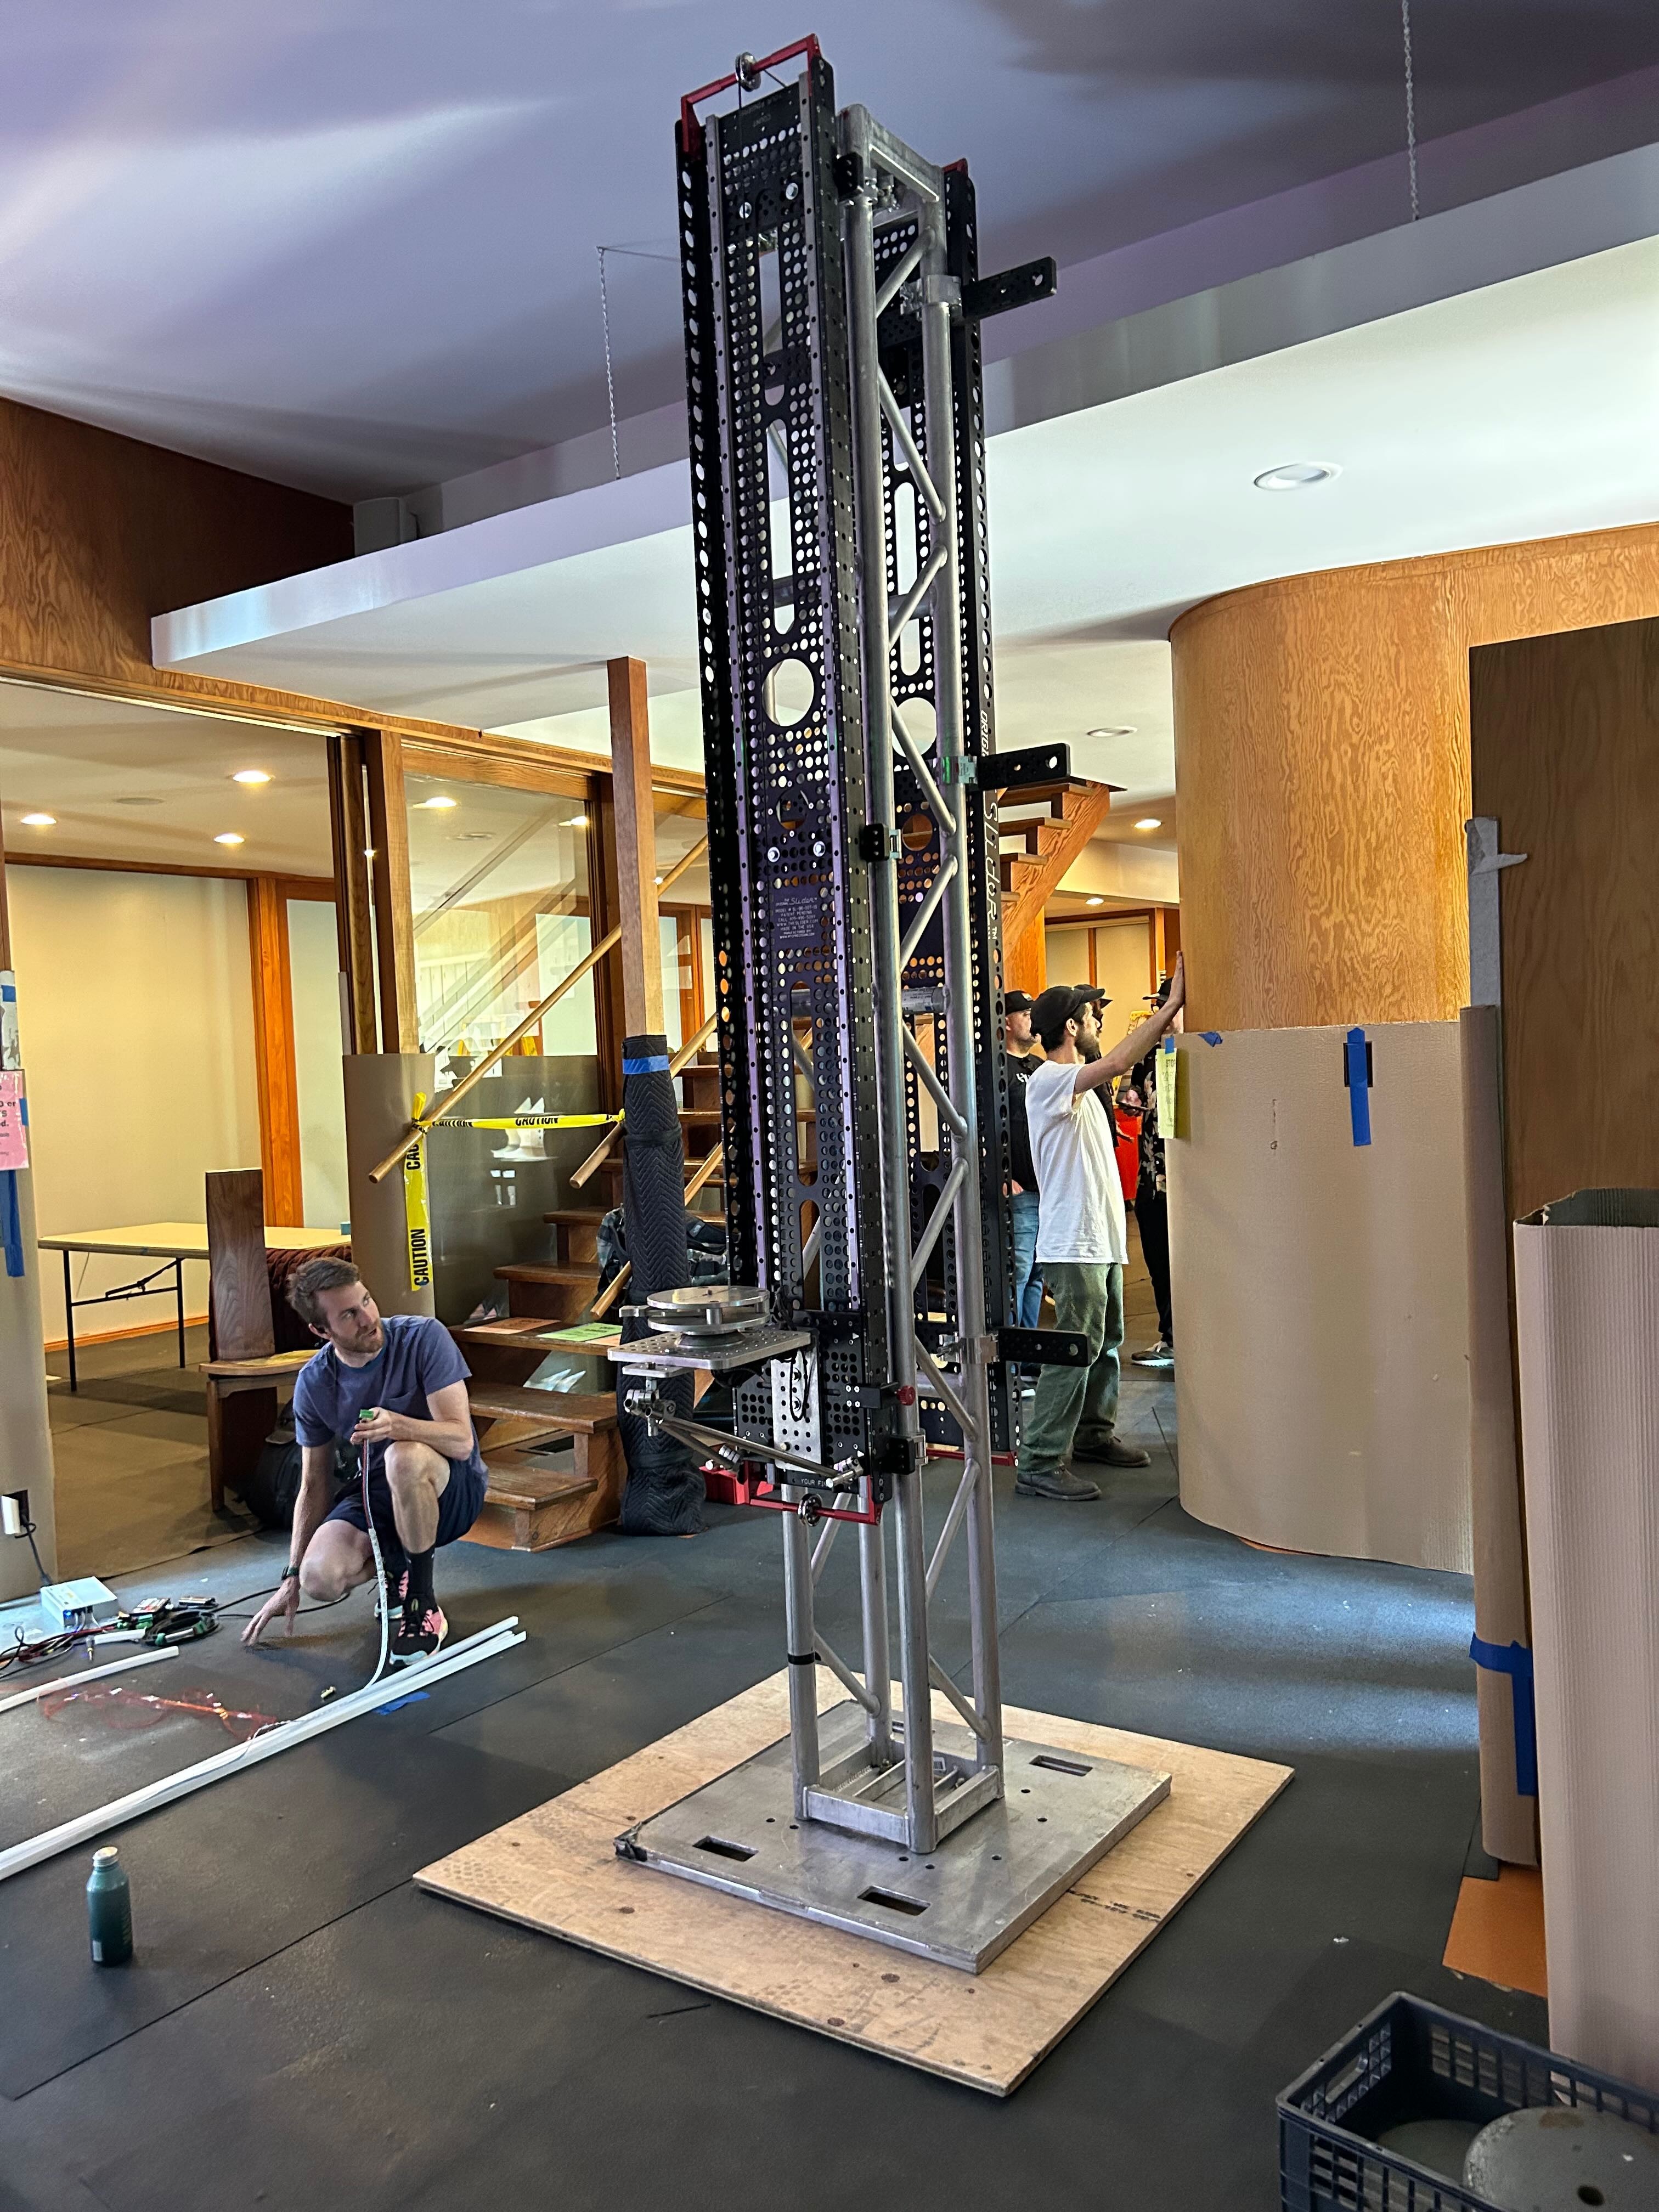
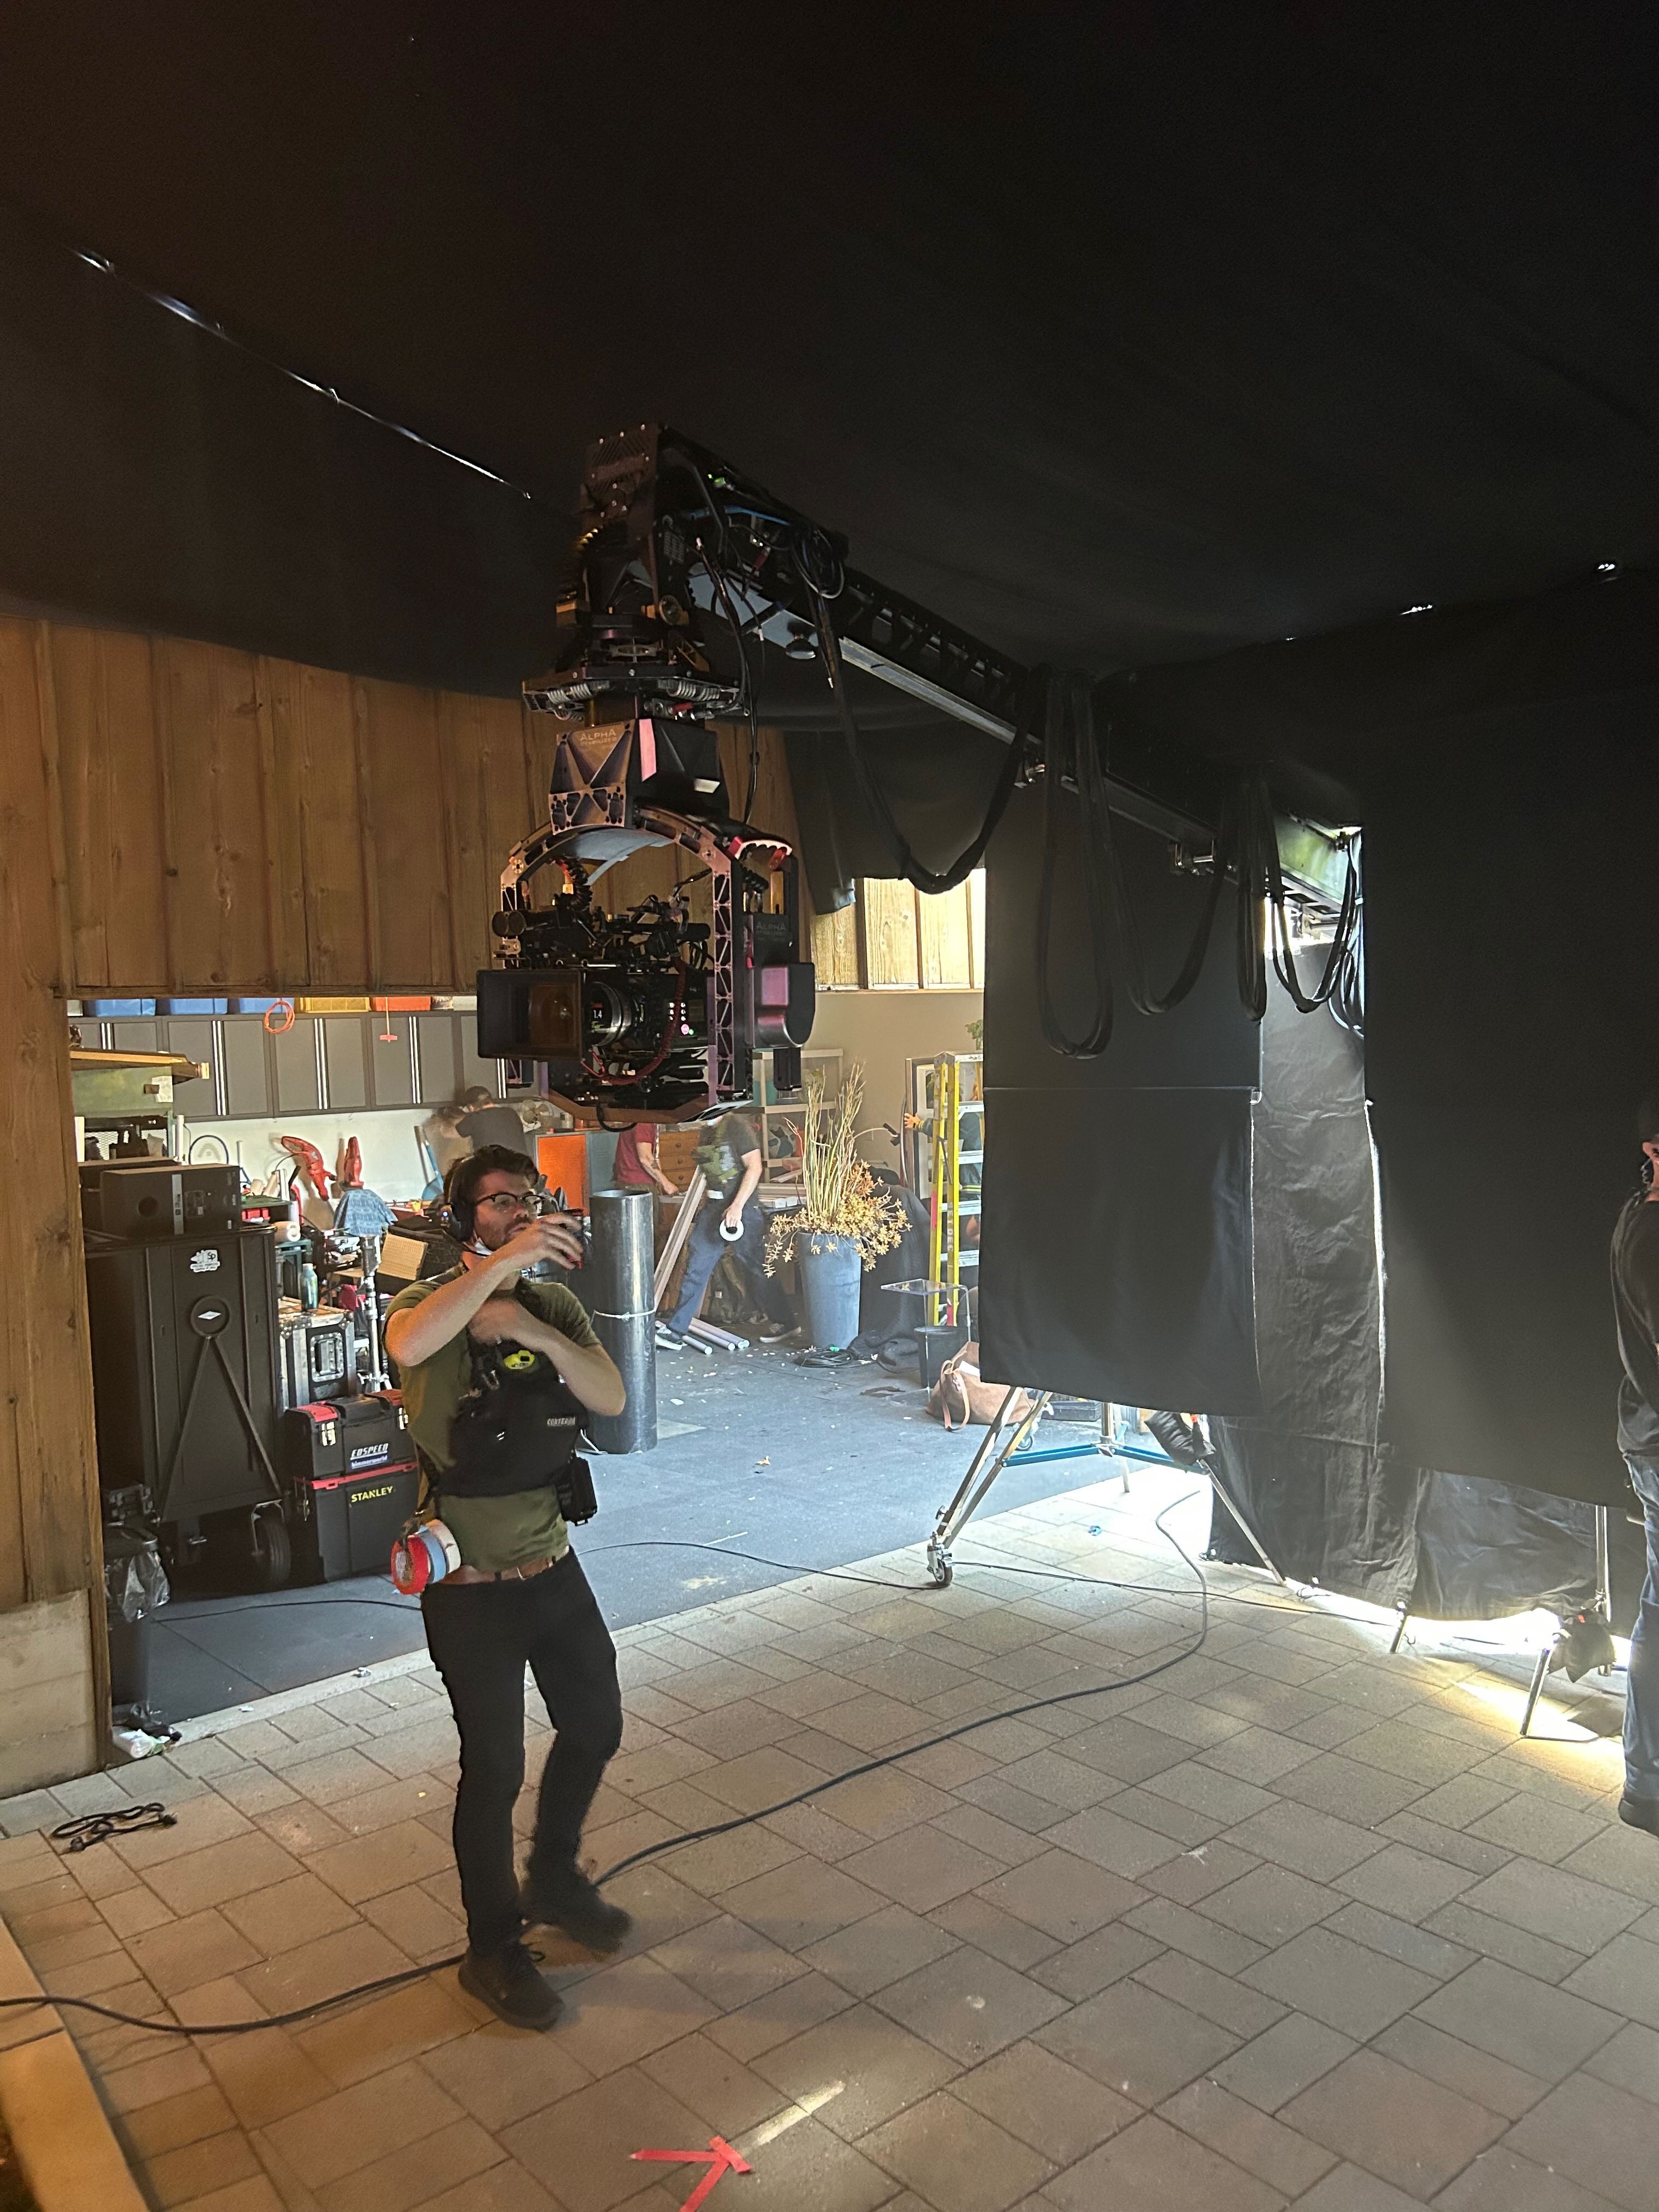
Our second camera rig was a little more exciting. We set up a vertical counterbalanced slider rig that dropped the camera from ceiling height to eye level. We opted to go with a counterbalanced slider rig because the goal was to move as fast as possible and in a perfect vertical line. We toyed with the idea of a jib or a towercam but the sliders rig was going to be the most cost effective and most repeatable.
The setup was straightforward: Attach an 8’ slider onto either side of an 8’ stick of 12” box truss and throw the whole thing onto a 2’x2’ truss baseplate. We used two 8’ Original Sliders. These were available locally and also have additional components that make connecting the sleds together for counterbalance a breeze. We utilized The Slider’s counter balance wheels and their 12” truss brackets. We could have gone with a vertical member made out of something smaller, like 6” Modulus-X truss, but I wanted the beefiness and space the 12” box would give. The rig ended up being super sound and didn’t wobble at all after we threw a buster or two on the baseplate.
We attached the 2 sleds together with tech-12 which gave us minimal stretch. The line ran from the first sled, up and over the first slider’s counterbalance pulley on its end bracket, over to the other slider’s counterbalance pulley on its end bracket, and down to the other sled. When one sled was high the other one was low.
On the camera side of the rig we mounted an L bracket cheeseplate onto the sled of the slider. We threw a dish leveling head on the L bracket and attached camera to that. We had to play with the height a little on the L bracket to get the maximum starting camera height at the top of our move. Triangulated with 5/8 rods to reduce any vibration or wobble when coming to a stop during the move.
We counterweighted the sled on opposite slider with weight plates. Moving the camera up and down was super easy. We attached a line to each sled to pull it up and down and popped off the shot.
Gear Used
the Most
Water Solids
8’ Original Sliders
Speedrail
Regular Solids
Specialty
gear
12” box truss, Two 8’ Original camera sliders, counter balance wheels, 12” truss brackets for the sliders
Tent speedrail skeletons
Vertical camera slider rig with 2x 8’ Original sliders
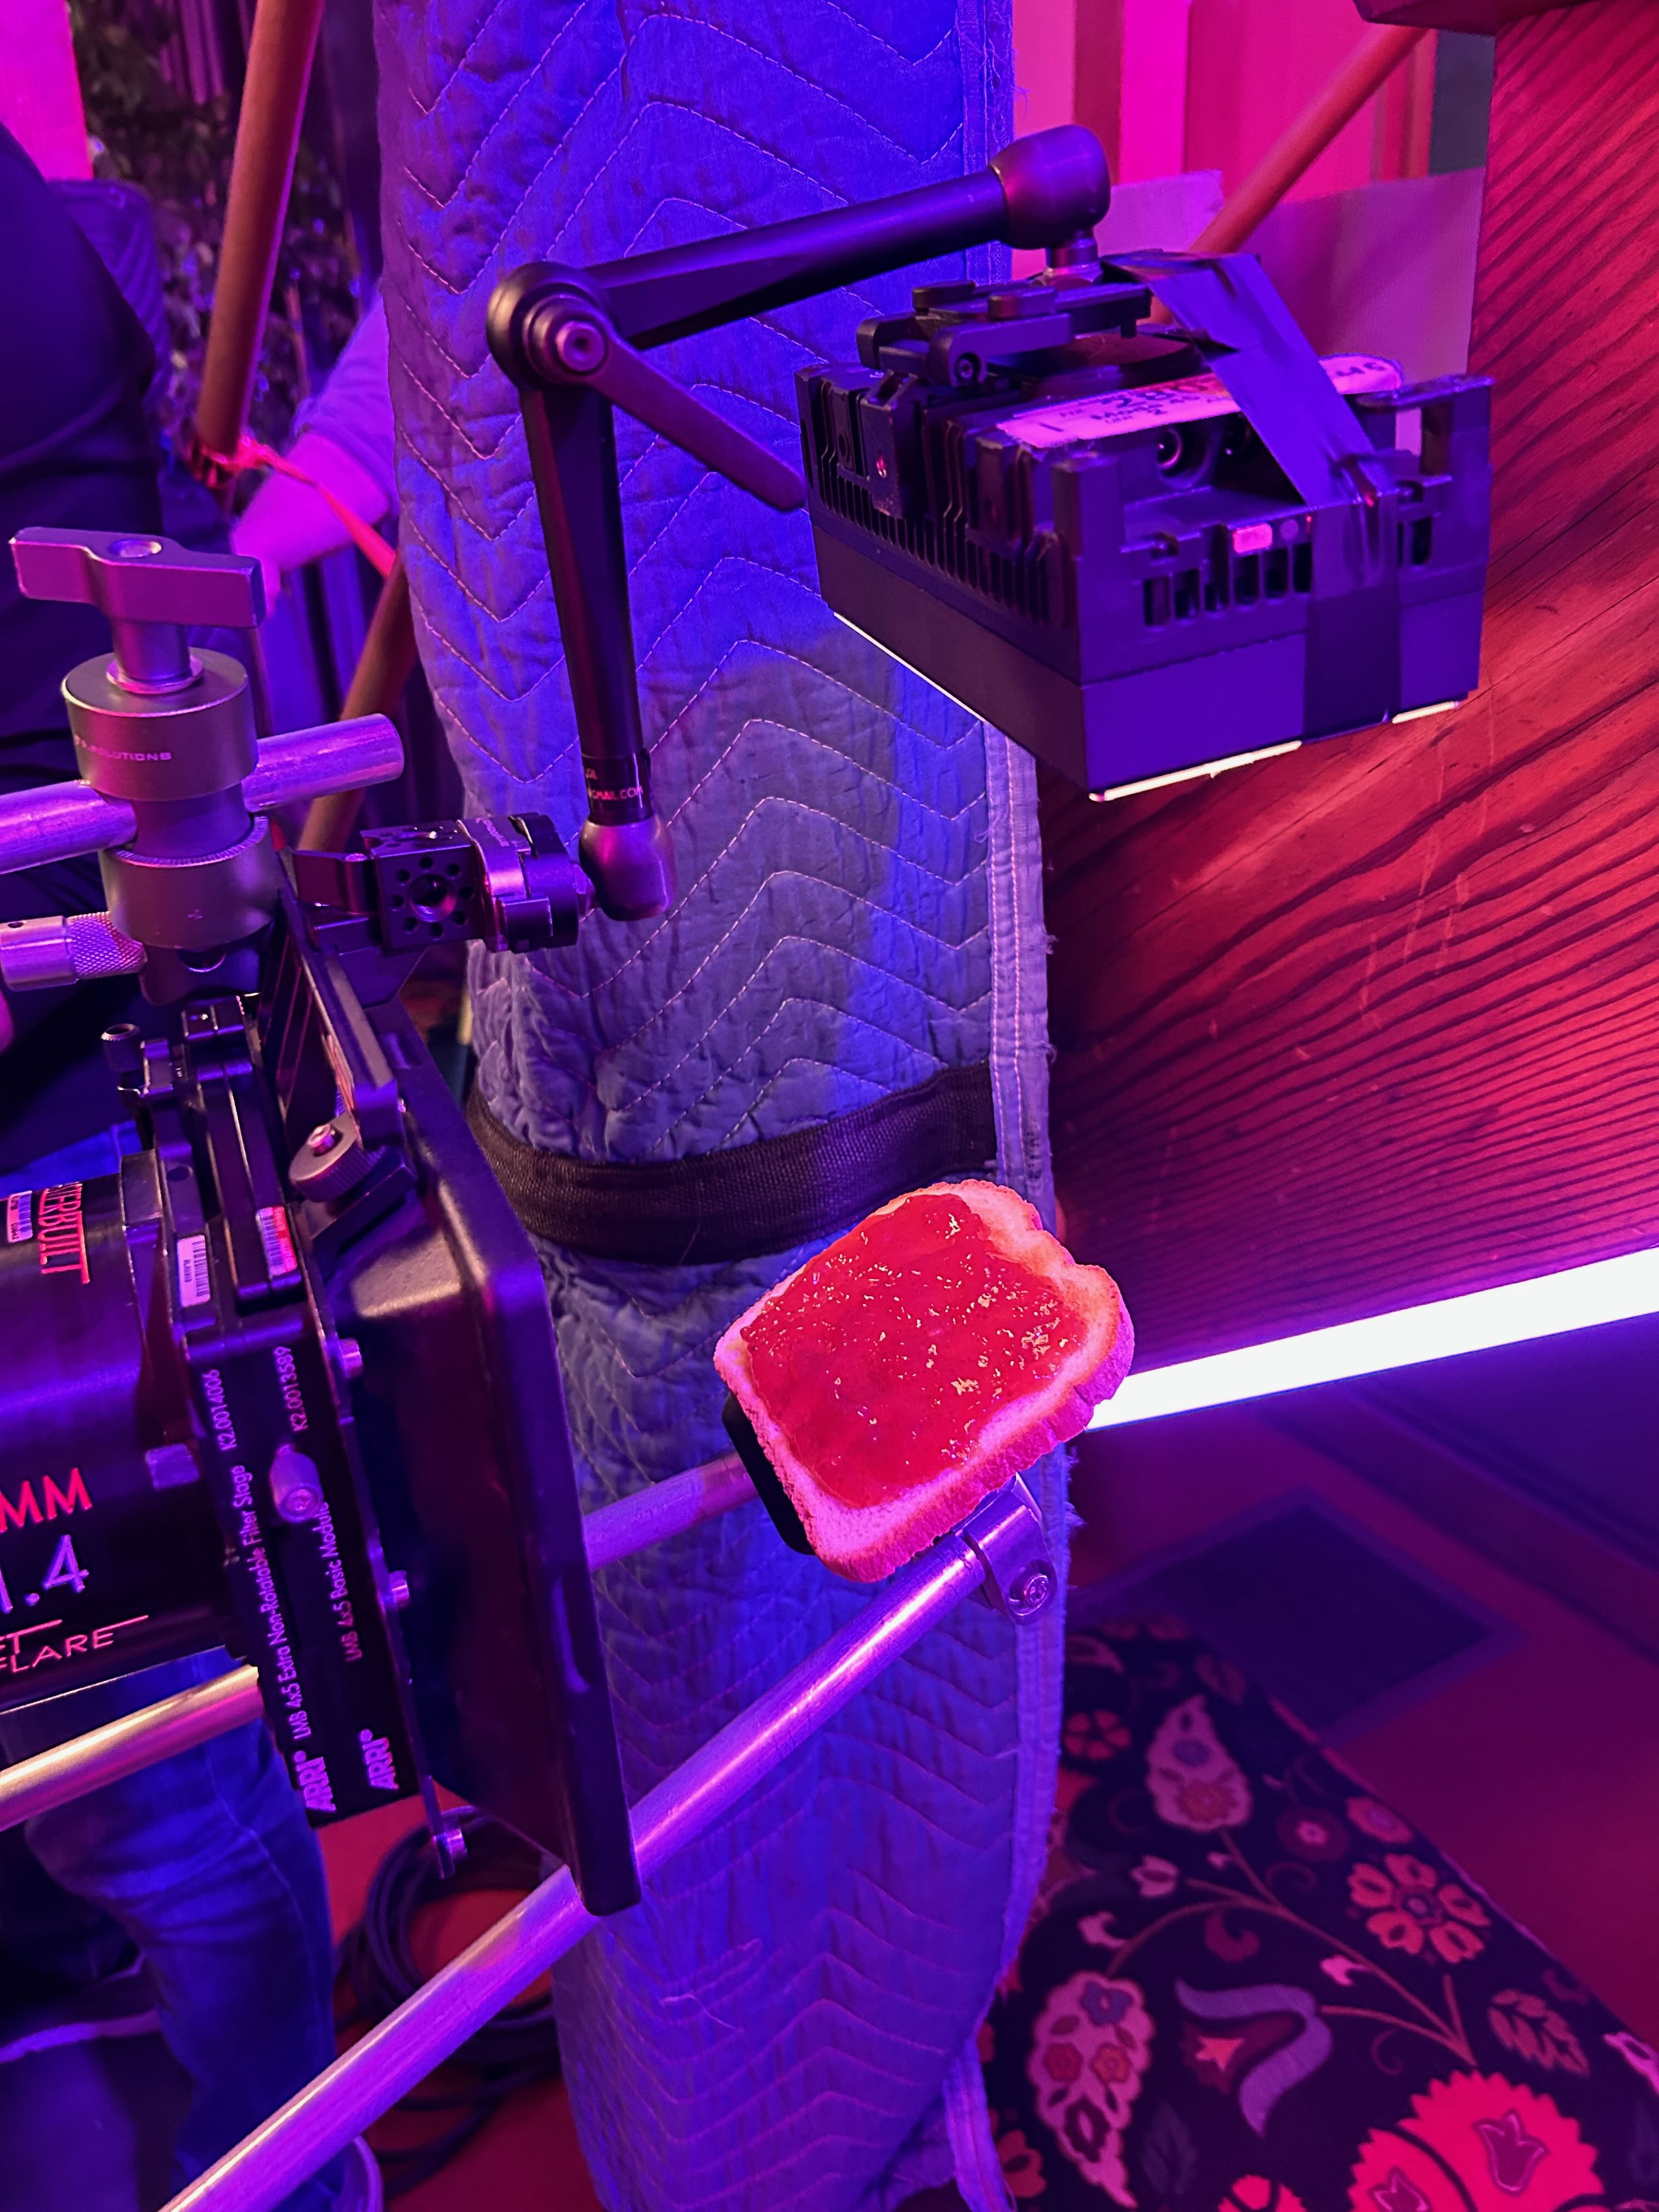
Toast rig
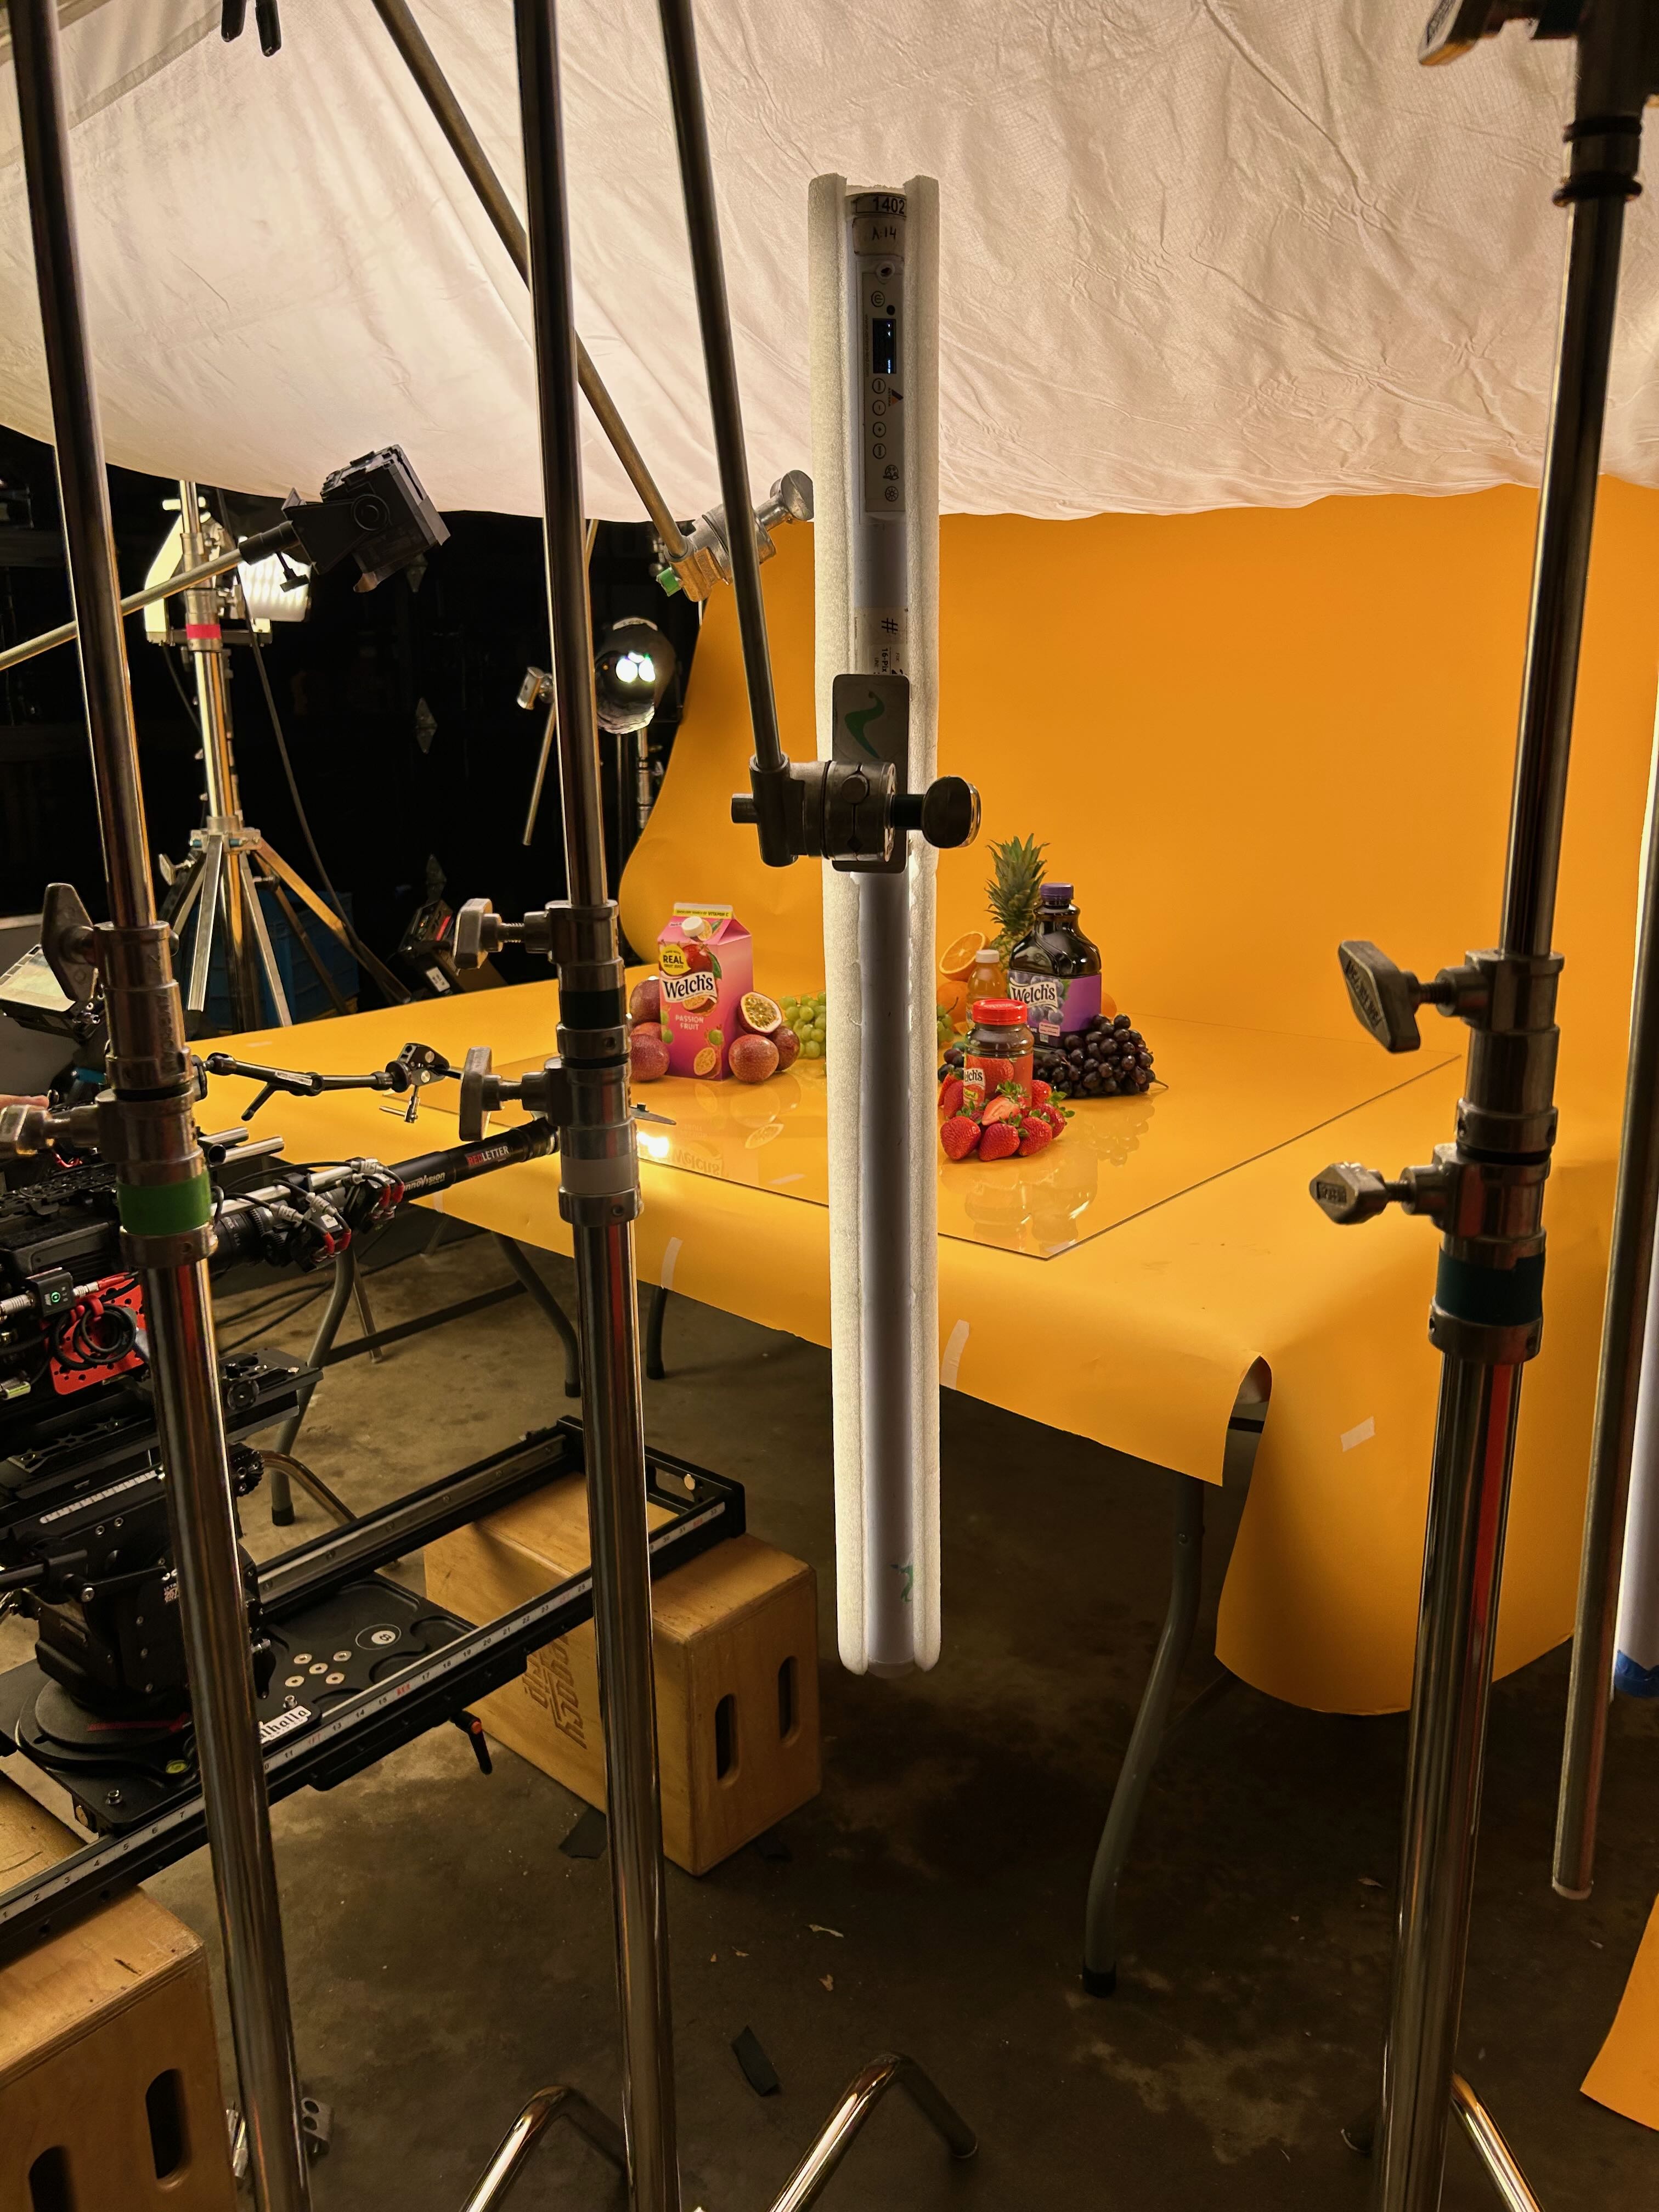
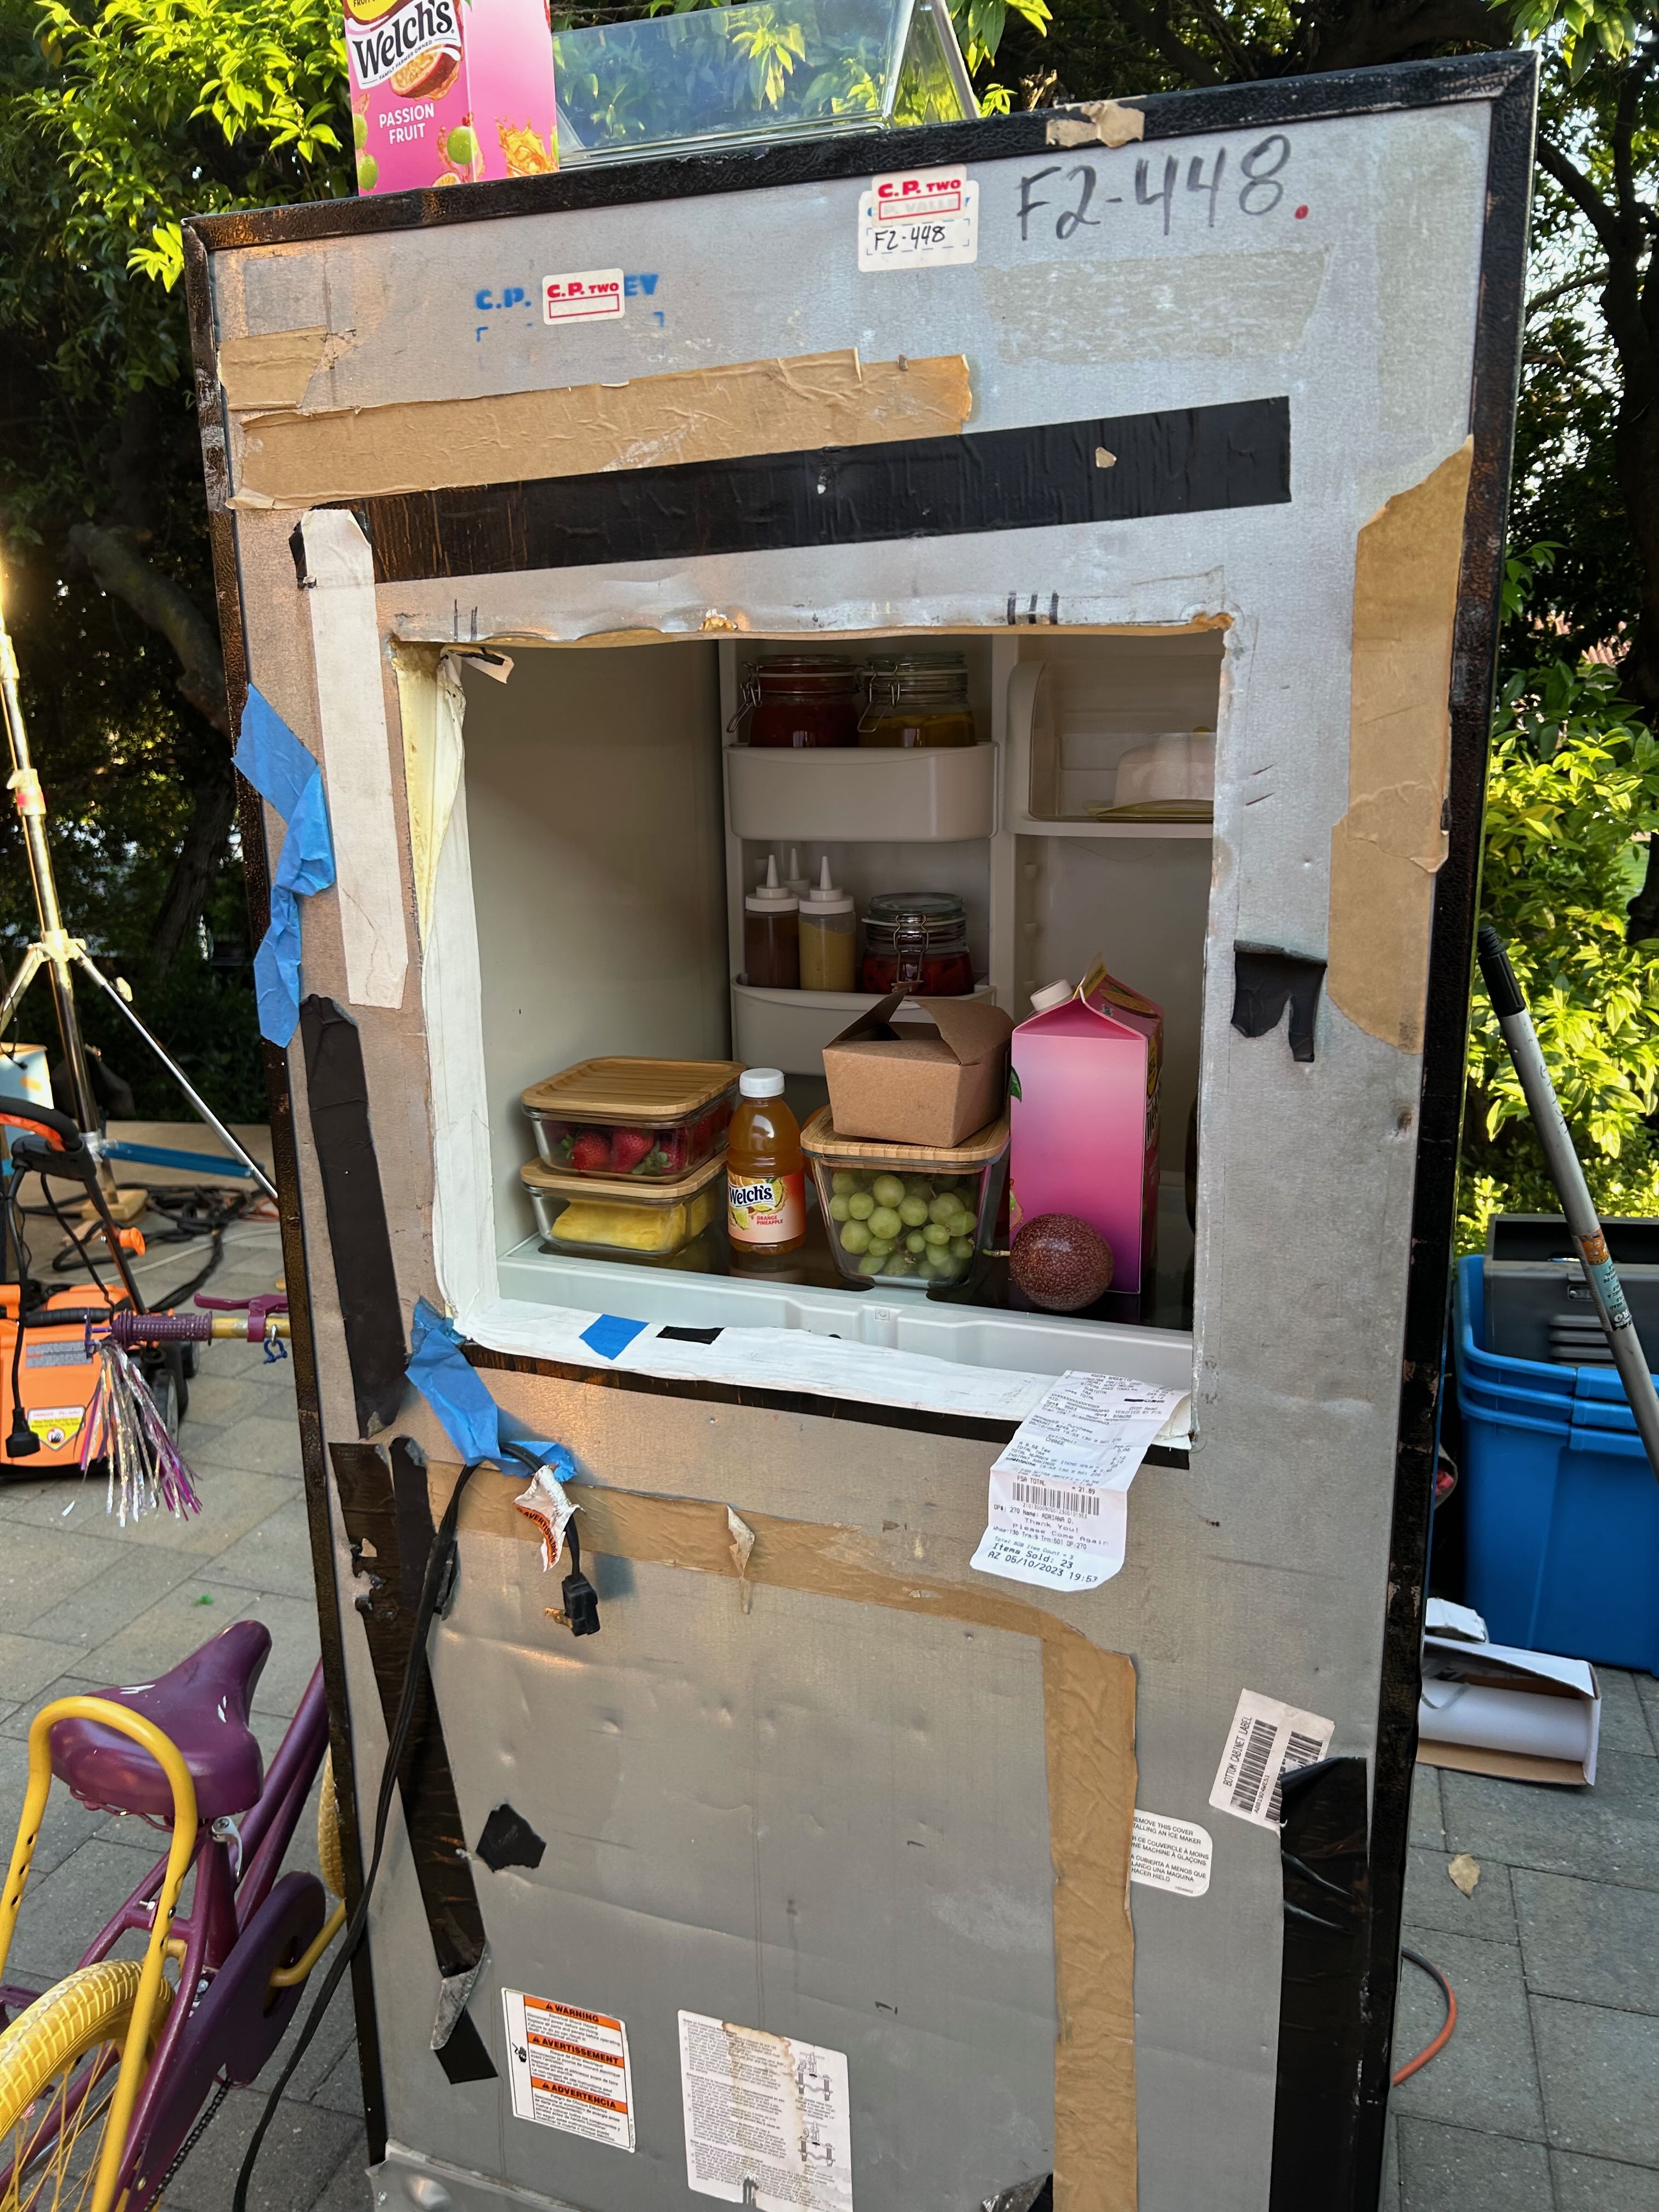
Product photography
Built With
Los Angeles Rag House
Original Sliders
American Grip
Modern Studio Equipment
On set mvp
Connor Colby has been my best boy on a multitude of projects over the years. He's not exclusive to Legacy Grip, but he has become a core player. Connor gets stuff done and has no problem throwing down and getting his hands dirty when it's crunch time. He spear headed the vertical slider rig on this job and made sure it went super smooth. Connor, I appreciate you!


by:
Brendan Riel