rig breakdown
rig breakdown
Title:
Title:
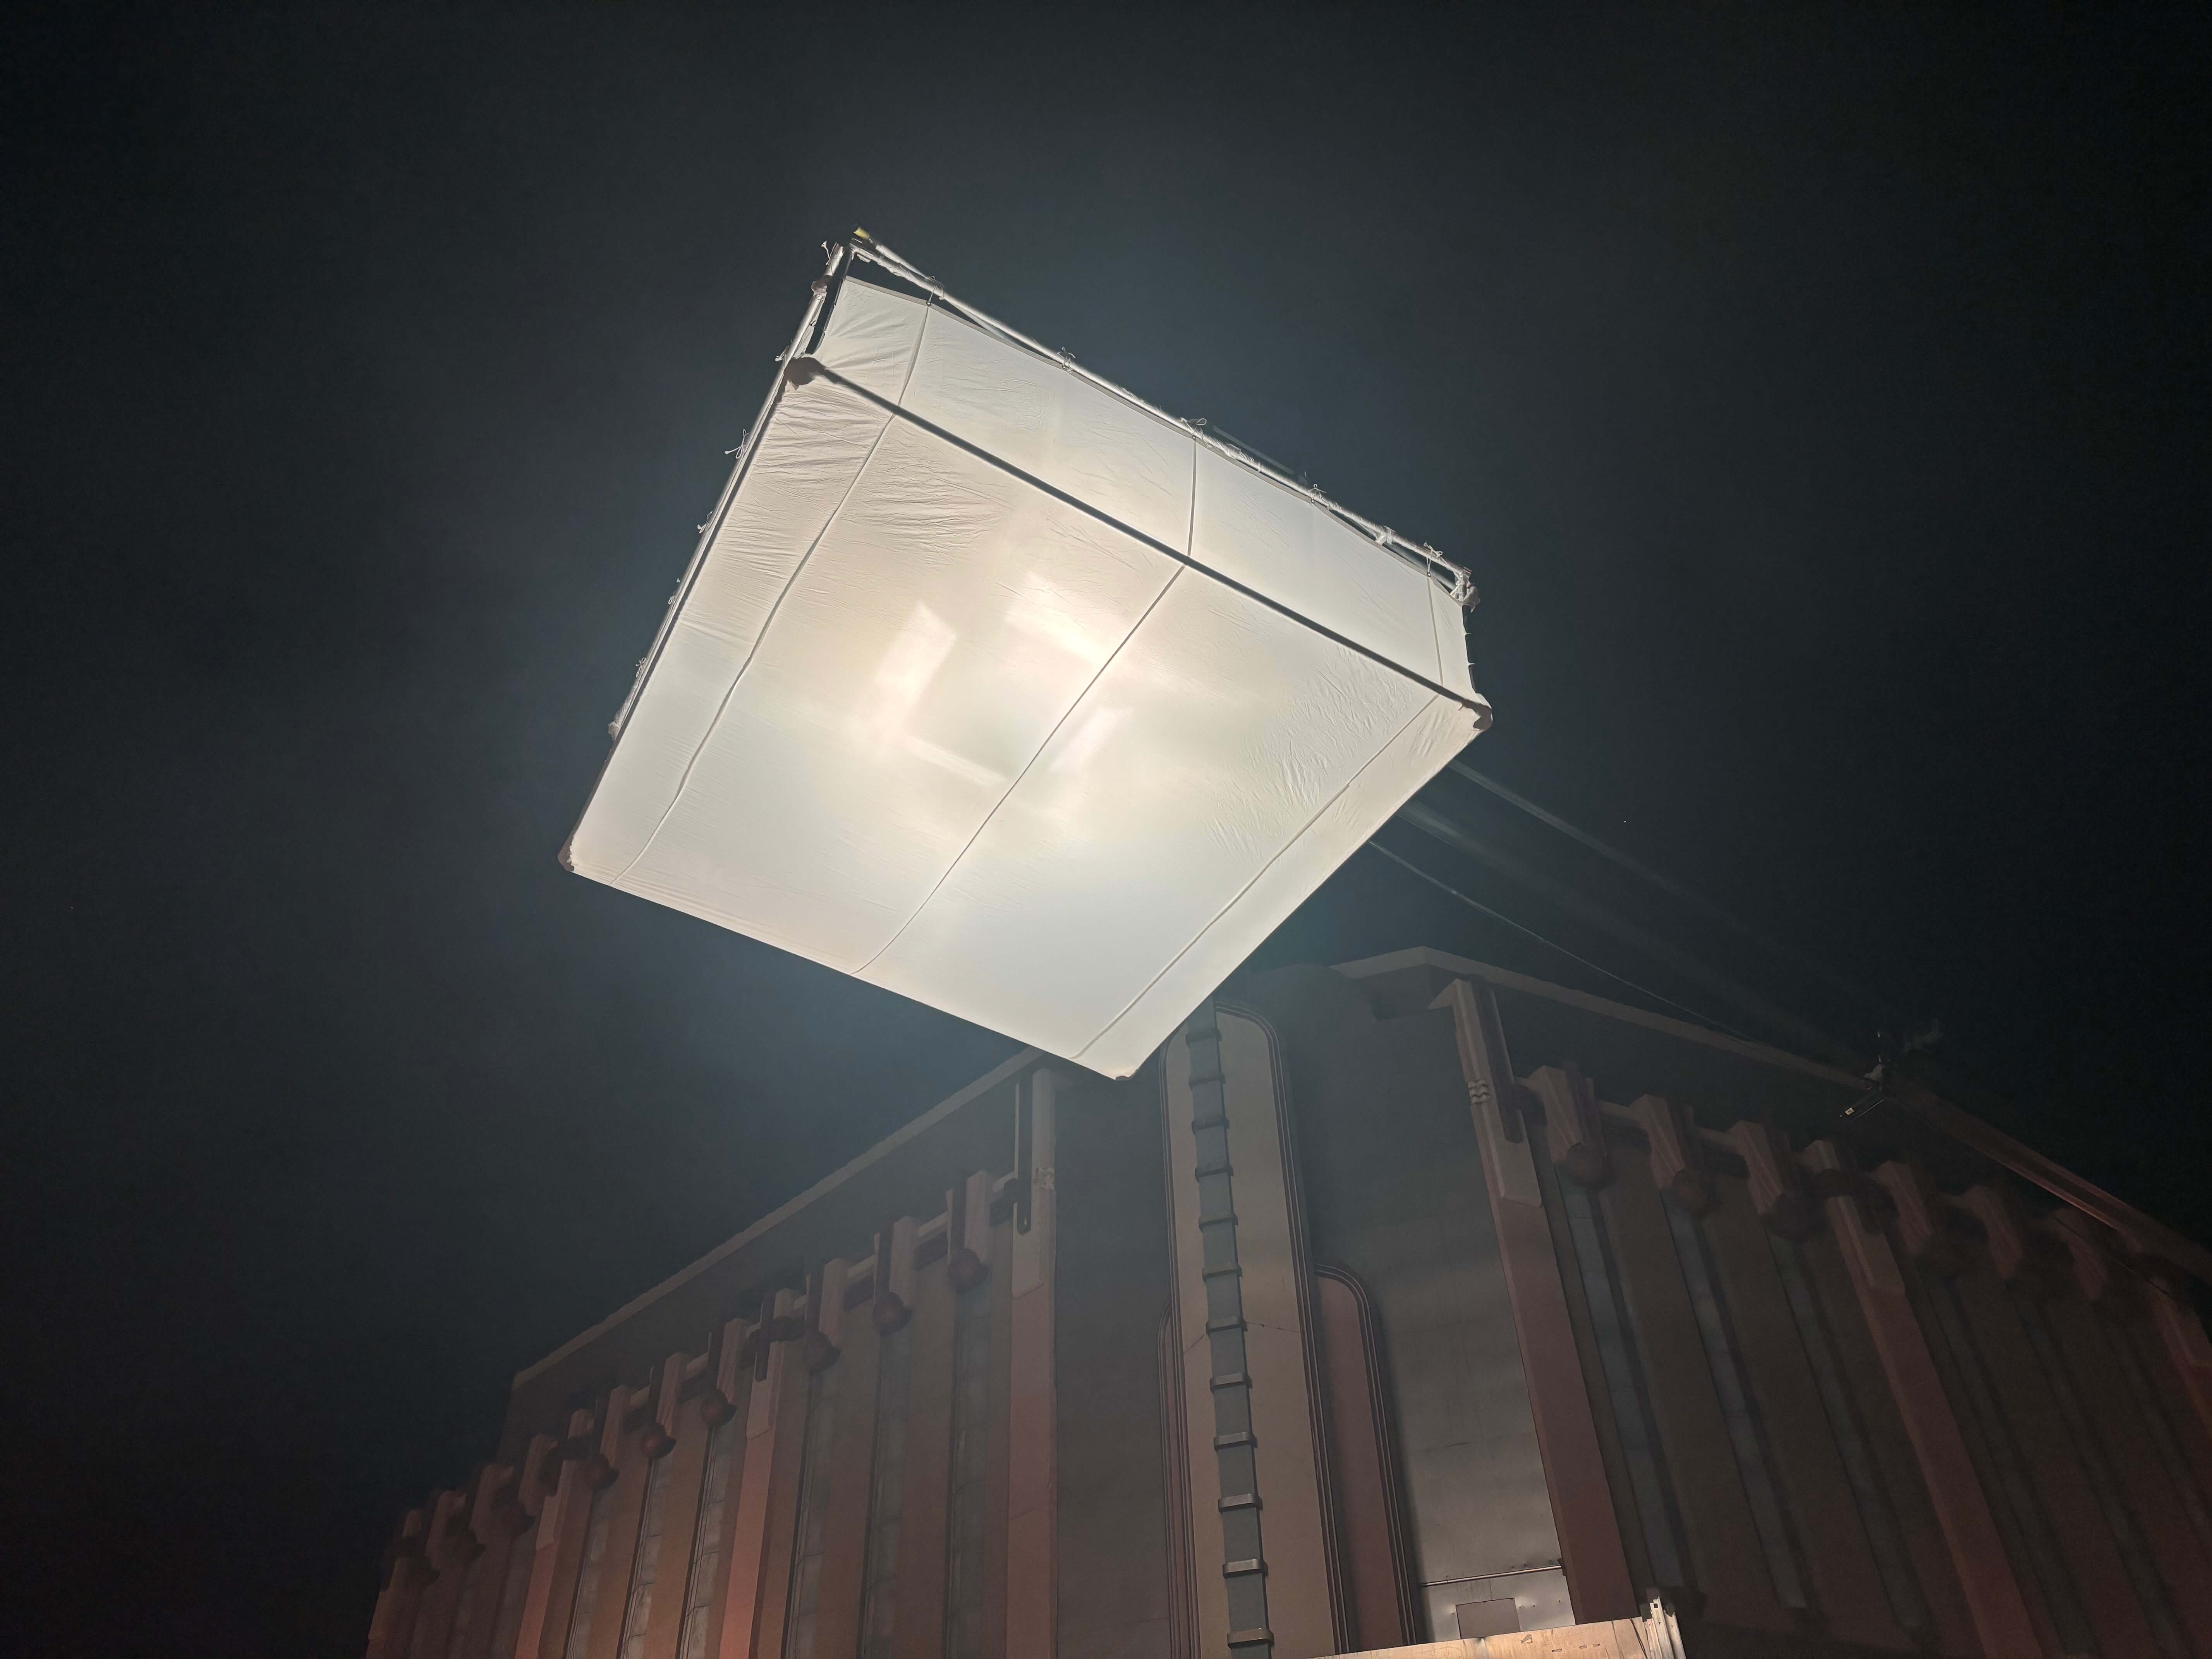
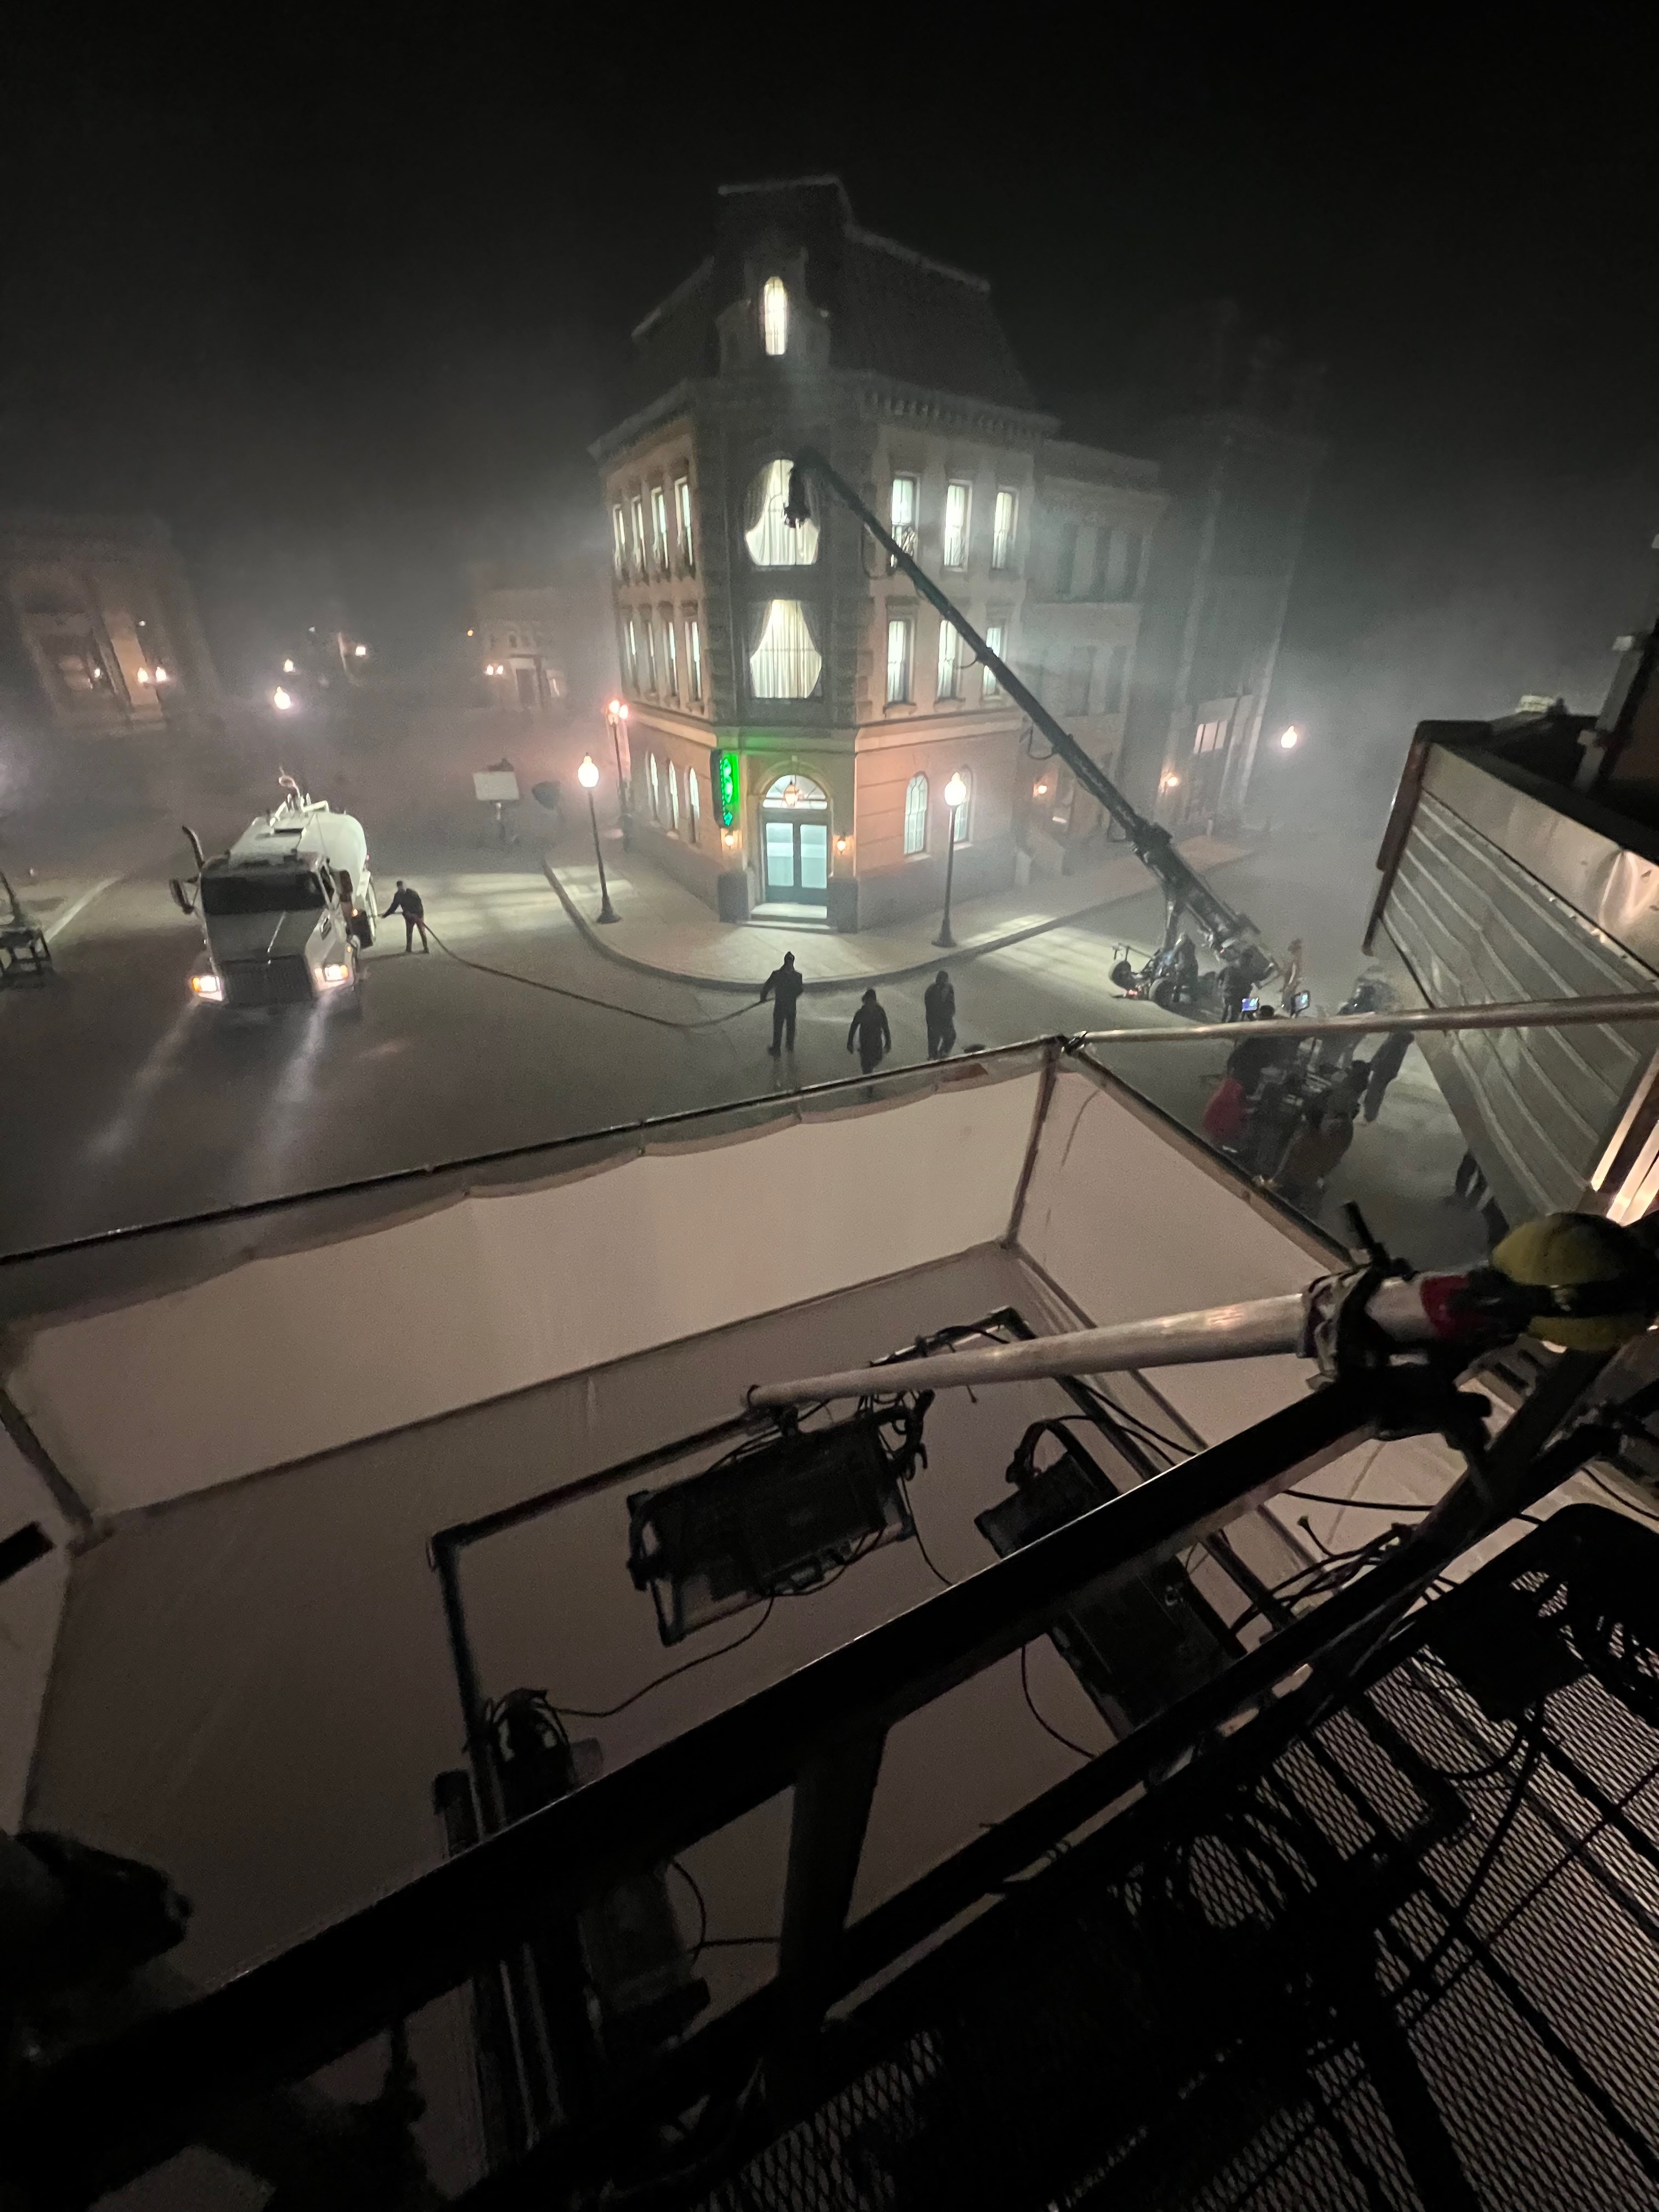
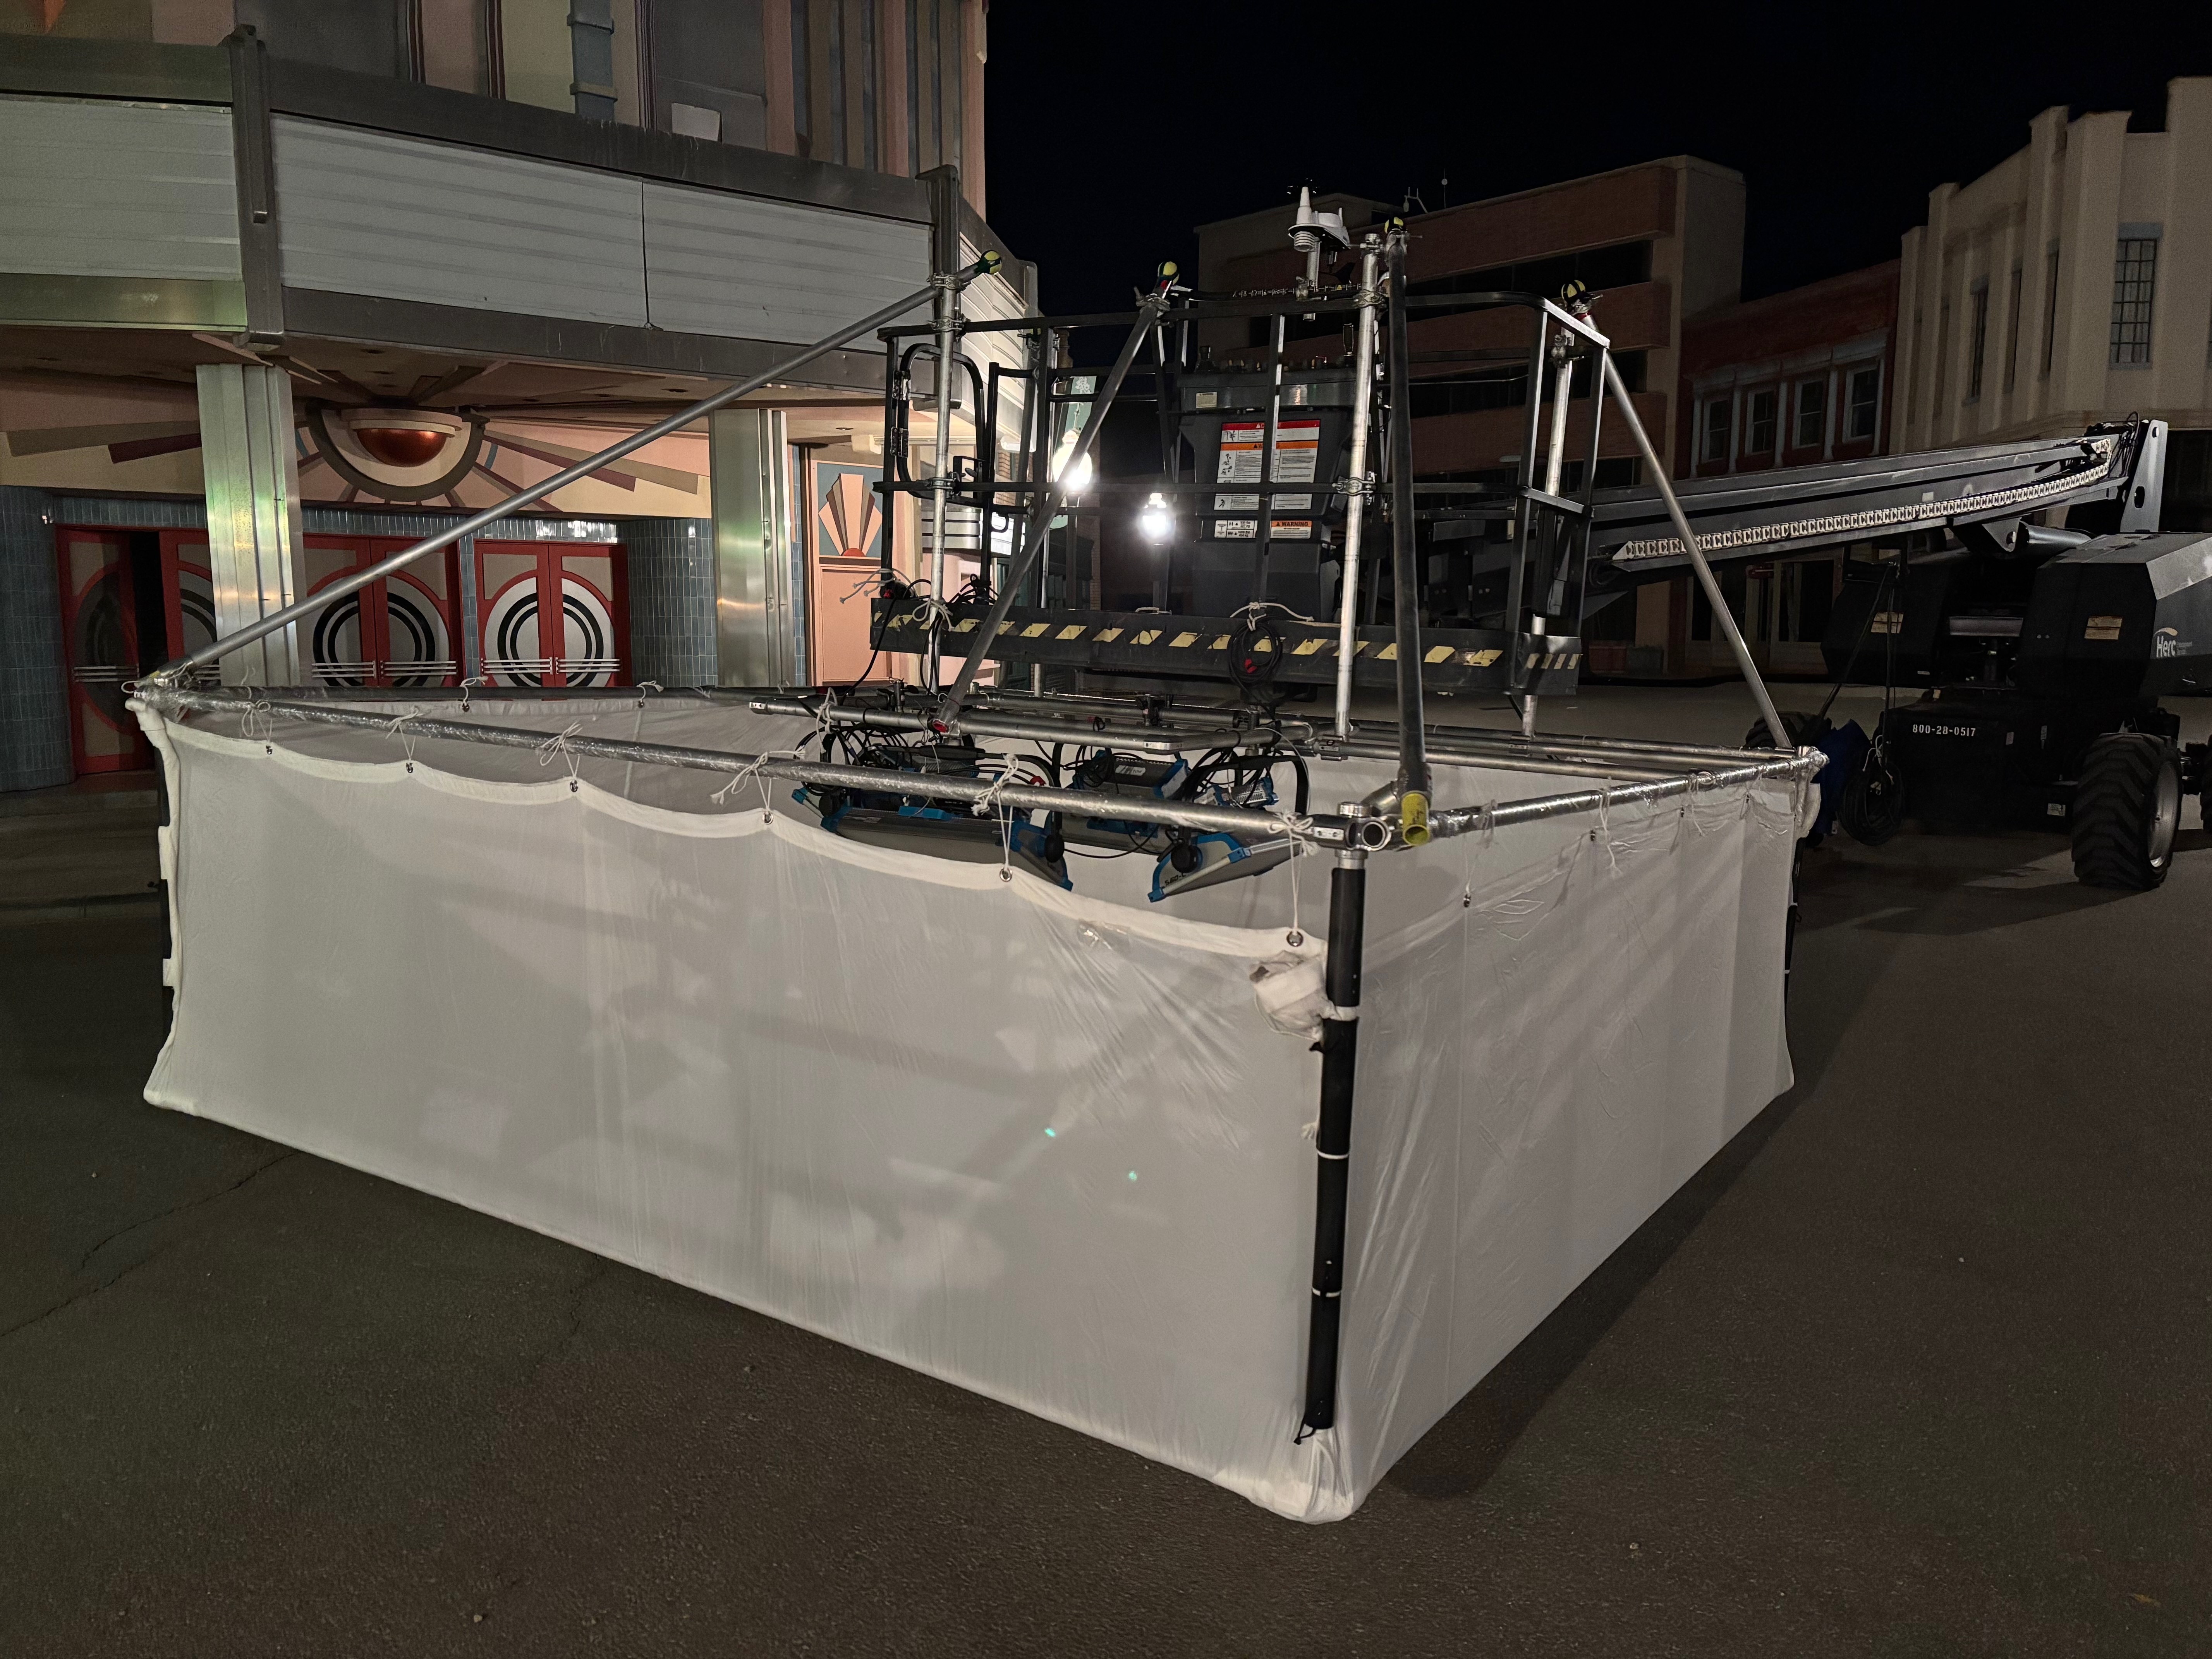
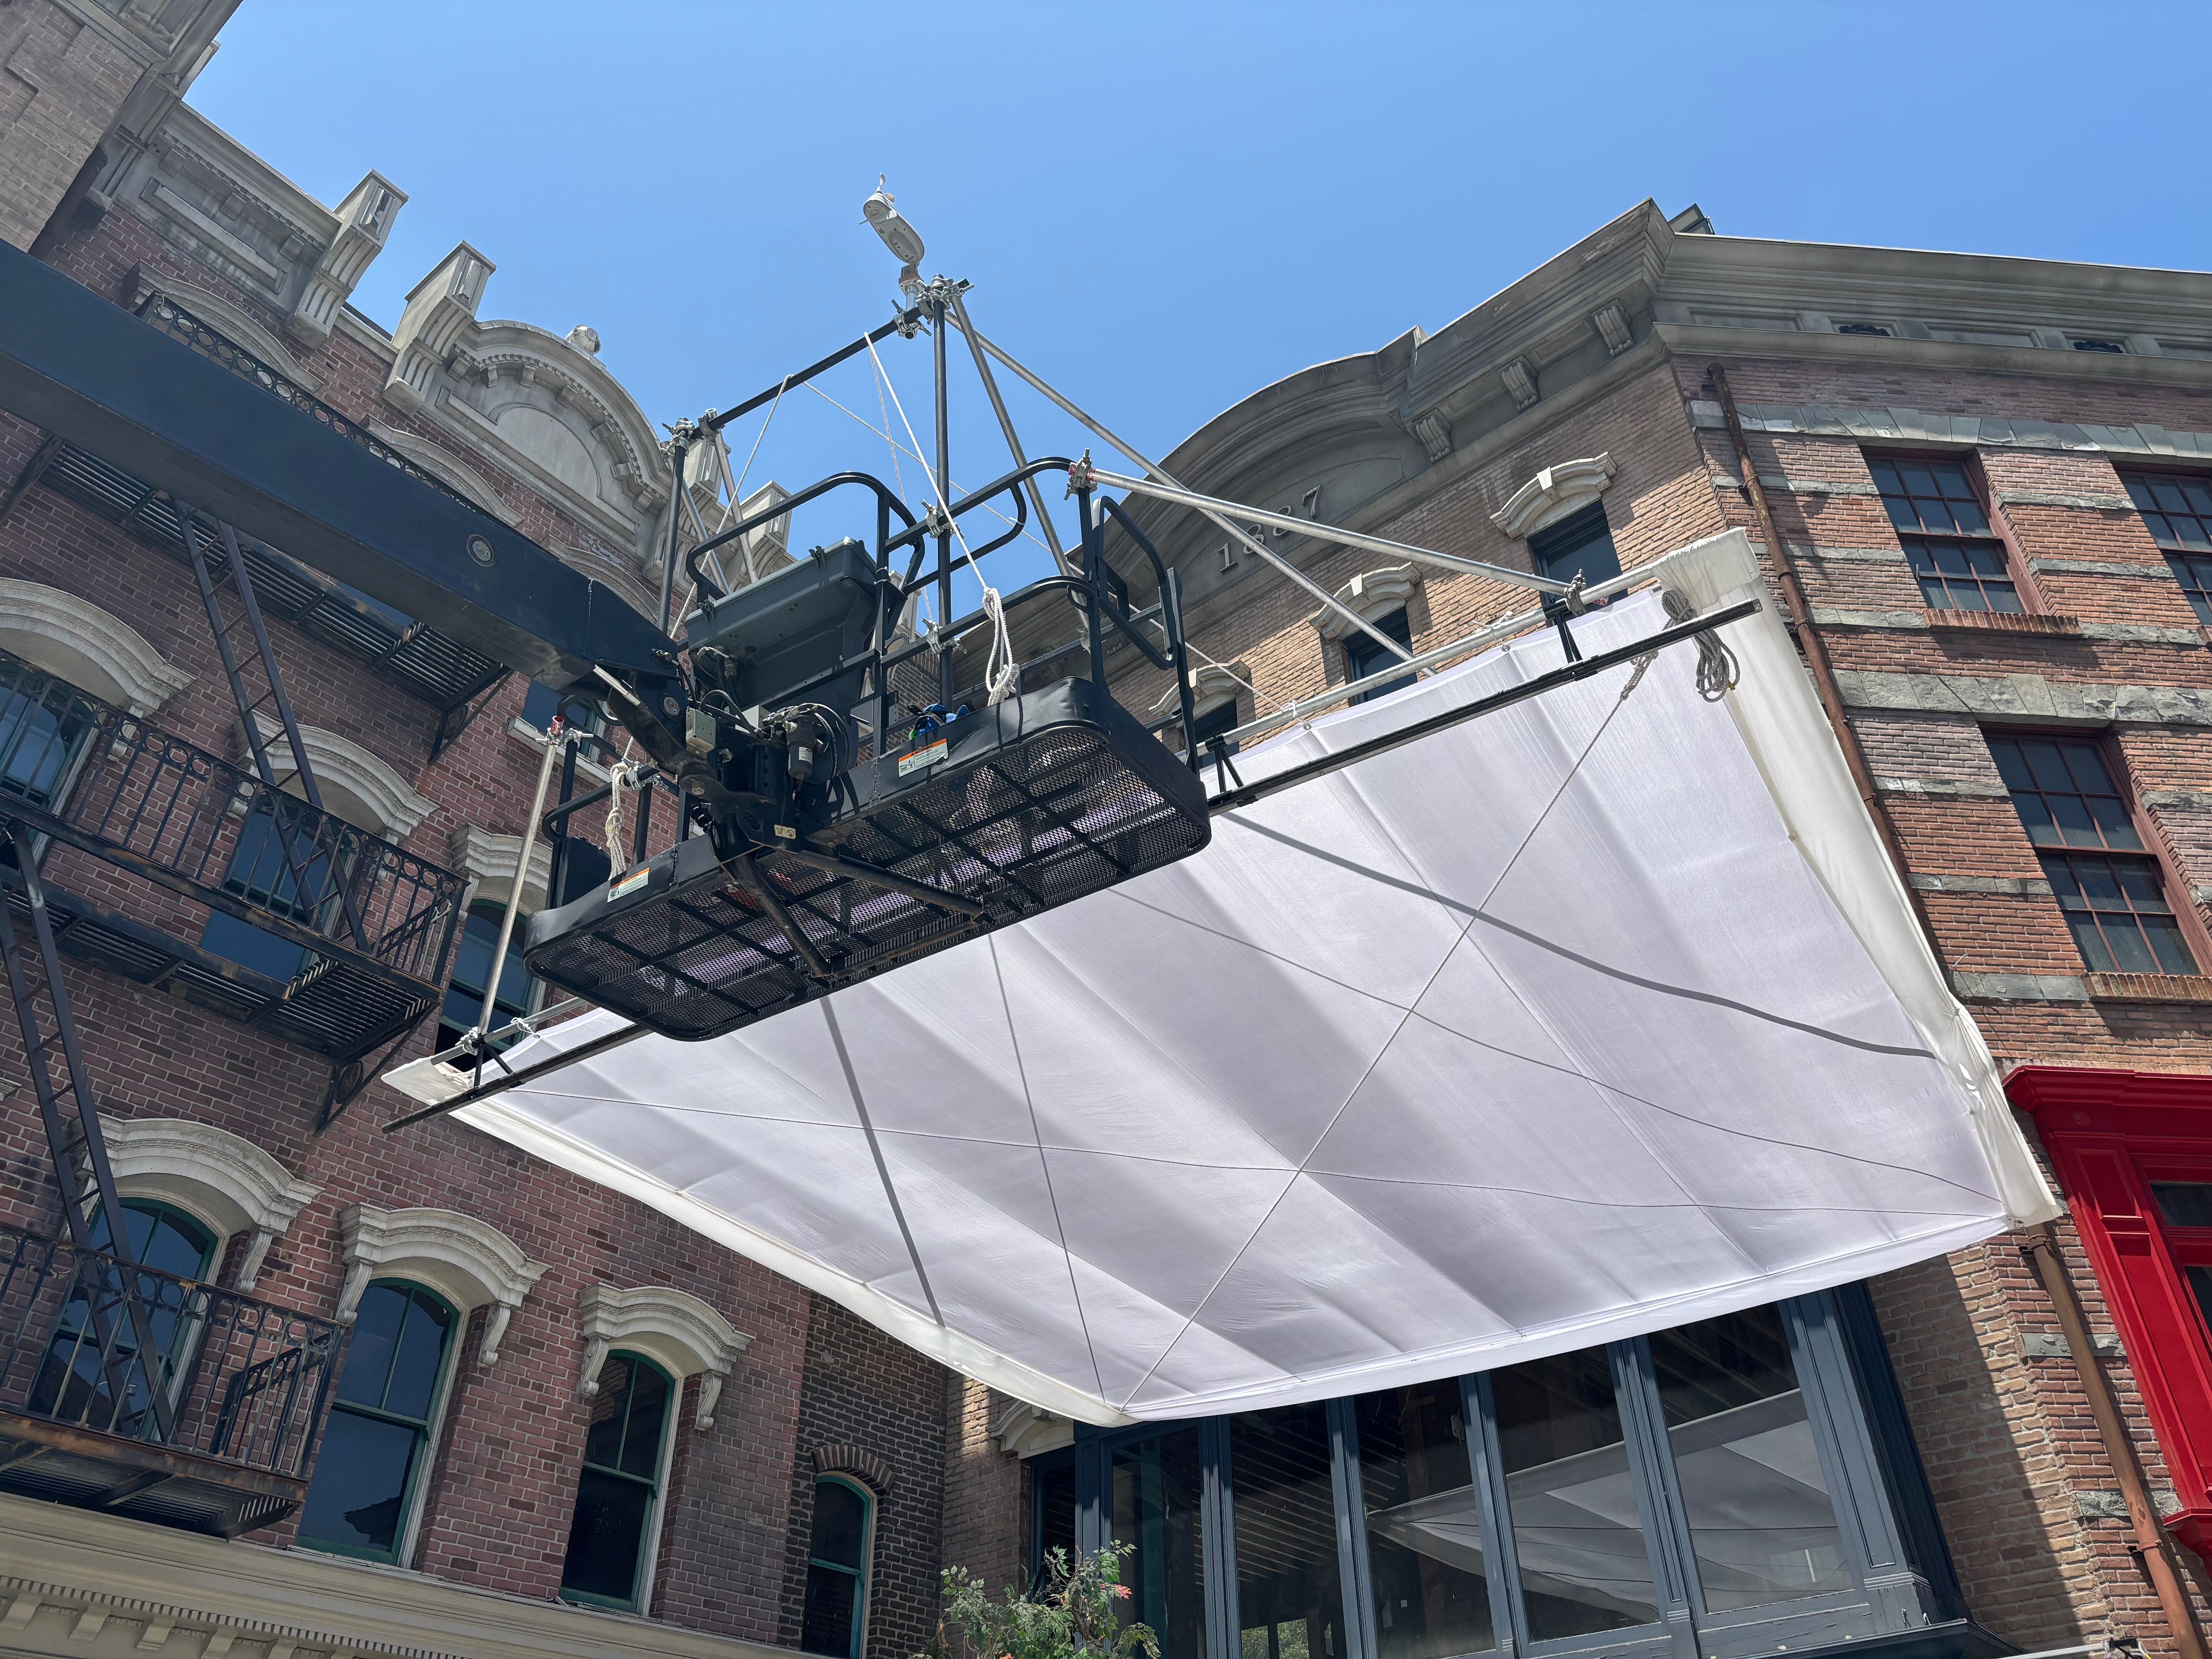
12x12 Moonbox On A Condor
Commercial
Commercial
Commercial
Commercial
about the rig
12x12x4 moonbox on a JLG 800S condor.
Rigged the center of gravity as far toward the back of the bucket without interfering with any bucket tilt capabilities in order to help with adjusted weight.
Attached the 12x12 box to the condor basket with some pipe verticals and triangulated more pipe to each corner for rigidity and safety. Created a separate frame for the 4 skypanel S60’s inside of the box and secured it to both a box cross section and the condor bucket.
Diffusion was 1/4 grid.
Behind the Scenes
Condor Rigging
Lighting
key grip
Brendan Riel
the crew
DP:
Zoë Simone-Yi
Grip Crew:
Connor Colby, Steve Forbes, Logan Alesso, Stephen Chang, Vic Roca, Owen Migel, Cody Ingham, Will Gonzalez, Erik Covarrubias
built with
Speedrail, Cheeseboros, Hollaender Fittings

by:
Brendan Riel
similar posts
similar posts
rig breakdown
20x20 Flyswatter
by:
Brendan Riel
My standard swatter built. Triangle truss with 1 steel. 8’ verticals for the goalpost with a 5’ horizontal. Wigs from the bucket to the tri truss. Kickers on the goalpost. 20’ kickers from the goalpost to the 20x20 frame. 2x belly lines to finish it off.
Case Study
Tight Moves & Virtual Roads: A Cadillac Case Study
by:
Luc Delamare
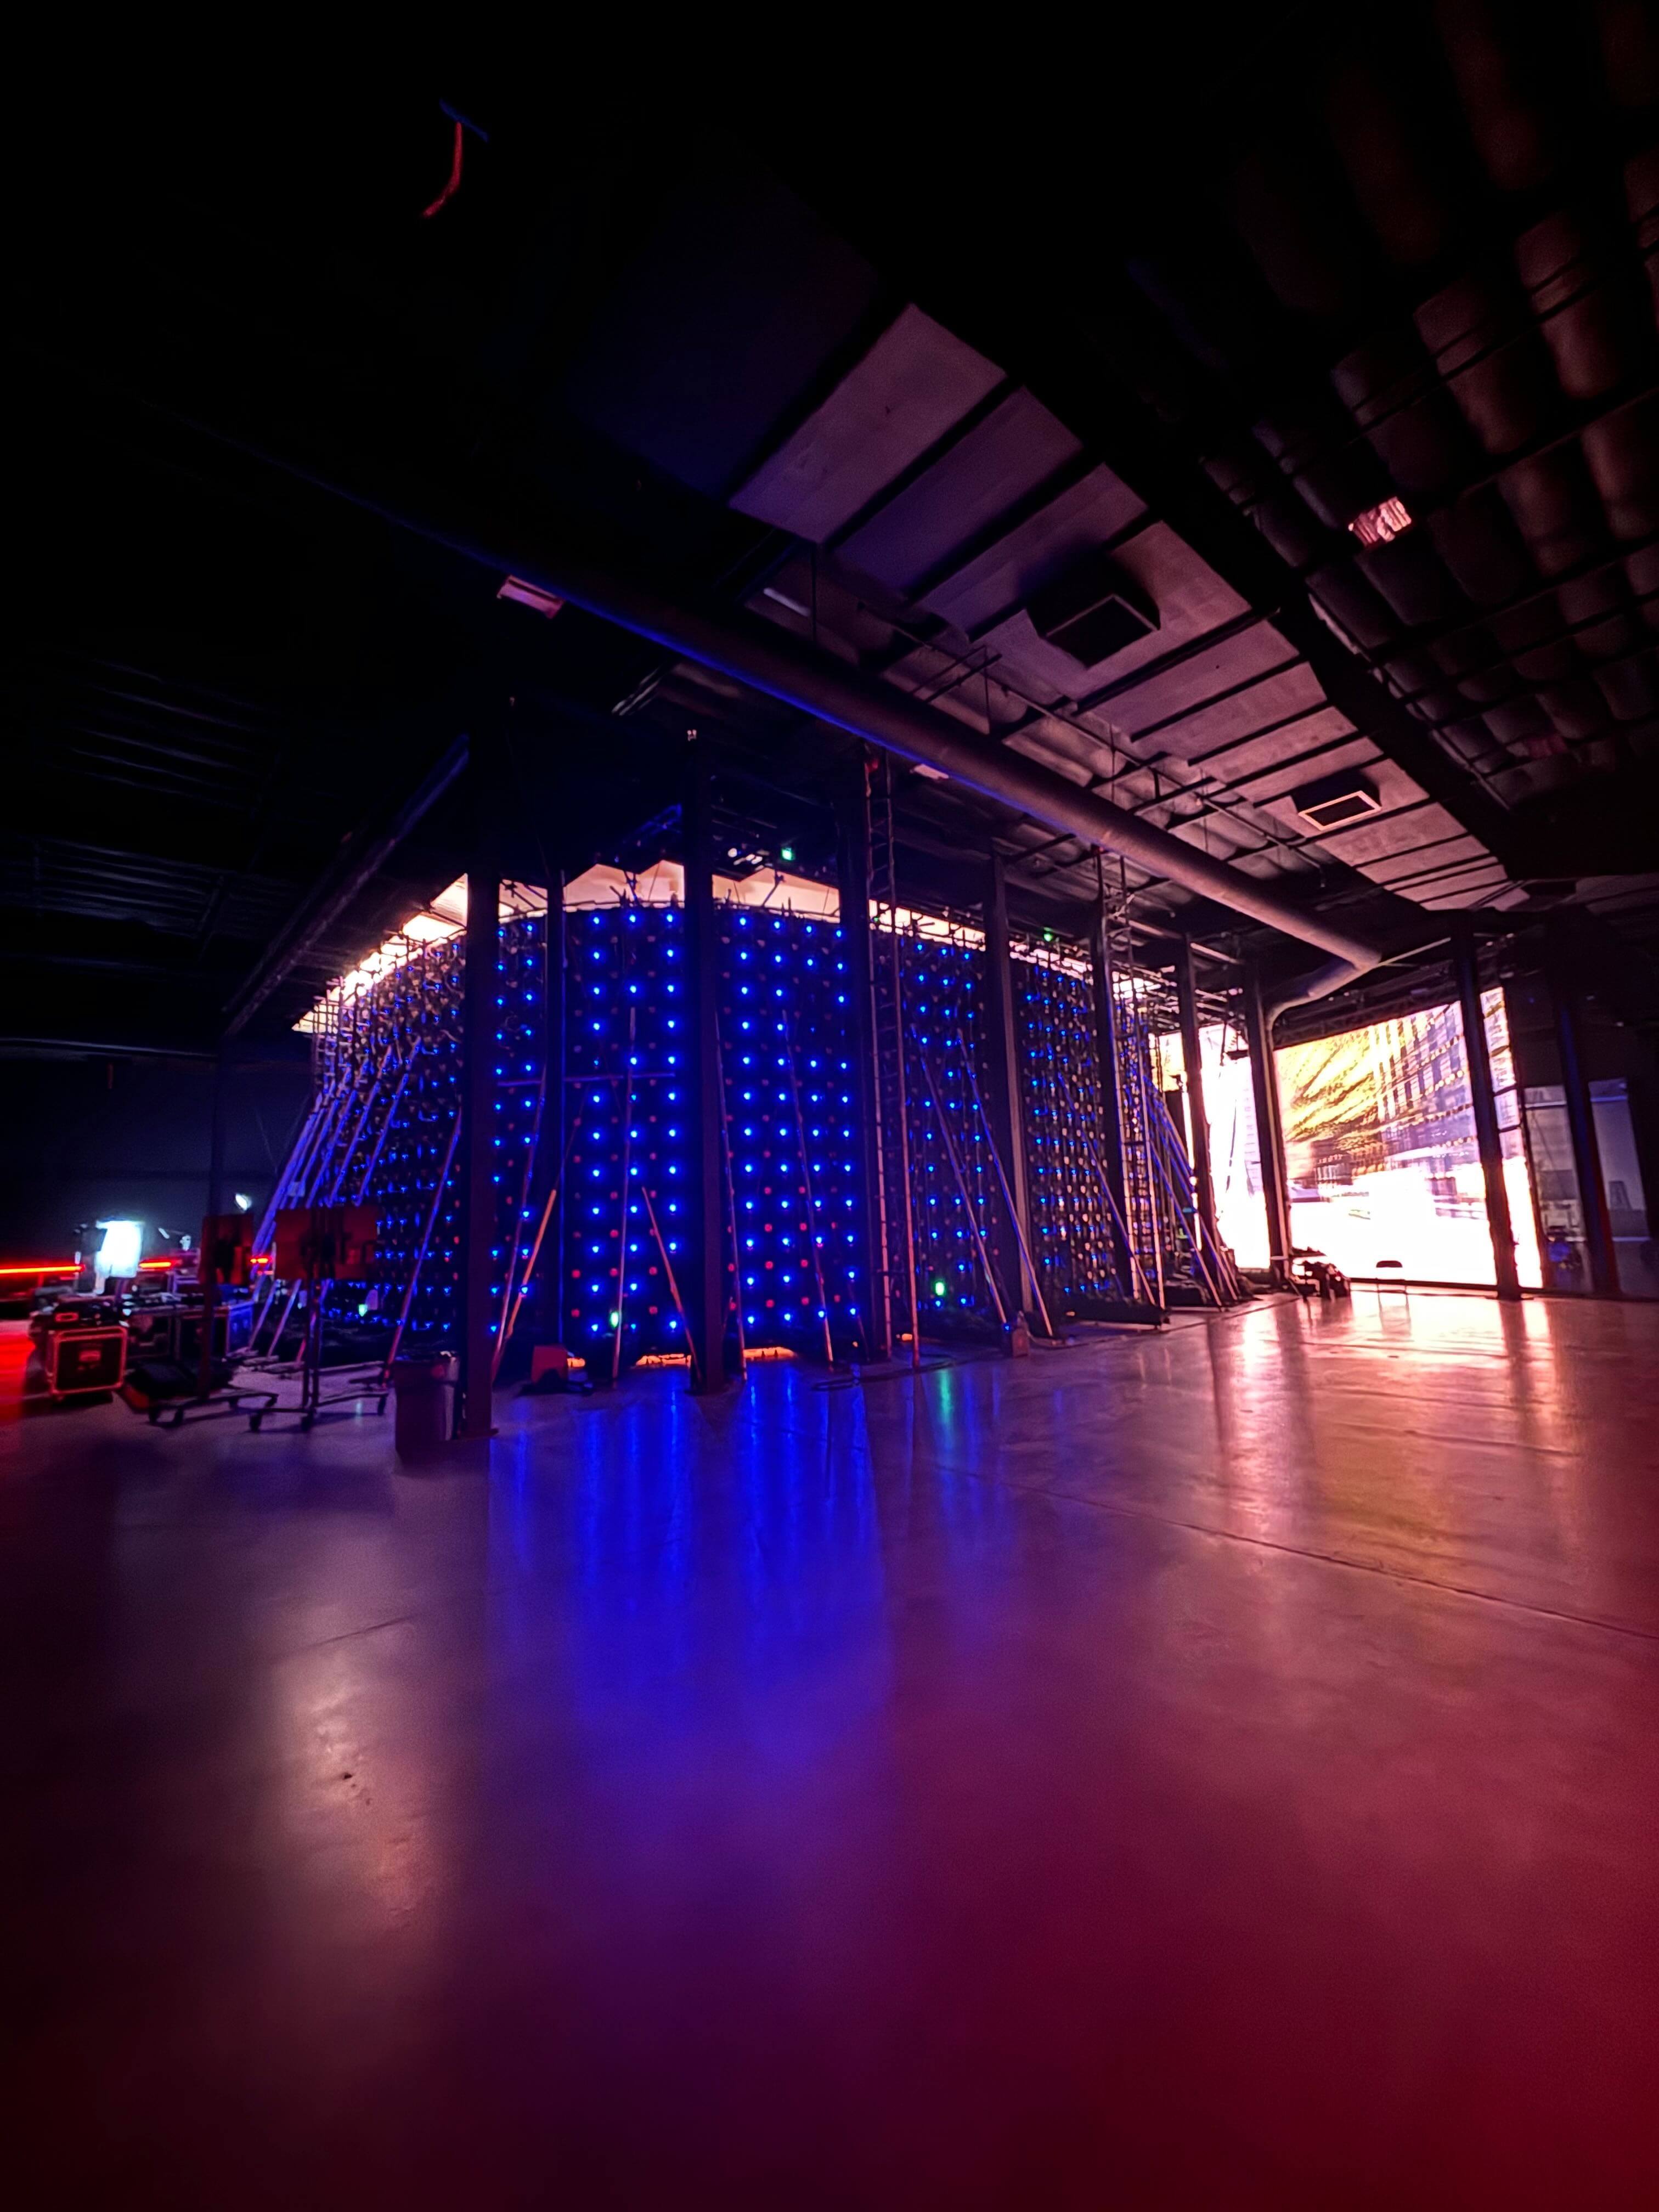
LED walls used to be this big scary new tech. In the early days things like hertz and frame rates would be either a mystery or a guessing game, lighting was a challenge, and camera tracking was a nightmare. The playbook had not yet been created. Just like with the advent of LED lighting, things take time to adjust and integrate into workflows. You realize what systems need improving, understand your base standards for execution, and figure out all the little quirks and tips that come with new technology.
We put the virtual production workflow to the test during our shoot for Cadillac.
With one combined prelight / tech rehearsal day, and two shoot days, this set of Cadillac TVCs featured 5 different vehicles in 6 different virtual environments. All of the vehicle interiors for the spots were captured with ICVFX (in camera vfx) on Nant Studio’s LED Volume 1 in El Segundo. With the help of some extensive prep & previz, Brendan, Vince, and I were able to move at record pace for a commercial with intricate technical requirements.
Case Study
Tight Moves & Virtual Roads: A Cadillac Case Study
by:
Luc Delamare
LED walls used to be this big scary new tech. In the early days things like hertz and frame rates would be either a mystery or a guessing game, lighting was a challenge, and camera tracking was a nightmare. The playbook had not yet been created. Just like with the advent of LED lighting, things take time to adjust and integrate into workflows. You realize what systems need improving, understand your base standards for execution, and figure out all the little quirks and tips that come with new technology.
We put the virtual production workflow to the test during our shoot for Cadillac.
With one combined prelight / tech rehearsal day, and two shoot days, this set of Cadillac TVCs featured 5 different vehicles in 6 different virtual environments. All of the vehicle interiors for the spots were captured with ICVFX (in camera vfx) on Nant Studio’s LED Volume 1 in El Segundo. With the help of some extensive prep & previz, Brendan, Vince, and I were able to move at record pace for a commercial with intricate technical requirements.
rig breakdown
ModX Rolling Soft Toplight
by:
Brendan Riel
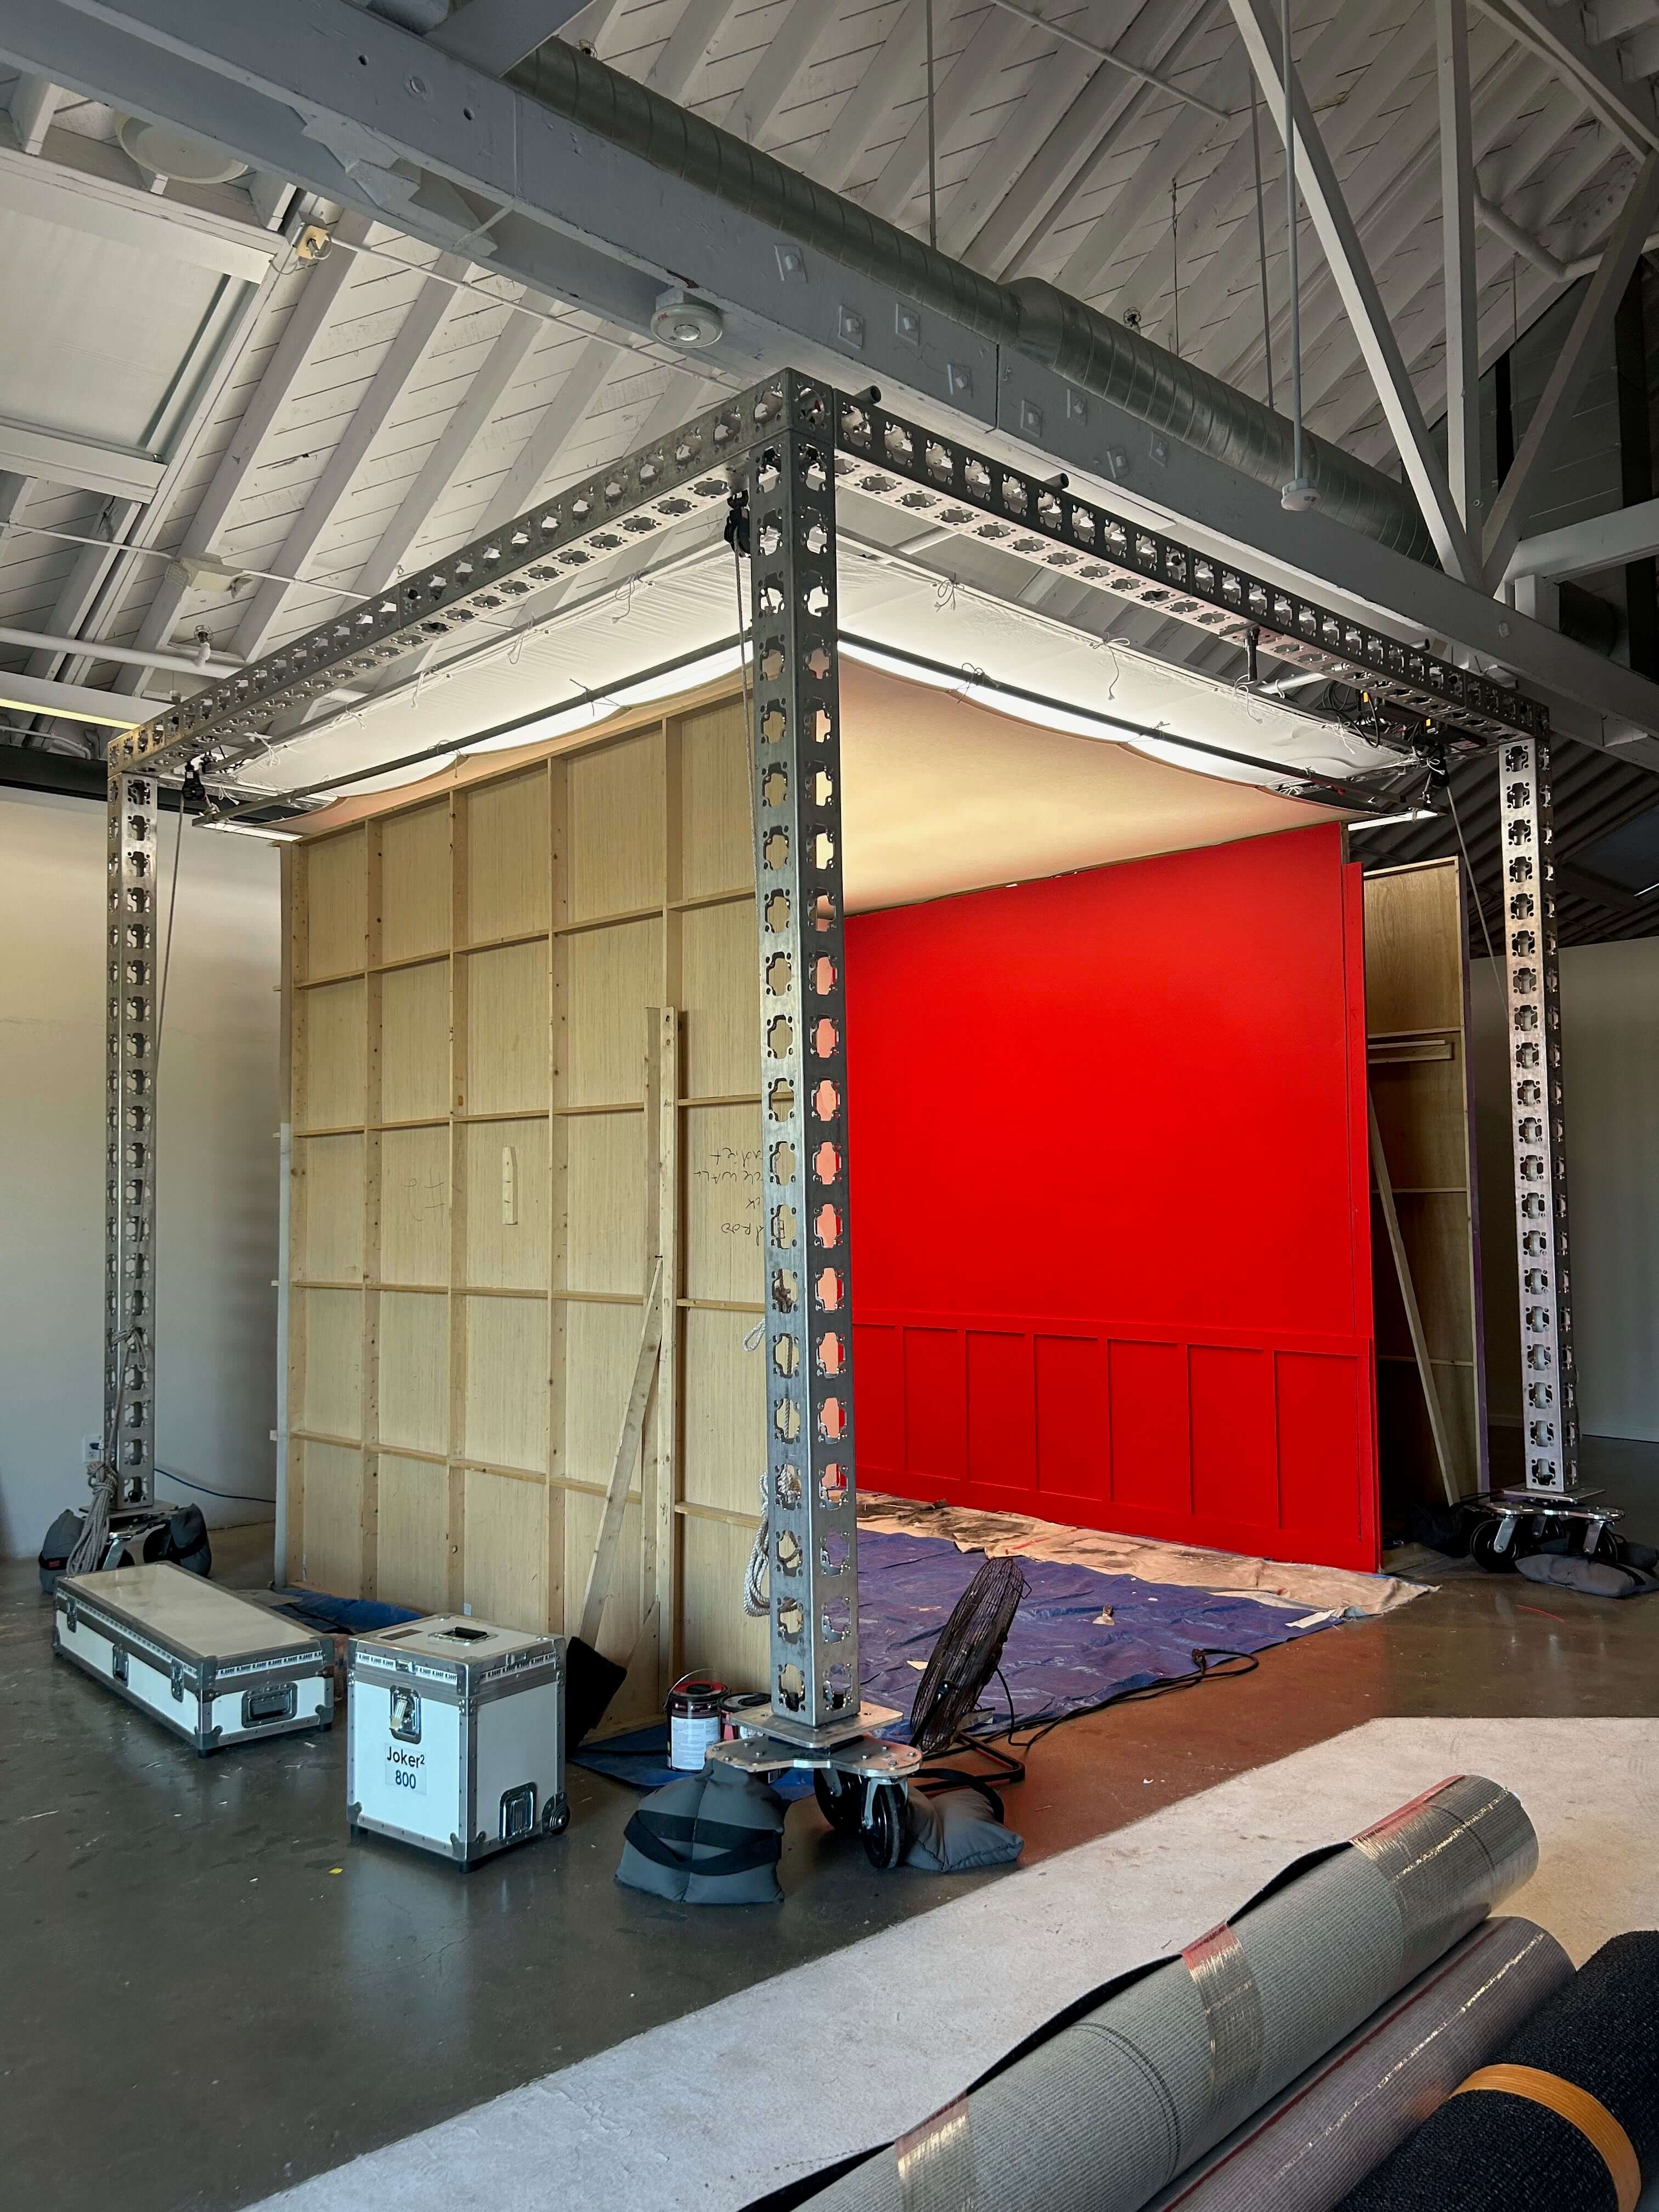
We built this mobile toplight softbox using 6" ModX truss to serve four different sets inside a tight studio space with limited overhead clearance. The goal was to keep costs down and avoid building duplicate overhead rigs or ground units for each set. So, we designed a rolling, double-layered softbox that could easily move from set to set—and double as an in-frame ceiling piece when needed.
The structure measured 14’x14’ OD and held two 12x12 frames: one with 1/2 grid and one with bleached muslin. The bleached muz was rigged with a pulley system, allowing us to raise or drop the rag when we needed to bring it into the scene as a ceiling element. We punched LiteTile through both rags for soft, consistent coverage.
For mobility, we mounted the whole rig on C&C Studio Services tri-casters.
rig breakdown
ModX Rolling Soft Toplight
by:
Brendan Riel
We built this mobile toplight softbox using 6" ModX truss to serve four different sets inside a tight studio space with limited overhead clearance. The goal was to keep costs down and avoid building duplicate overhead rigs or ground units for each set. So, we designed a rolling, double-layered softbox that could easily move from set to set—and double as an in-frame ceiling piece when needed.
The structure measured 14’x14’ OD and held two 12x12 frames: one with 1/2 grid and one with bleached muslin. The bleached muz was rigged with a pulley system, allowing us to raise or drop the rag when we needed to bring it into the scene as a ceiling element. We punched LiteTile through both rags for soft, consistent coverage.
For mobility, we mounted the whole rig on C&C Studio Services tri-casters.
project BTS
Seamless Muslin Softbox
by:
Brendan Riel
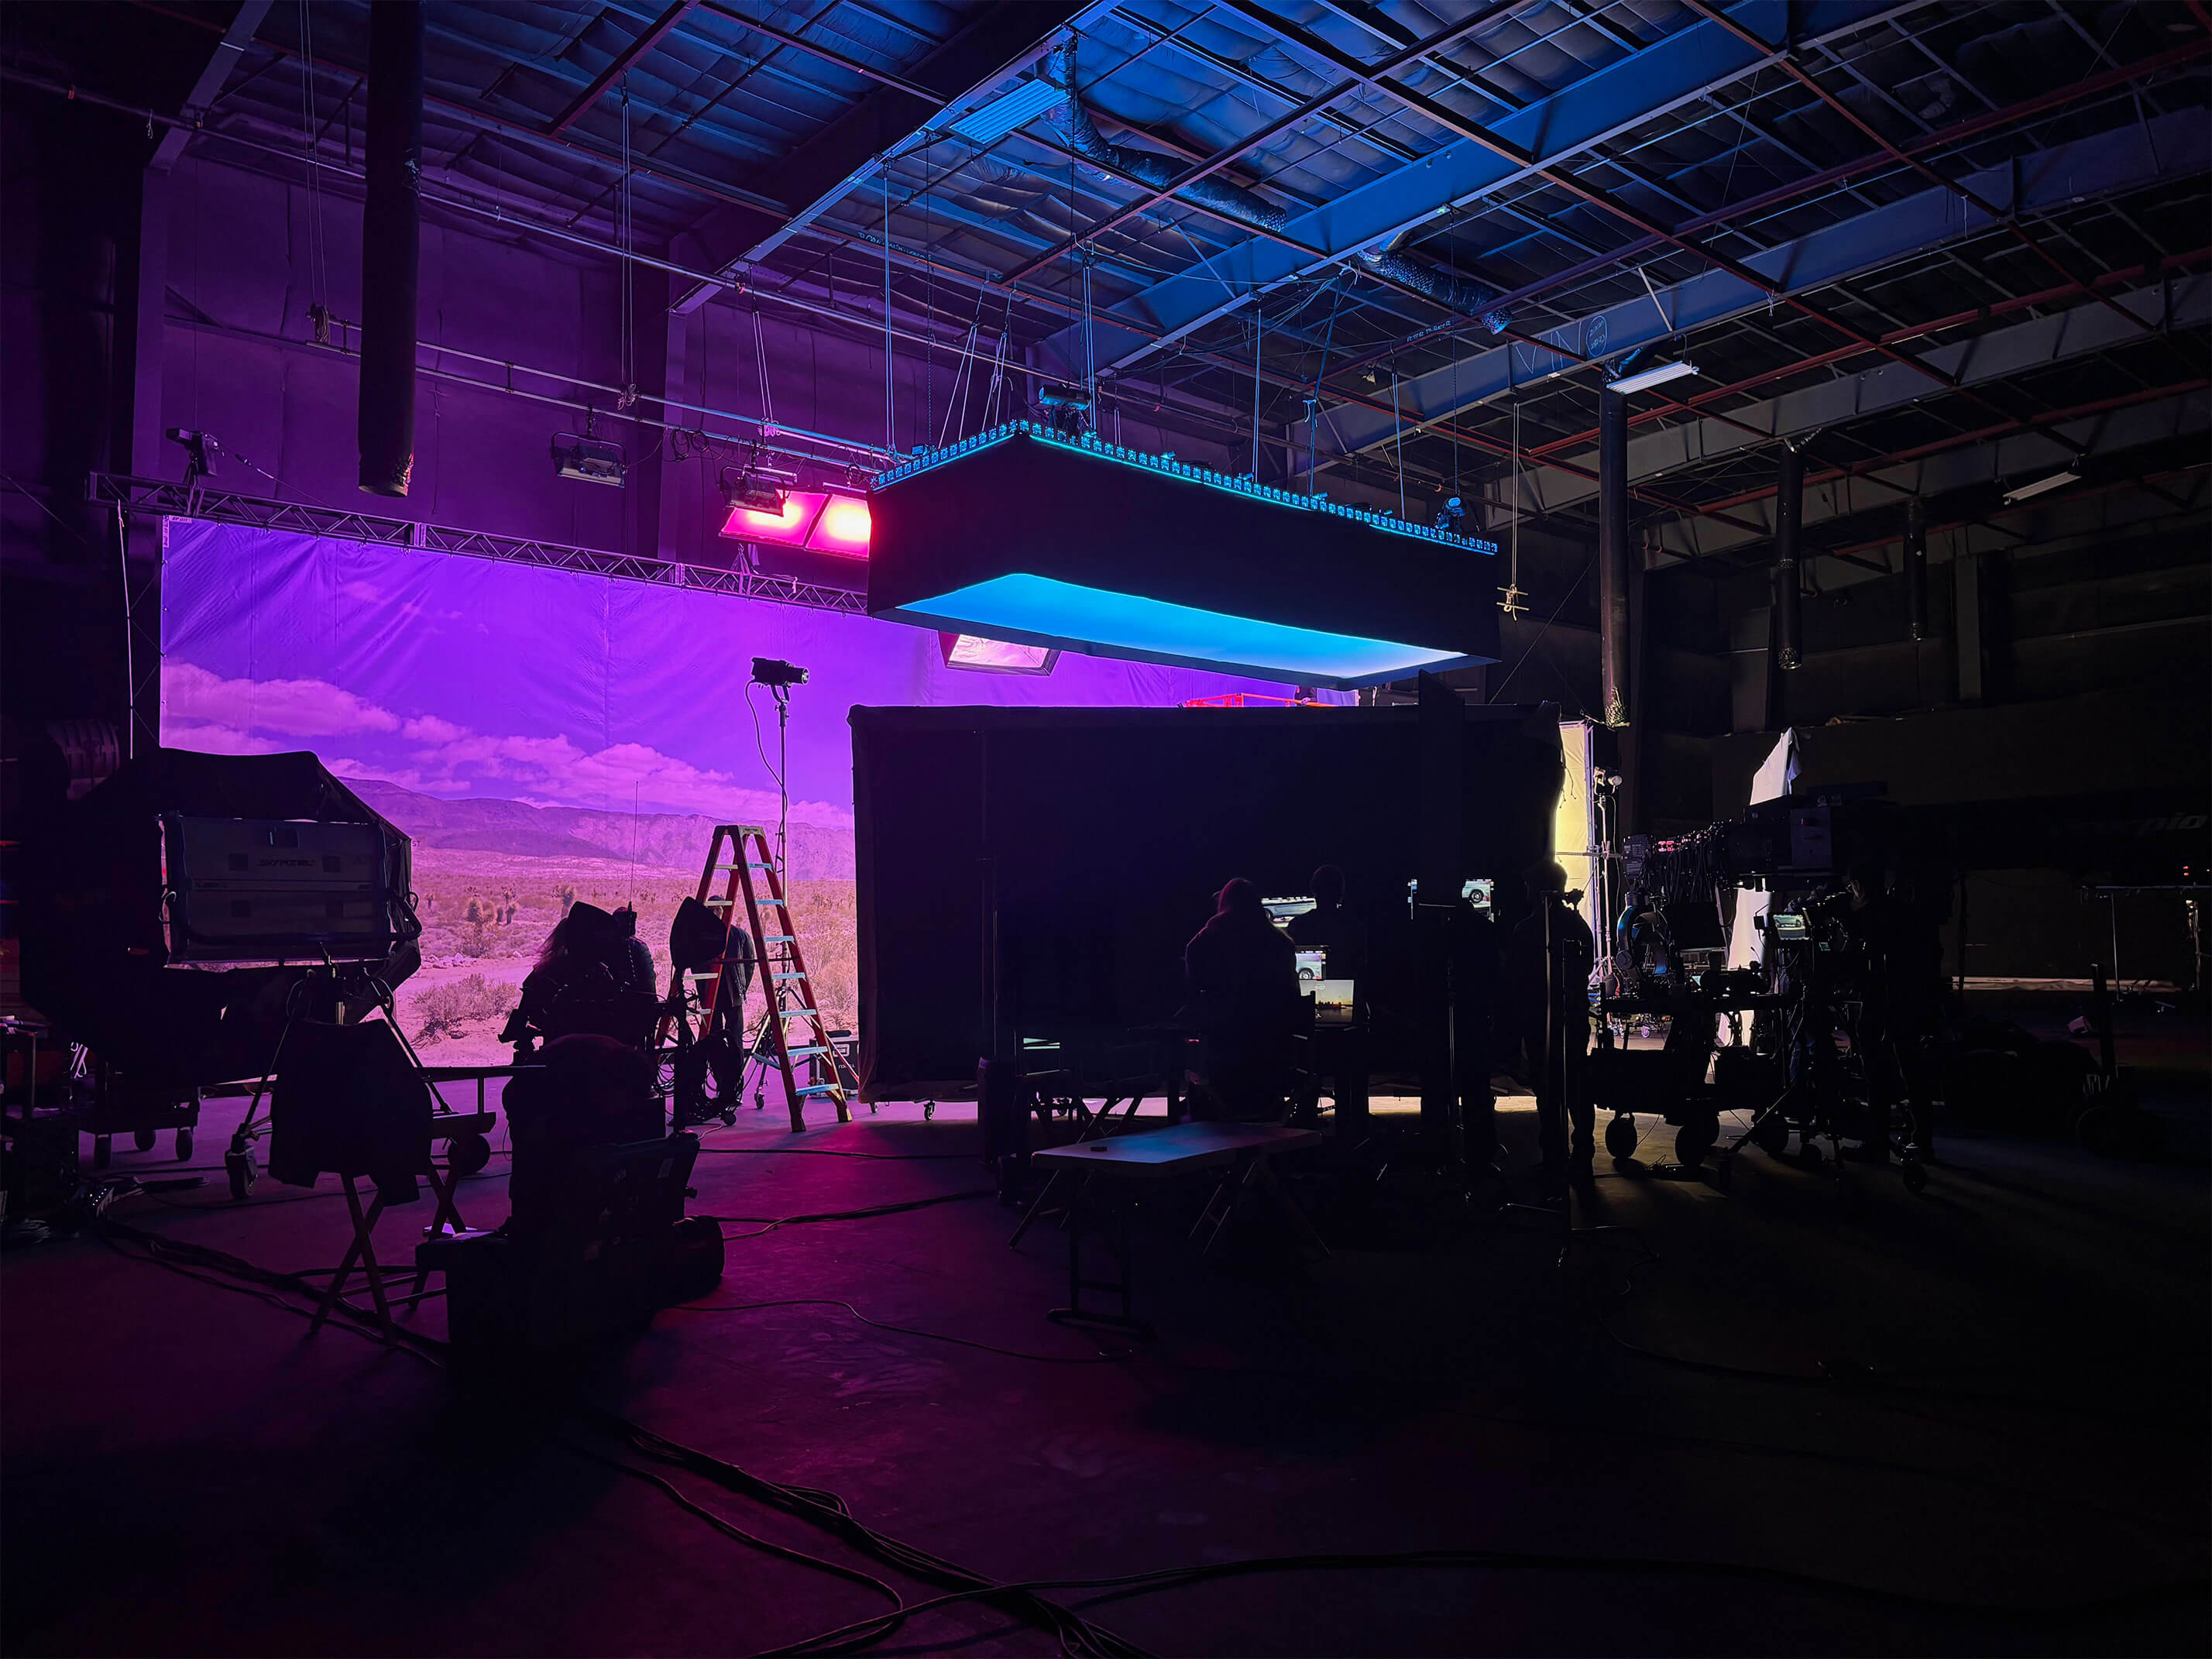
8’x25’x4’ seamless bleached muslin softbox provided most of our soft top daylight ambiance for this spot. ModX top frame with pipe bottom frame. We wrapped the bottom pipe with plastic to protect the muslin from dirt. Seamless was important for car reflections. We baffled the inside of the box with 1/4 grid for added softness.
We helped art hang an 18’ tall 60’ length translight with some truss and motors. Went motors down so we wouldn’t have to run too much cable and picked to beams above with beam clamps.
We planned on doing everything with truss and motors but had to cut some because of budgetary reasons. So we went old fashioned with 2 runs of ladder truss, pipe and pulleys for more lighting points. The pulleys just served as line redirects and provided no mechanical advantage.
project BTS
Seamless Muslin Softbox
by:
Brendan Riel
8’x25’x4’ seamless bleached muslin softbox provided most of our soft top daylight ambiance for this spot. ModX top frame with pipe bottom frame. We wrapped the bottom pipe with plastic to protect the muslin from dirt. Seamless was important for car reflections. We baffled the inside of the box with 1/4 grid for added softness.
We helped art hang an 18’ tall 60’ length translight with some truss and motors. Went motors down so we wouldn’t have to run too much cable and picked to beams above with beam clamps.
We planned on doing everything with truss and motors but had to cut some because of budgetary reasons. So we went old fashioned with 2 runs of ladder truss, pipe and pulleys for more lighting points. The pulleys just served as line redirects and provided no mechanical advantage.

By subscribing you agree to with our privacy policy and provide consent to receive updates from our company.
Legacy Grip 2025 All Rights Reserved
By subscribing you agree to with our privacy policy and provide consent to receive updates from our company.
Legacy Grip 2025 All Rights Reserved
By subscribing you agree to with our privacy policy and provide consent to receive updates from our company.
Legacy Grip 2025 All Rights Reserved
By subscribing you agree to with our privacy policy and provide consent to receive updates from our company.
Legacy Grip 2025 All Rights Reserved